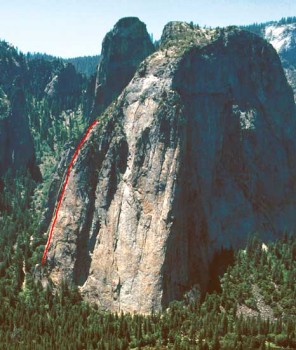
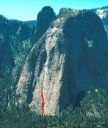
Central Pillar of Frenzy
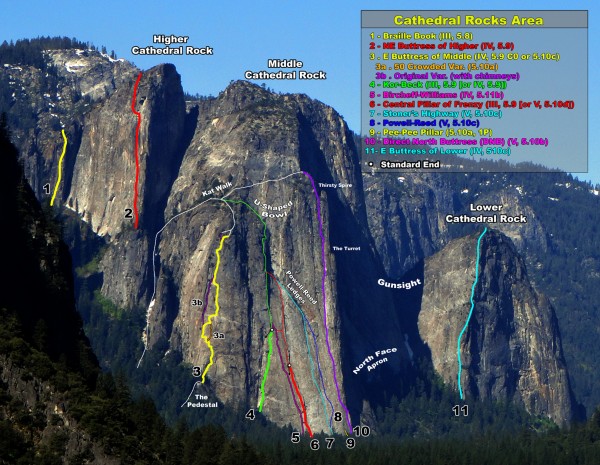
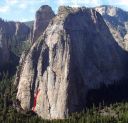
East Buttress of Middle Cathedral Rock
Two classic Valley climbs that I did in combination last year that I figured were good for a photo TR.
In late 2010 I was still new to leading trad. I had set a number of goals for myself to help give me motivation and direction for developing my abilities as a climber, and one of those goals was to climb the East Buttress of Middle Cathedral Rock. How does one know when they are appropriately ready for such a long climb?
I usually go about goals in a meticulous and organized way, and in climbing I try to balance being conservative while pushing myself to improve. Since the East Buttress is a popular climb, and a long climb, I didn't just want to hop on it as soon as I could start leading 5.9s, as I wanted to be solid at the grade and be able to lead 5.7-5.8 quickly and without too much effort. So I asked people who had done the route what sort of less committing routes I should do as a progression to and benchmark for knowing when I was ready to tackle the route. Several climbers suggested that when I felt I was ready to go for the route, I should first climb Central Pillar of Frenzy. They said if I could handle that without much problem, and do it in less than half a day, that I should be ready.
Although I had hoped to do these routes with a partner who I could swing leads with, by the Fall of 2011 I had no such luck for these routes. However, by this time I felt strong & confident enough to lead all of the pitches on both routes, and I did have a partner who, while new to trad, had been doing very well following me up some Yosemite cracks and flaring chimneys earlier in the year.
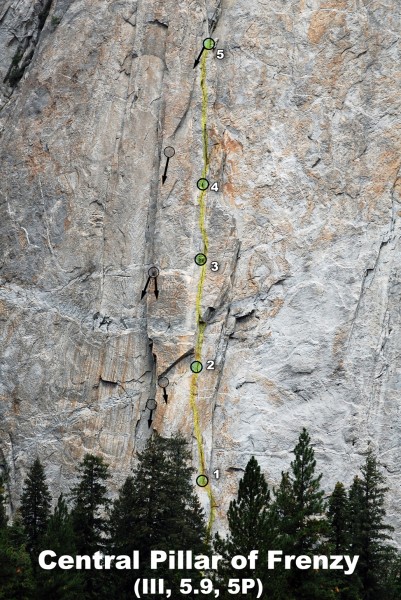
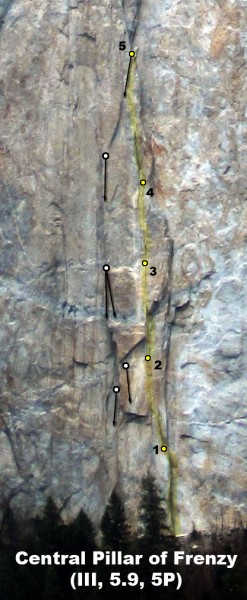
Central Pillar of Frenzy (III, 5.9, 5P)
September 24, 2011
Jared Wood and I climbed this route early Saturday morning in hopes of beating the crowds and the forecast rainstorms. We were first on the route, were down about 1 hr before the big rainstorm hit. This route was great warmup to the E Butt of Middle Cathedral the next day. With a superb view of El Cap, sustained & clean stems, liebacks, finger cracks, hand cracks, fist cracks (and wider!), chimneys, a great roof and a 5.9 squeeze crux, this ranks with Traveler Buttress as my favorite 5.9 trad climb of 2011.
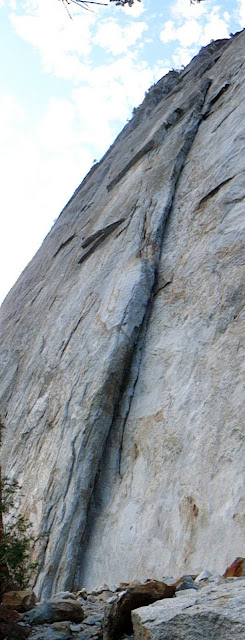
Visit on ggpht.com
Pitch 1, a slick stemming corner that narrows to a slick squeeze before stepping left.
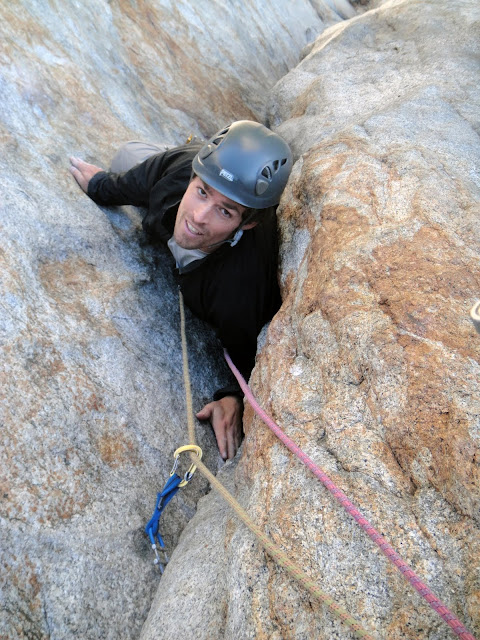
Visit on ggpht.com
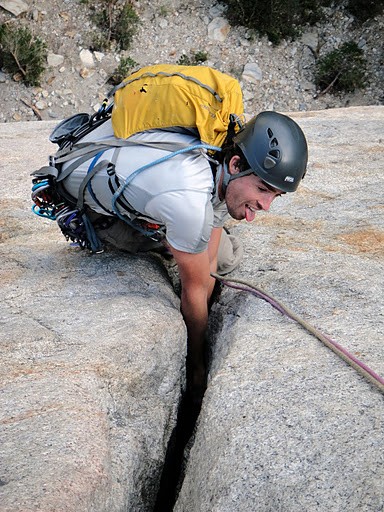
Jared in the 5.9 squeeze crux on P1.
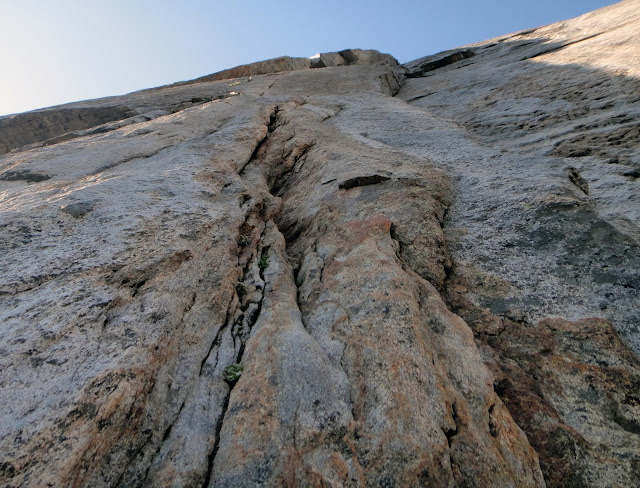
Visit on ggpht.com
The broken 5.8 terrain before the sustained 5.9 fingers on P2.
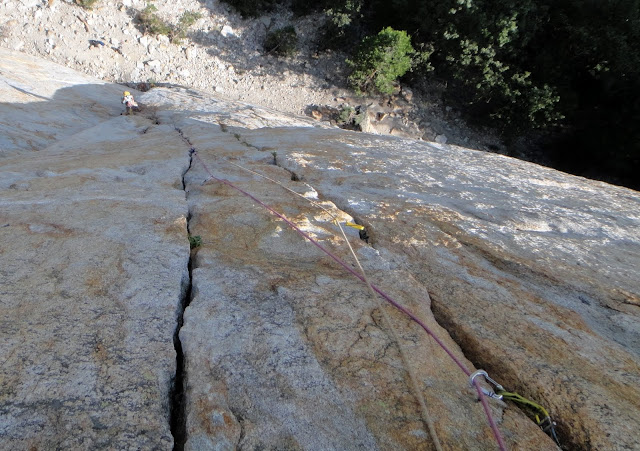
Visit on ggpht.com
Looking down P2.
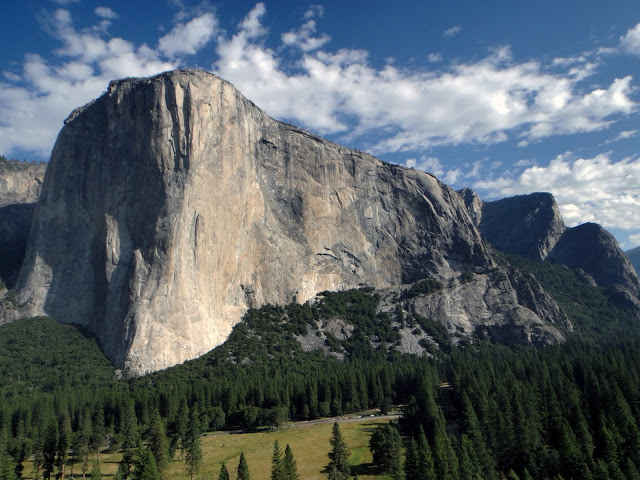
Visit on ggpht.com
El Cap from the P2 Belay.
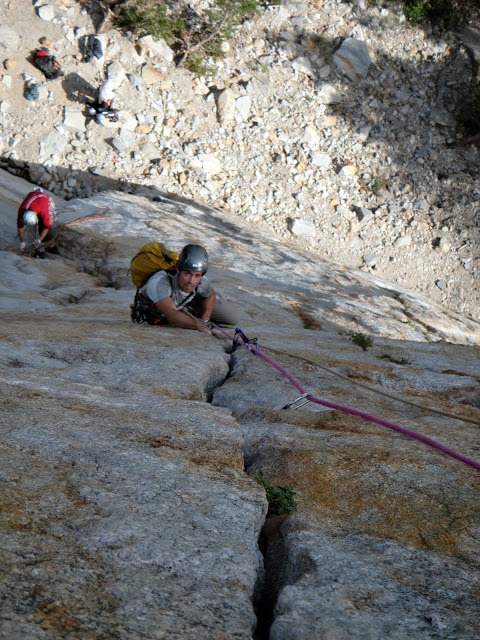
Visit on ggpht.com
Jared following P2.
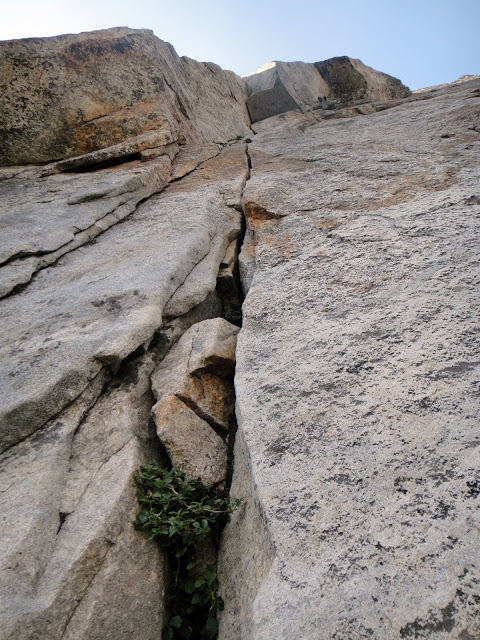
Visit on ggpht.com
The 5.7 hand crack & 5.8-5.9 roof on P3 from the belay.
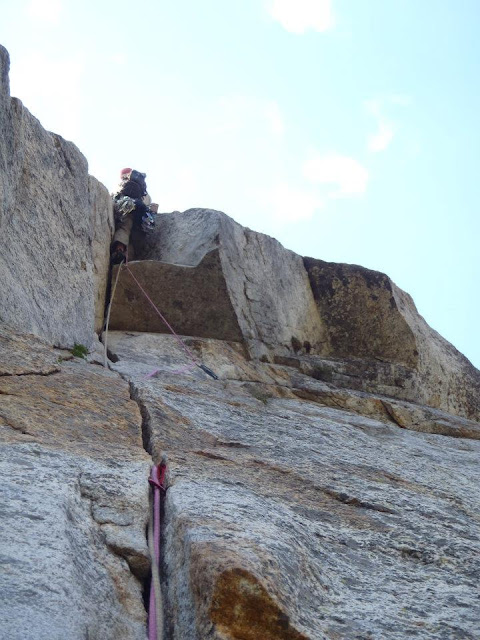
Visit on ggpht.com
Leading the big roof on P3 (by Jared Wood)
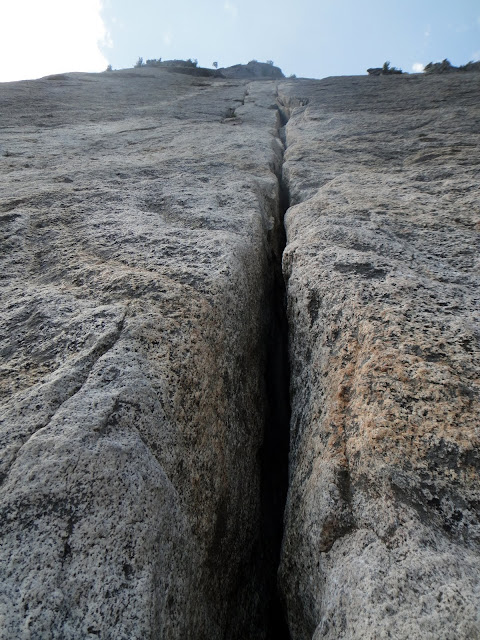
Visit on ggpht.com
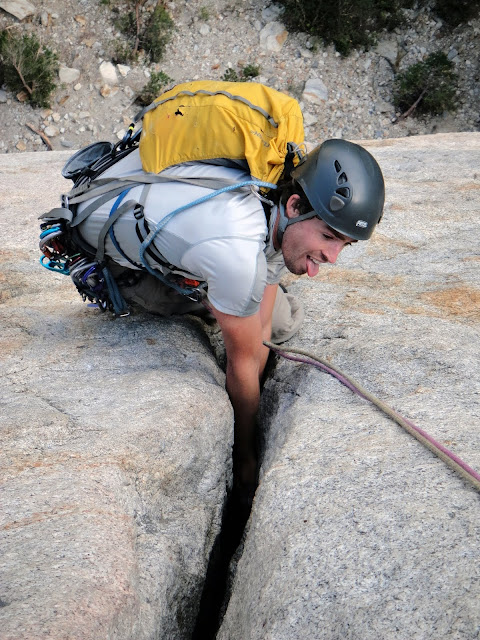
The wide crack above the roof on P3.
Visit on ggpht.com
Jared climbing the wide crack on P3.
Visit on ggpht.com
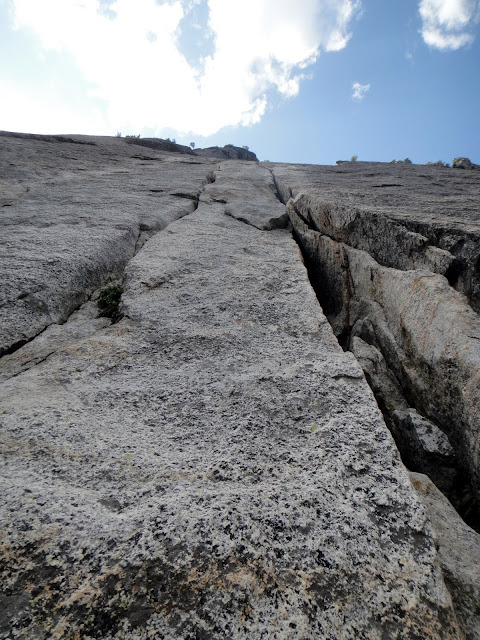
Looking up the fun 5.8 double cracks on P4 from the P3 belay.
Visit on ggpht.com
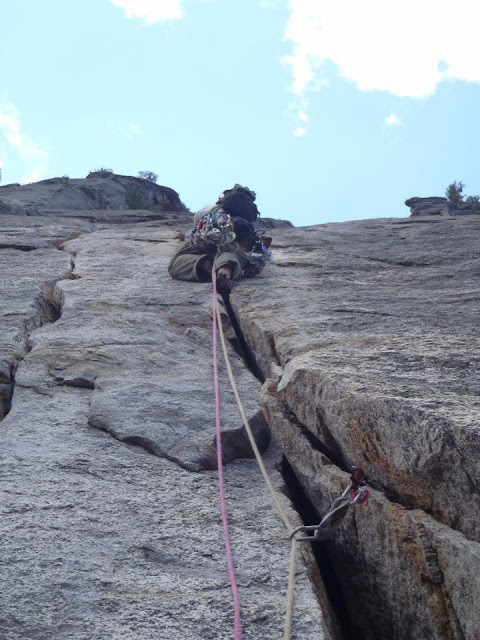
Leading P4 (by Jared Wood)
Visit on ggpht.com
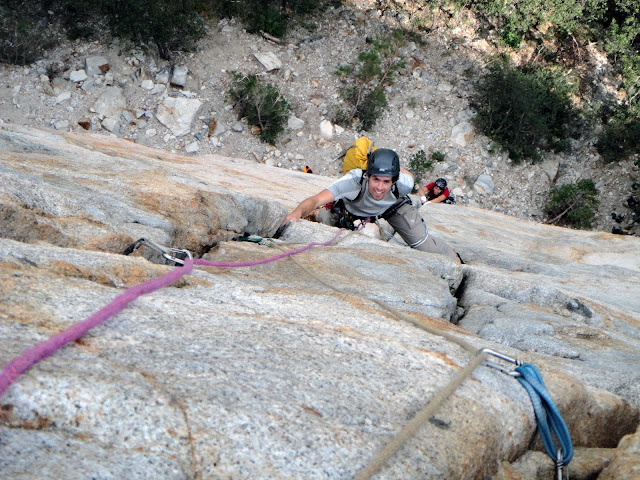
Jared on the fun 5.8 double cracks.
Visit on ggpht.com
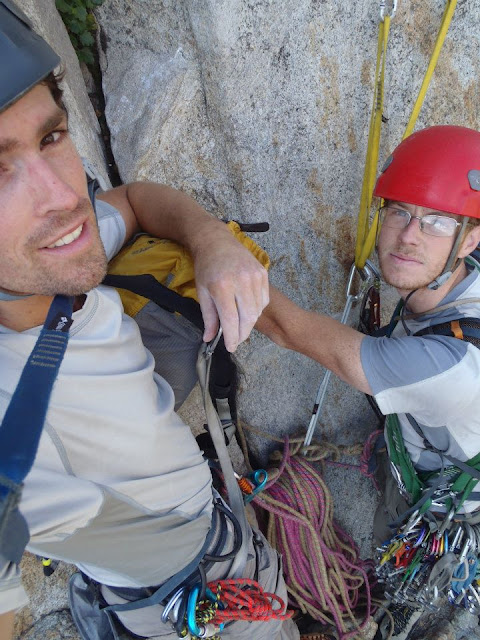
P4 belay (by Jared Wood)
Visit on ggpht.com
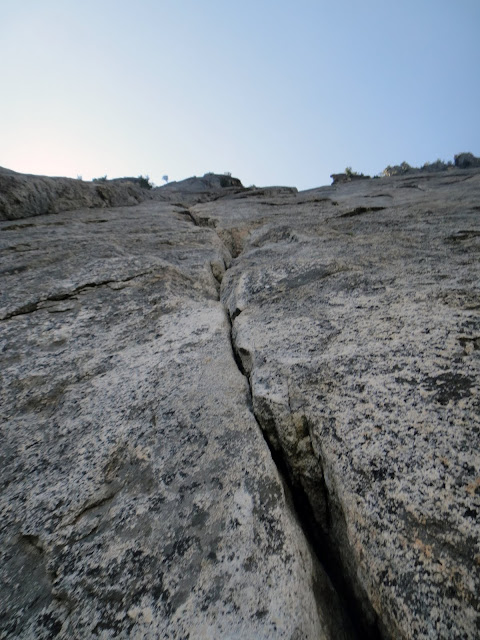
Looking up the 5.9 lieback on P5.
Visit on ggpht.com
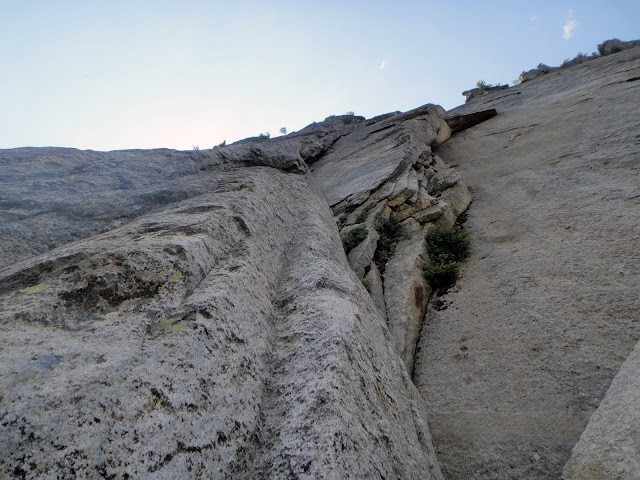
Looking at the upper pitches from the P5 belay.
Visit on ggpht.com
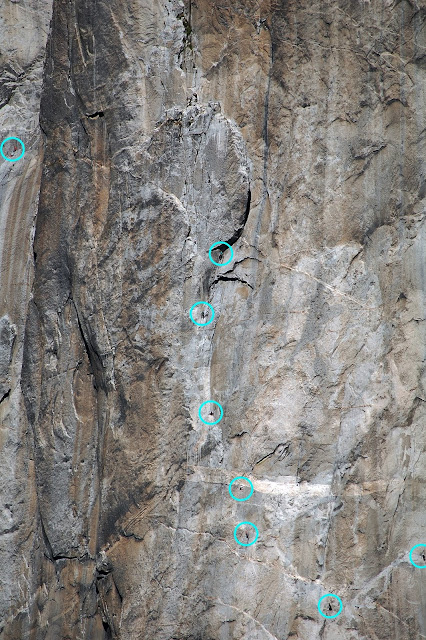
Climbers on Salathe Wall?
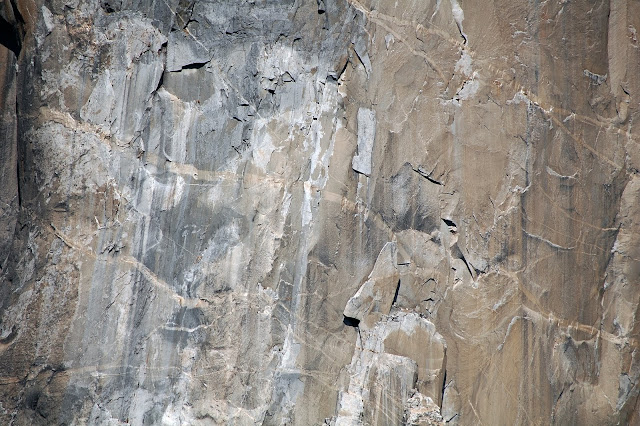
Visit on ggpht.com
Boot Flake on the Nose.
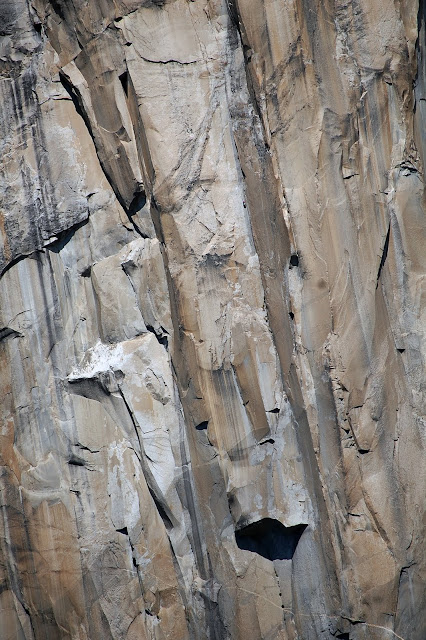
Visit on ggpht.com
The Great Roof & Dihedrals on the Nose. See the climbers? Strangely, I think we could actually hear climbers on El Cap as we got higher on the route.
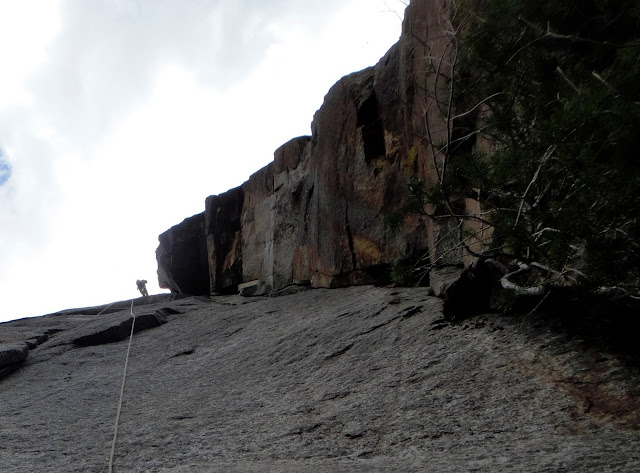
Visit on ggpht.com
CPoF Rappel of Bircheff Williams.
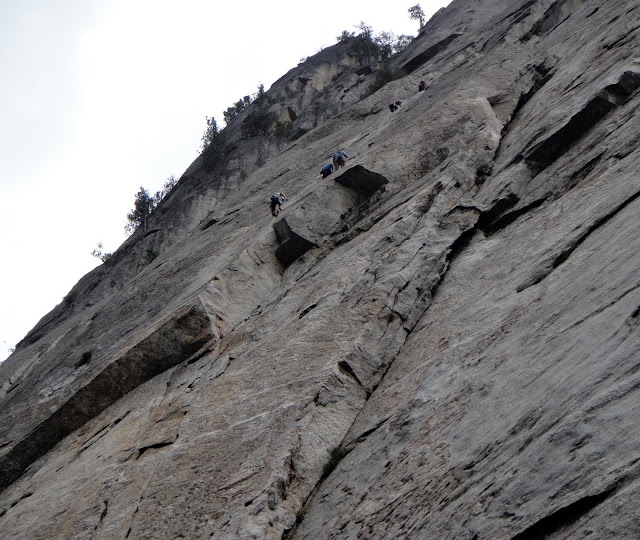
Visit on ggpht.com
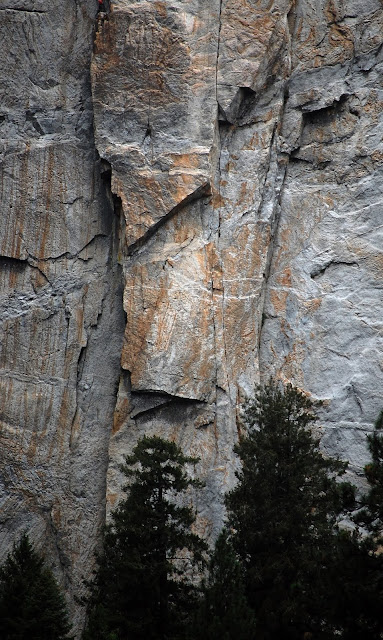
Climbers on P3, P4 & P5 of CPoF. Gridlock!
Visit on ggpht.com
CPoF seen from a distance.
Visit on ggpht.com
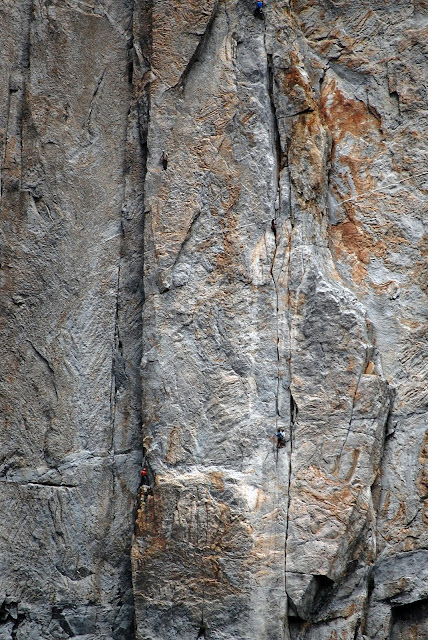
Climbers on CPoF.
September 25, 2011
Jared and I climbed the E Butt of Middle Cathedral Sunday. Using 70m double ropes, we linked P1&2, P3&4, P7&8, P9&10. We would have linked P5&6 if I hadn't gotten the rope stuck in the roof on P5 (doh!), which cost us a lot of time on the route. Still we finished the rappels before dark. The descent was very wet from the light afternoon rain that fell on us, making it feel more like a canyoneering outing.
Visit on ggpht.com
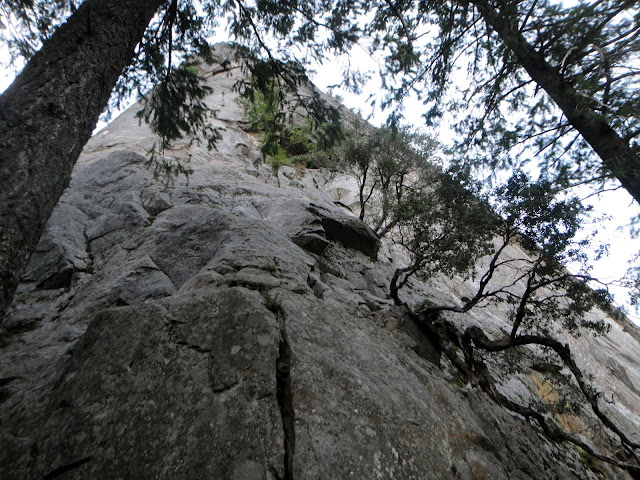
Mungy start to P1
We had to search around a bit for the start of the climb. For a "50 Classic" climb, I was surprised how overgrown the start was. You really can't see the route at all from the base. After carefully matching the topo to what we could see through the trees, I started out on what seemed like the start of the route.

Visit on ggpht.com
Mungy start to P2 which I linked with P1.
I was leading with a pack on, which made the 5.8 roof a lot harder than expected, so I left my pack on a piton and Jared rigged it to be hauled on one of the double lines as I belayed him through the pitch.
Visit on ggpht.com
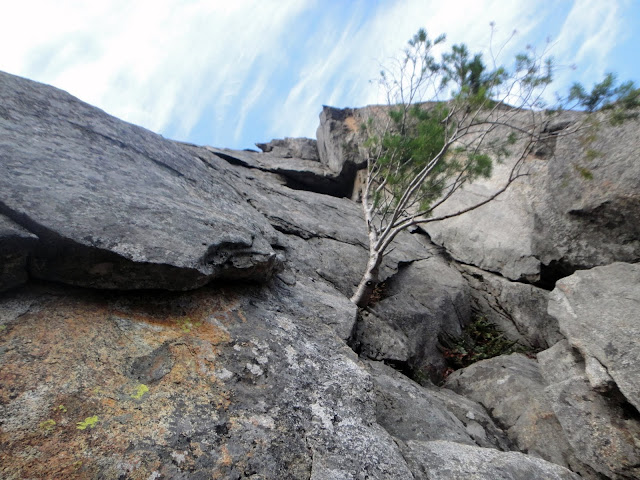
End of P2 just beyond the tree. P3 goes up the corner to the roof and around the left on the thin flake.
Visit on ggpht.com
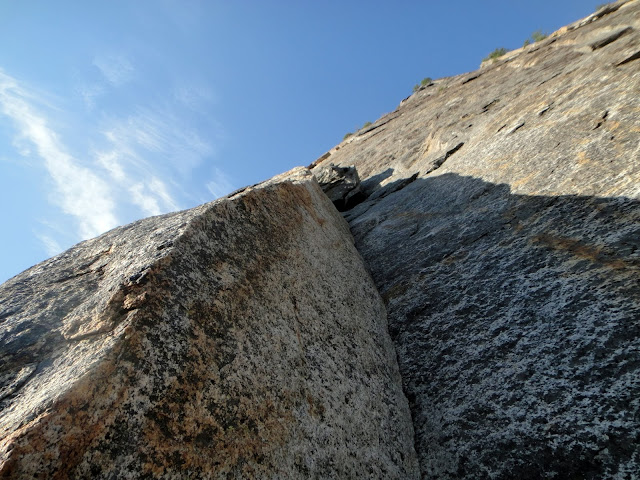
Steep & slick liebacks on P3.
Visit on ggpht.com
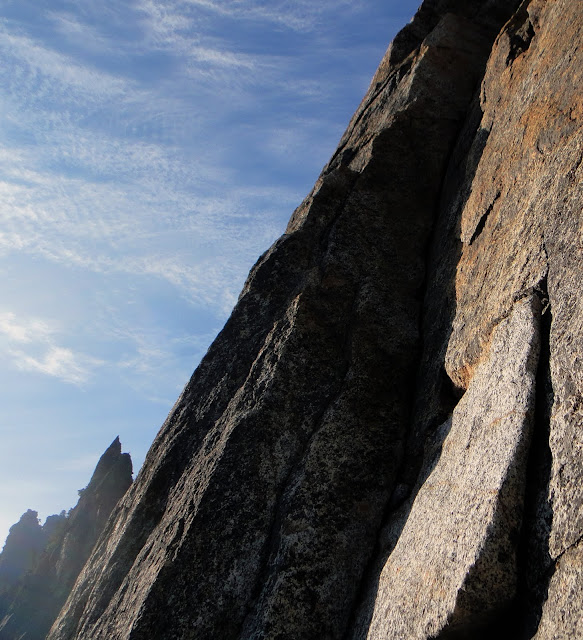
Steep & slick liebacks on P4. Cathedral Spires are behind.

Visit on ggpht.com
Looking down P4 from the belay.
Despite the overgown start, the climb quickly improved in quality and exposure.
Visit on ggpht.com
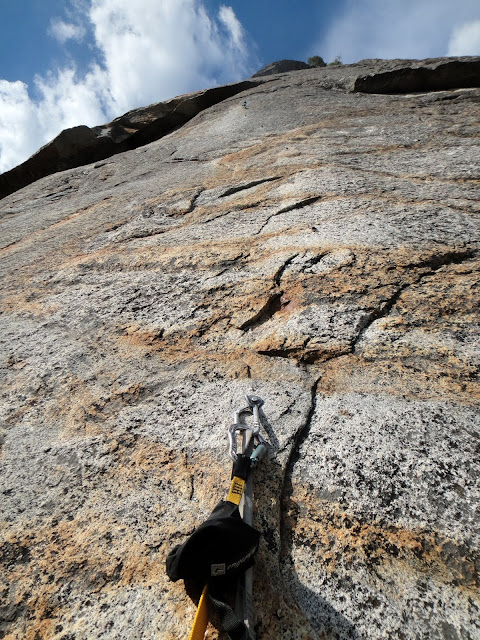
The easy aid bolt ladder over the 5.10c slab on P5. We brought alpine aiders to make it chill. A tension traverse is needed to get off and over to the 5.8 lieback.

Visit on ggpht.com
Leading The P5 crux as a C0 aid climb. (by Jared Wood)
Using a single alpine aider and my PAS, aiding the bolt ladder was fast & easy. Jared used a similar system of alpine aider & sling to follow on belay.

Visit on ggpht.com
Leading The P5 crux as a C0 aid climb. (by Jared Wood)

Visit on ggpht.com
Looking down the bolt ladder on P5. Easy C0 and we brought alpine aiders to make it chill.

Visit on ggpht.com
El Cap seen from the bolt ladder on P5.
Visit on ggpht.com
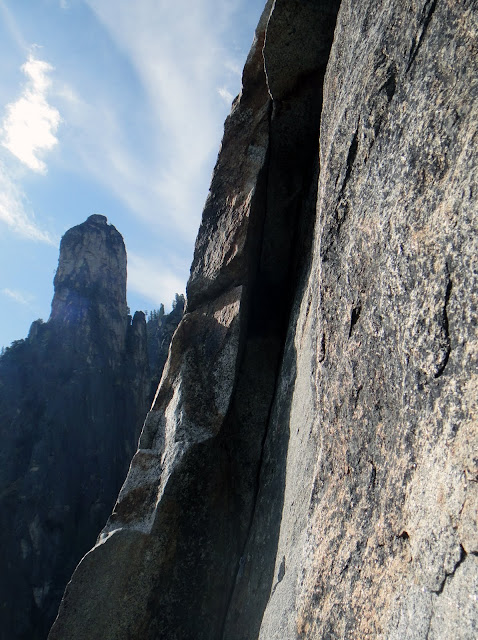
Tensioning over to the 5.8 lieback with the Cathedral Spires behind.

Visit on ggpht.com
The 5.8 lieback & awkward 5.9 roof.
The 5.8 lieback is very steep and exposed, which made for some pretty exciting free climbing once I finished the tension traverse. As advertised, the 5.9 roof crux is short, but awkward and burly, requiring some funny stemming as you torqued yourself over the lip while yanking on solid finger jams. Fortunately there is a solid piton right at the crux.
As I was pretty intimidated by the climbing here, I placed a cam right after the piton just before I pulled the roof. While this made the crux move essentially protected on TR, this was a bad idea, as it held the rope closer to the split corner in the roof. It just so happens that my 70m double ropes are the perfect diameter to stick in cracks of finger jam width, so as soon as I got a few moves higher, the rope stuck. Rather than downclimbing to deal with the problem, I climbed against the worsening drag.

Visit on ggpht.com
Looking down P5. Easy 5.6 cracks here made harder by the terrible rope drag as my lines caught in the roof. Doh!
That turned out to be a bad idea as not only was the last part of the pitch very hard with the rope drag, but it forced me to stop at the standard belay rather than linking pitches. It also took a lot of time to pull in the slack and belaying was much slower until Jared cleared the roof. Since the next belay ledge was small & awkward, it was also difficult to coil the ropes with care while fighting the drag and we had to recoil the rope at the belay once Jared finished following. And so the time cost from my error continued to snowball . . .

Visit on ggpht.com
Looking up from P5 belay. Standard route goes over slabs to the right. Original goes up the chimneys to the left.
We lost enough time from the rope drag that another party that was linking pitches with a 70m rope had reached the top of the "50 Crowded" 5.10a face variation just as we were ready to start P6. Since their belay was slightly ahead of ours, they got onto P6 just as we were ready, so we had to wait for them to pass before continuing on.

Visit on ggpht.com
The runout slab on P6. Now where is that piton?
I saw a nice flake directly above the belay with a piton in it and then what looked like a way to traverse right. SuperTopo emphasized not going straight up, though, so I traversed out directly right from the belay, looking for the first piton.
Yikes!
I never found the piton, but after a long traverse right from the anchor with no pro, I did eventually reach the belay atop the "50 Crowded" variation. (Note: Seeing how you can do this traverse, I think next time I climb this route I'll try the "50 Crowded" variation and then traverse left to finish on the original chimney variation). I placed a piece of pro just above that before climbing up, then traversed far left and then up to the only piton I found on the pitch. Then I traversed far right again. Using doubles really helped in keeping this from being a rope drag nightmare.
Despite our attempt to recoil the rope, it had been kinked badly enough that we lost time on this pitch as several times Jared had to ask me to stop while he worked out a cluster in the rope.

Visit on ggpht.com
Climbers on P6-P7.
I coiled the rope better on this pitch, although Jared still had to stop me a few times to work out clusters. Finally, atop P7 we were able to continue on at a better pace again. If it hadn't been for the roof folly we would have made great time on the route. Fortunately the earlier climbing and from here on was fast enough that we had that time to spare! So up the steep corners I went.

Visit on ggpht.com
Looking up P7. A climber is just starting P8.
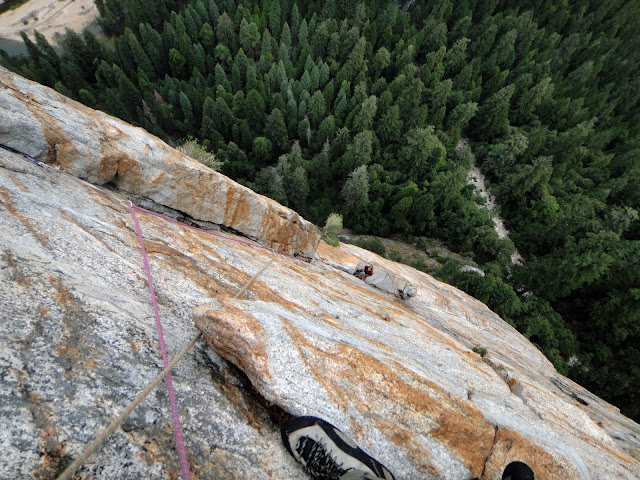
Visit on ggpht.com
Looking down P7.

Visit on ggpht.com
Interesting piton at the P7-8 belay.

Visit on ggpht.com
Looking up the awkward P8. This is where I killed my camera.
I had been climbing this past year storing my camera in a soft case camera case. That was not a good idea, as the camera's LCD got smashed on the next pitch. The camera still worked, but I couldn't operate any menus or see what I was shooting, so I blindly clicked away for the rest of the climb.
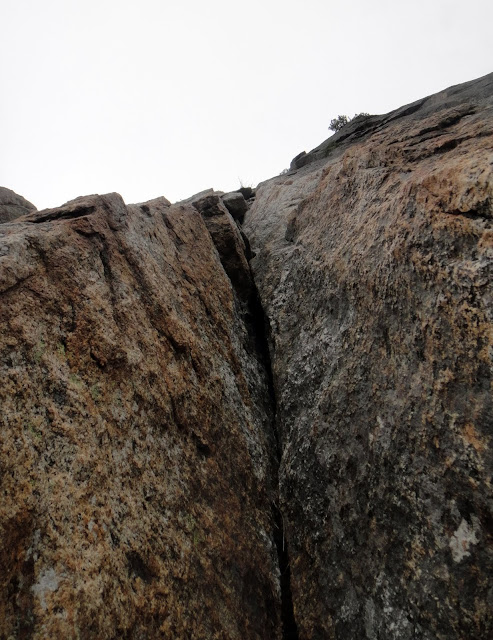
Visit on ggpht.com
The awkward P8.
P8 was awkward and sustained, but still not too bad. It had good pro and regular stances throughout, and then finished with a great traverse left.
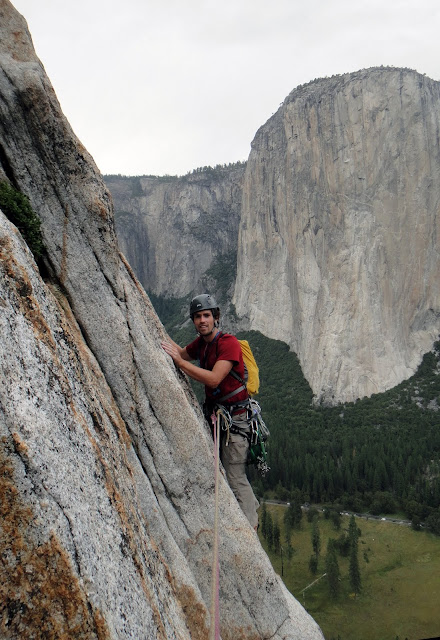
Visit on ggpht.com
Jared finishing P8.
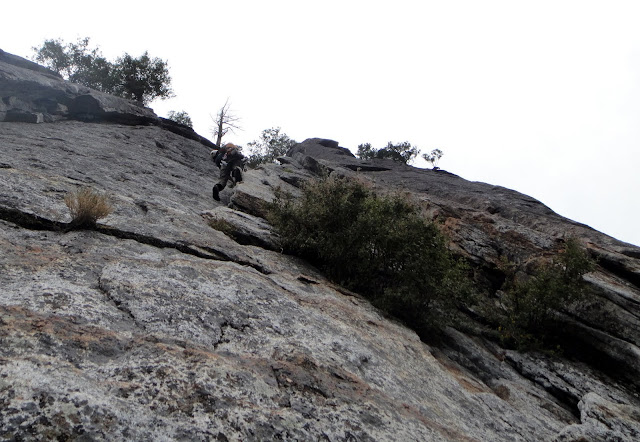
Visit on ggpht.com
Climber ahead on P9.
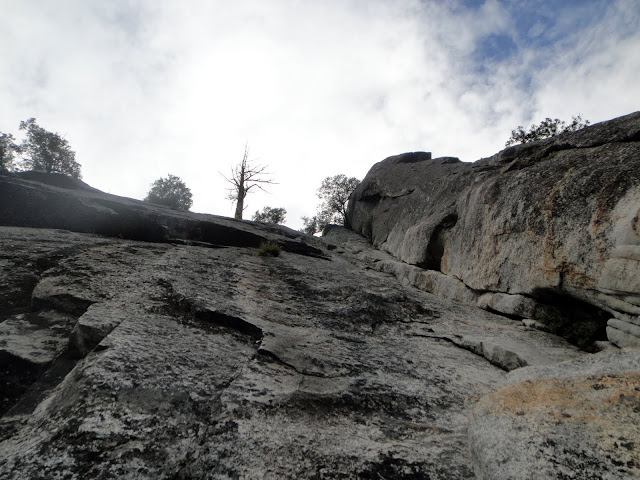
Visit on ggpht.com
Starting up P9.

Visit on ggpht.com
Looking down P9 & P10.
The topo I had said to make a belay here. This spot sucked since it was a sustained, thin 5.8 finger crack. I didn't want to go to the trouble of having a hanging belay here. Since the terrain above Jared was easy for the first bit, we switched to simul-climbing so that I could reach the nice looking tree and ledge above.
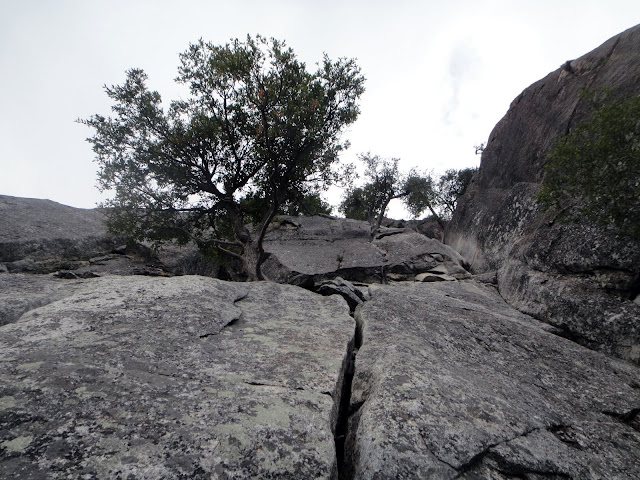
Visit on ggpht.com
Final wide to finish P10.

Visit on ggpht.com
P11, last pitch! 5.7 undercling to reach the 5.7 groove on the right.
The 5.7 undercling was short and very easy. The groove was a bit awkward, but not too bad. One of the easier pitches on the route.

Visit on ggpht.com
P11 5.7 groove. There were some frogs in here.
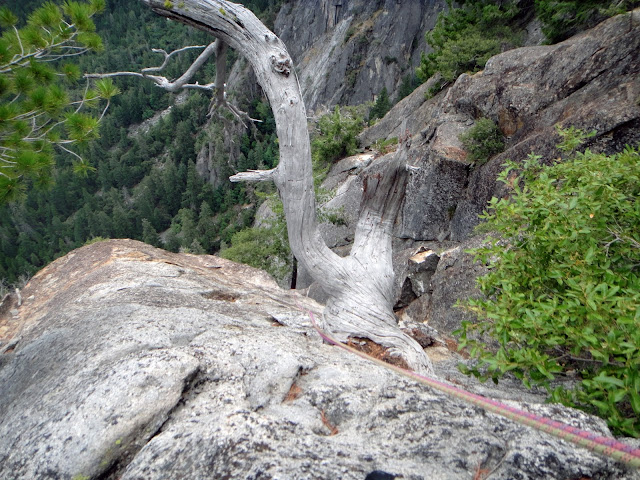
Visit on ggpht.com
Mungy finish to the climb.
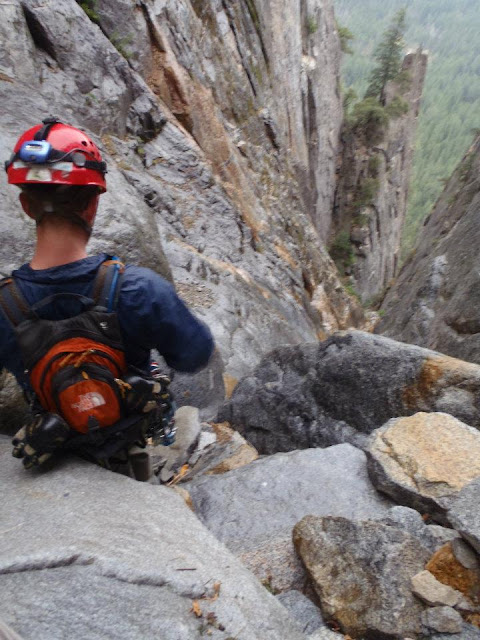
Visit on ggpht.com
Rainy descent and wet rappels down the gully (by Jared Wood)
In the end I would say that the suggestion of climbing Central Pillar of Frenzy is a great gauge for climbing the East Buttress of Middle Cathedral. While it technically has a lot more 5.9 climbing, the route is very clean, protects well, and is very non-committing. I actually found a lot of the 5.8 climbing on the East Buttress to be more serious and taxing on lead than the 5.9 climbing on Central Pillar of Frenzy.
Personal Website - Central Pillar of Frenzy
Personal Website - E Buttress of Middle Cathedral Rock
CPoF Photos on Picasa
EBoMCR Photos on Picasa
