September 29 - October 1, 2012
Despite the shorter and colder days of Fall, Tony Nguyen and I hiked in to climb Dark Star. With 3 days at our disposal, we had hoped to combine it with a traverse to Gayley or even Sill (DarGaySil Traverse, anyone? Sounds like a pharmaceutical). To avoid doing a carryover of Dark Star, we cached our climbing gear and water at the base of the route, then packed our camp and remaining food and water for the trip up Contact Crack (5.4) to the top of the route, where we slept. We descended before sunrise to do the route, with the idea to pick up camp and continue along the ridge for bivy #2. Instead we finished shortly after dark and woke up feeling tired and lazy. So we visited the summit and had a leisurely time heading out.

Visit on googleusercontent.com
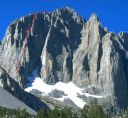
The looong Dark Star route on Temple Crag, seen from Second Lake on the approach trail.
Visit on googleusercontent.com
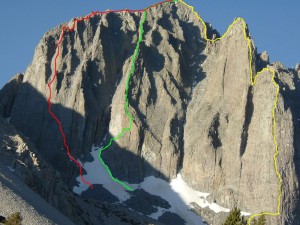
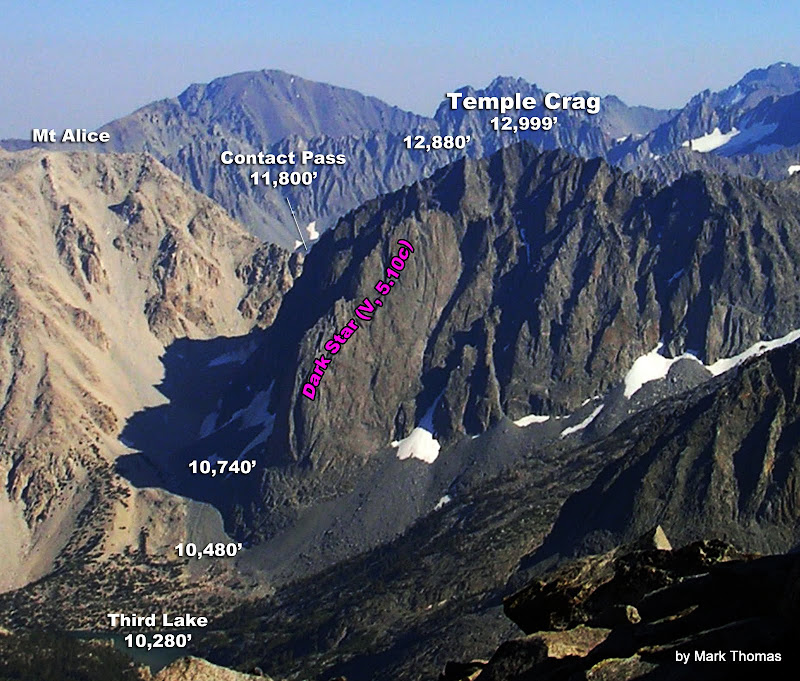
The massive buttress of Dark Star on Temple Crag, seen from Cloudripper.

Visit on googleusercontent.com
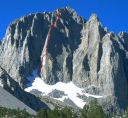
Dark Star seen from the Palisade Glacier moraine.

Visit on googleusercontent.com
Dark Star route on Temple Crag

Visit on googleusercontent.com
Dark Star's Lower Buttress seen on the descent.
Visit on googleusercontent.com
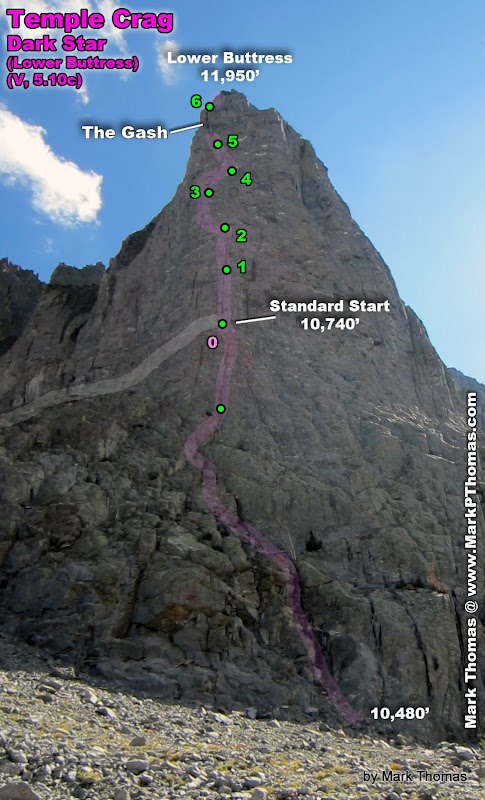
Dark Star lower buttress and lower pitches.
September 29 - Approach
The hike went all too quickly for me. As we were hiking in, I realized that this was my 13th trip into the Palisades from the Big Pine TH, and my 9th heading up the North Fork trail. Inflate that number even more if you count the South Lake TH. There are still at least a few more climbs for me to come back for, so I guess this shows how much there is to do in the Palisades!
Visit on ggpht.com
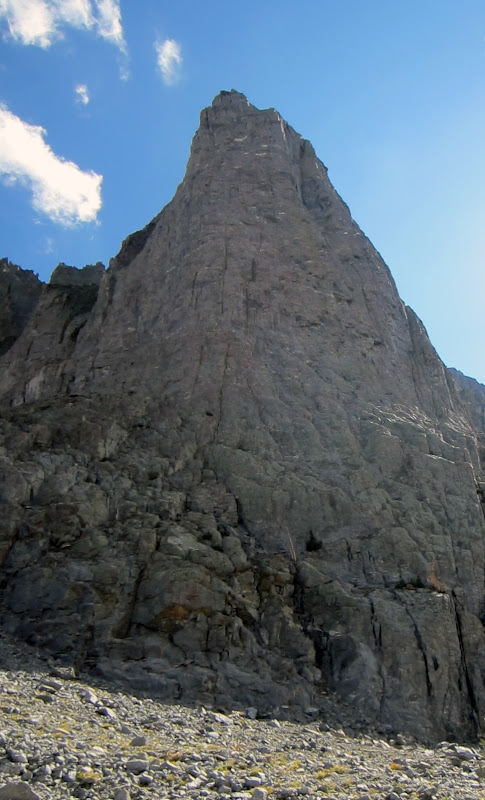
Lower buttress of Dark Star, which is over 1,000 ft high. Most people start the climb by traversing out midway on a ledge that starts a few hundred feet high, coming from the left.
As we left the trail and started up towards Contact Pass, we veered over to the base of the Lower Buttress. I was intrigued with the idea of climbing the lower pitches for full credit, rather than doing the standard start of traversing out on a ledge several hundred feet higher. I was wary of adding more pitches to an already long route at such a late time of the year. Tony was wary that the lower pitches would suck. So we walked over to check it out and decide whether to leave our cache here or by the start of the ledge higher up.
Visit on ggpht.com
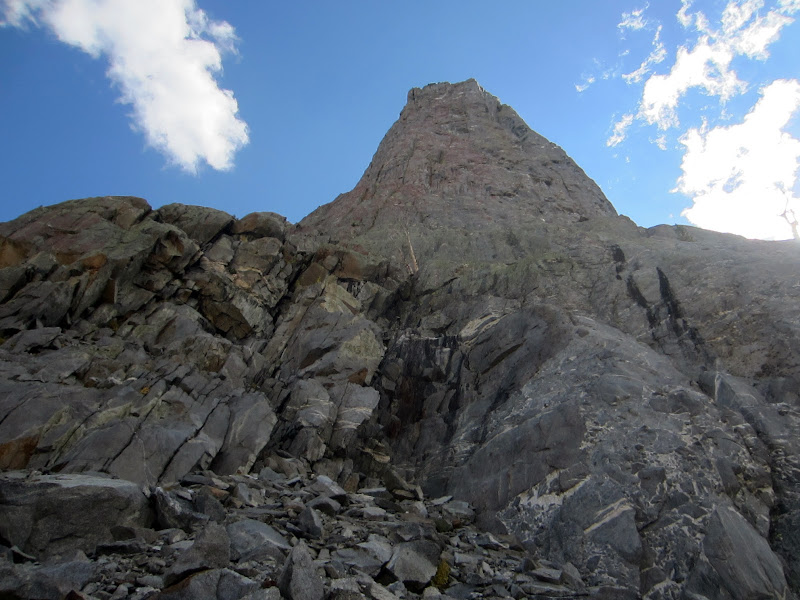
Looking up the lower buttress of Dark Star from the base. Over 1,000 ft of climbing before it eases up! Overall the route gains about 2,200'.
The rock was a little junky, but not too bad. We decided that we could solo up a ways and then simul the lower pitches to make it fast enough, and the upper half looked potentially interesting. So we decided to chance it and left our cache her, then began the slog up to Contact Pass.
Visit on ggpht.com
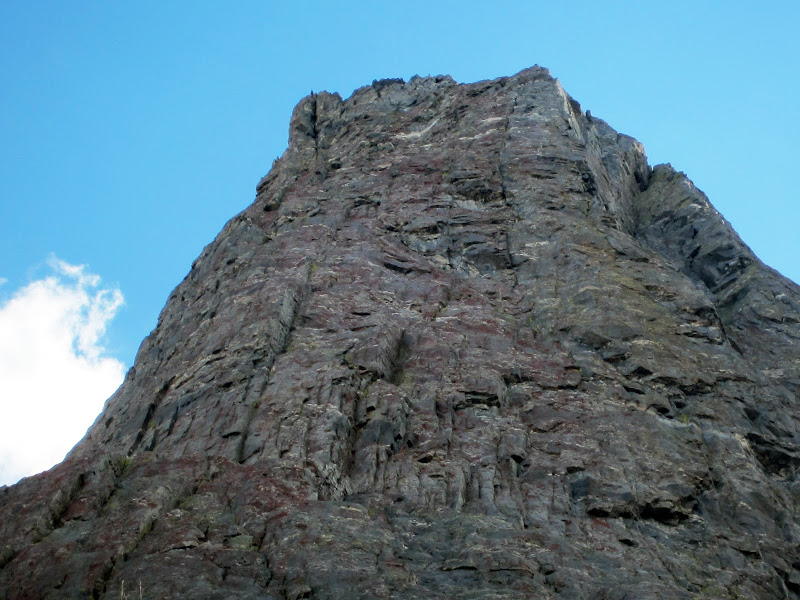
Upper section of the lower buttress of Dark Star. The route starts up the middle of the 3 most prominent corners. The dark gash high and left is a really cool 5.8 chimney that one must tunnel through, ending with an exposed squeeze exit back outside at the top.
Visit on ggpht.com
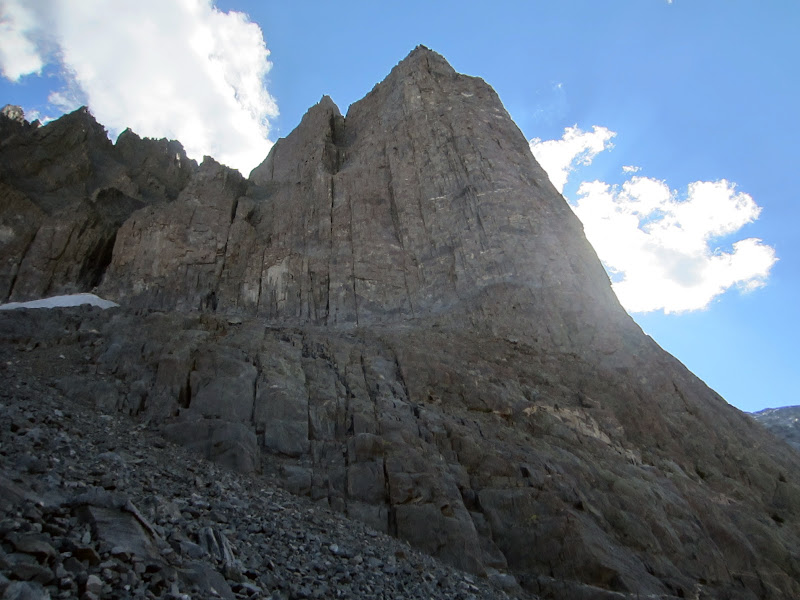
Dark Star's three buttresses rising to the summit. The access ledge used for the common start is seen cutting across above.
Visit on ggpht.com
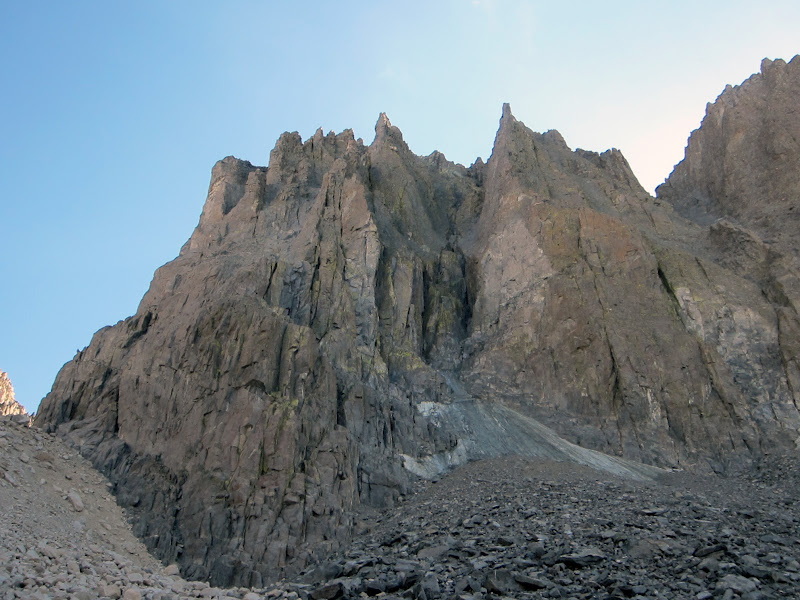
The Celestial Aretes of Temple Crag. The access snowfield is looking pretty dirty.
Visit on ggpht.com
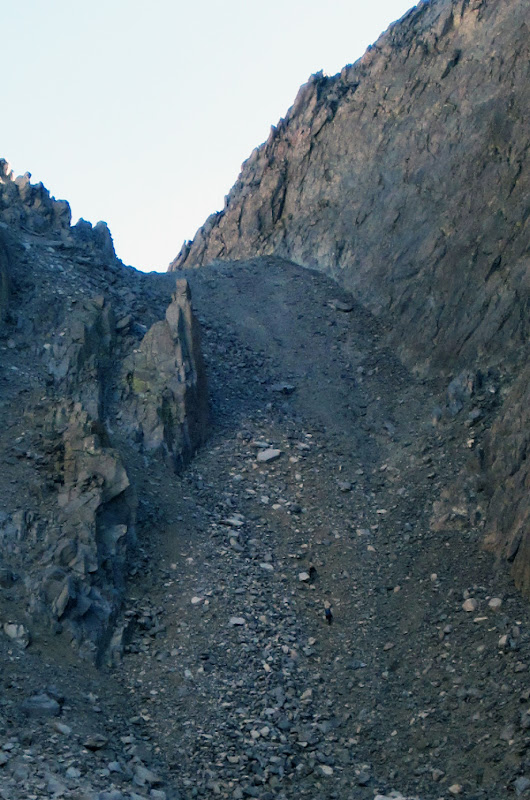
3 climbers with heavy packs ascending Contact Pass. At least we aren't the only ones doing this!
Oddly, as we neared the final scree slog to the pass, we heard voices and up ahead I saw three figures, toting large packs, heading up to the pass. Weirdos :-) We caught up to them at the pass and learned that they were doing Sill via the South Fork side of Glacier Notch and decided this way was better than the cross-country route up from the South Fork Trail.
Visit on ggpht.com
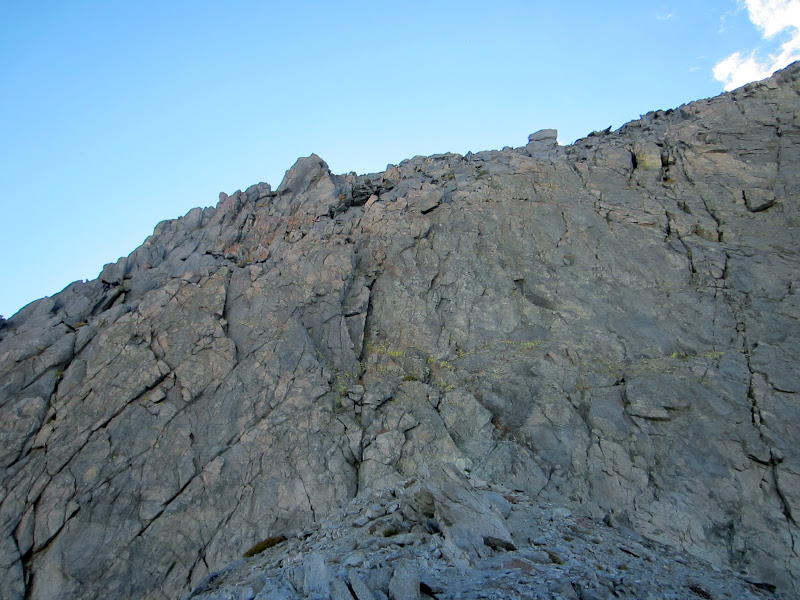
Contact Crack (5.4). I've soloed this chimney, but this time we belayed it since we were carrying up large packs with overnight gear. One #3 Metolius cam nicely protects the crux.
I roped up briefly to lead Contact Crack. The first time I climbed Temple Crag was on a Sierra Challenge day, and with a smaller pack I was all right soloing the awkward 5.4 slot. This time, my pack was substantially larger, so we decided to play it safe and belay this section. There was one part that was awkward enough with packs that we both were glad to have used the rope.
We wandered up the long sloping plateau of Temple Crag and picked out a nice bivy spot to make camp. We enjoyed a leisurely dinner, watching the spectacular alpenglow cast upon Middle Palisade, Norman Clyde Peak, and the Palisade Crest. Tony had never camped out high like this before, and this was his first time in the Palisades, so this was quite a treat! Sure it was more effort to camp here than the lakes, but I think it was worth it.
September 30 - Climbing Time
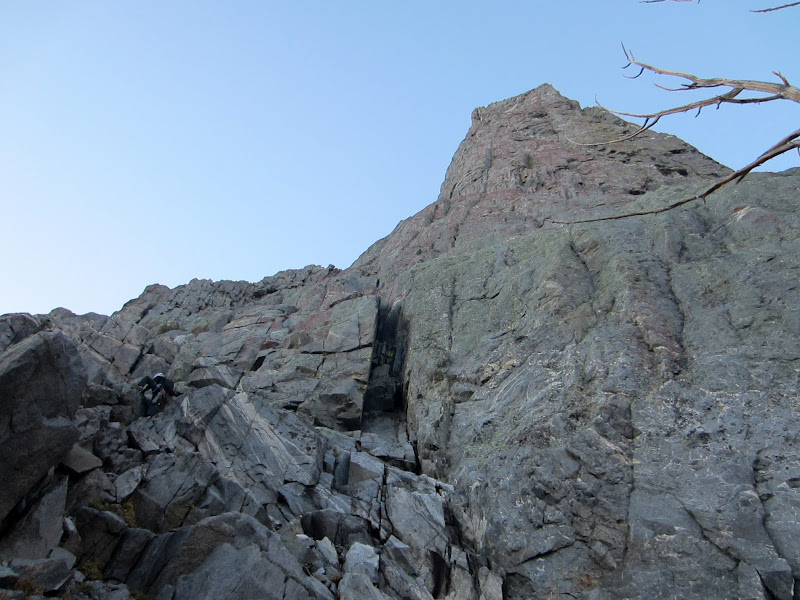
We were up long before sunrise. We ate breakfast, picked our way down to the Contact Pass rappel, and made it to the base of the Lower Buttress shortly after it was bright enough to turn our headlamps off. It was really cold in the shade, so it was nice to do a few hundred feet of scrambling to warm up and delay the harder climbing until the rock was a bit warmer.
Visit on ggpht.com
Tony starting the solo of the lower pitches of Dark Star. Terrain was mostly cl. 3-4 with a short bit of low 5th class. We belayed the last pitch, which Croft rates at 5.6.
Most of the lower section was all right. Nothing bad, but nothing great, either. If you have time and Dark Star's main route doesn't have enough pitches for you, or you care about the aesthetics of a direct line, then take this start. Otherwise, you're not missing out.
Visit on ggpht.com
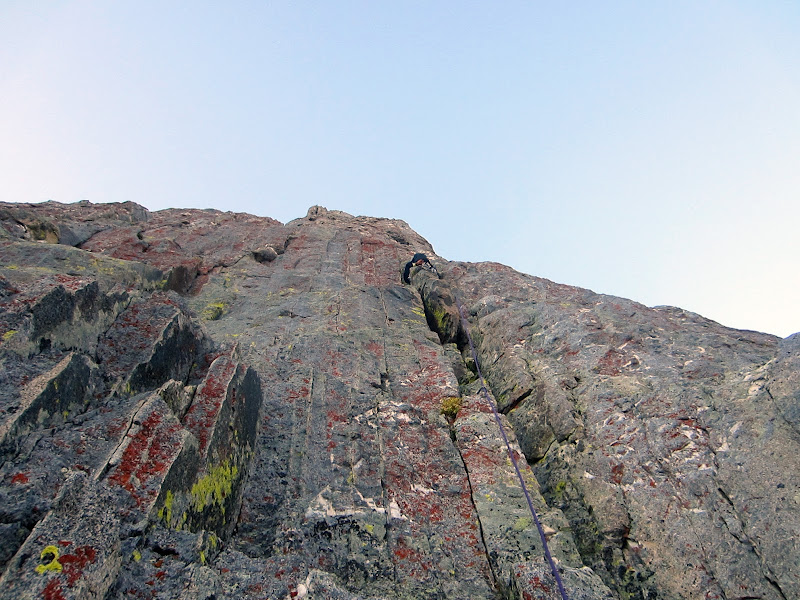
Tony leading P0 (5.6) of Dark Star. This put us on the access ledge just below crux P1.
Our line ended directly beneath the 5.10b/c corner, so we donned our climbing shoes and carried on. Tony considers this rating a warmup, so despite frigid fingers, he made quick work linking pitches 1 & 2.
Visit on ggpht.com
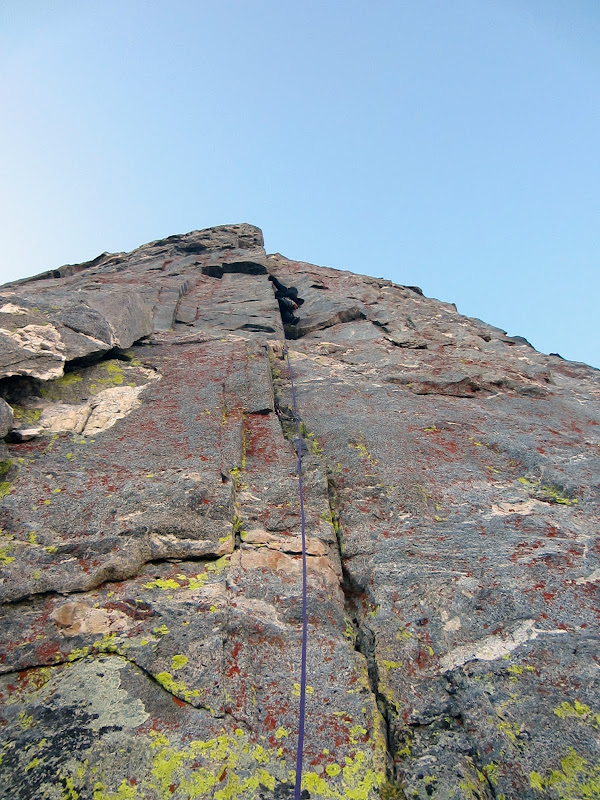
Tony leading P1 of Dark Star (5.10b-c), nearing the crux. We linked this with P2. This is sustained, thin, and tough!
Visit on ggpht.com
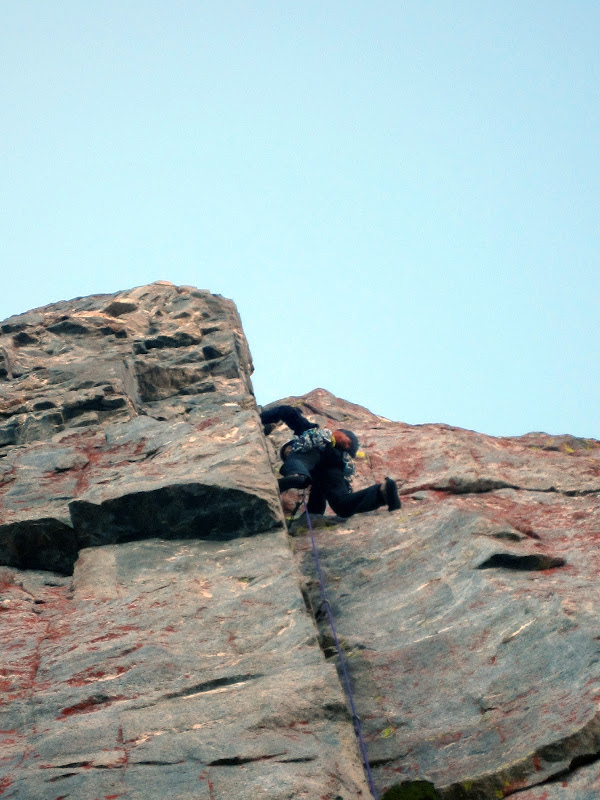
Tony leading P1 of Dark Star), at the crux.
Visit on ggpht.com
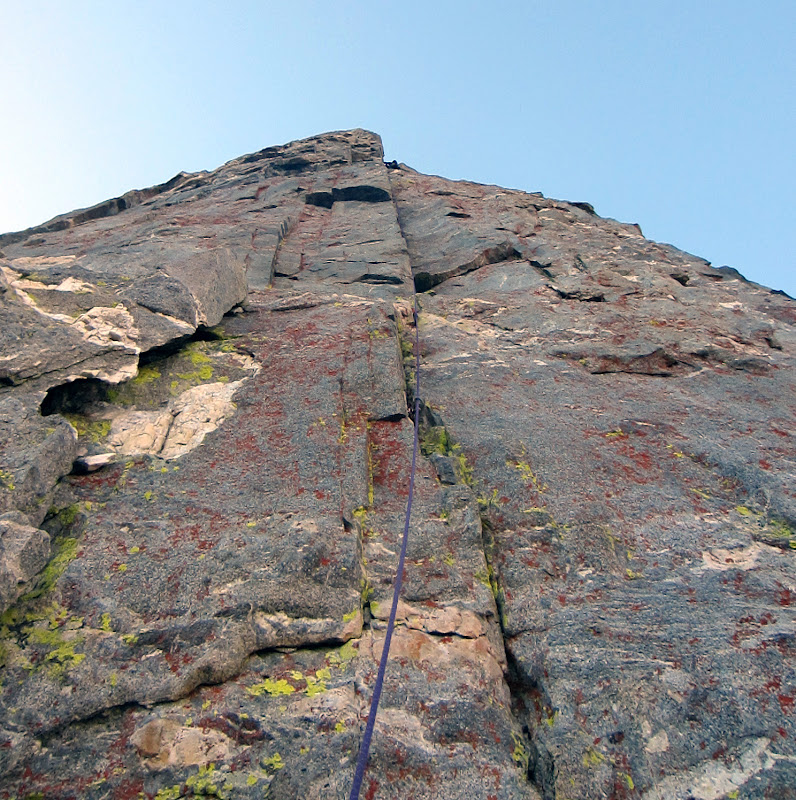
Tony leading P2 of Dark Star, which we linked with P1. So cold in the morning shade.
Both of us thought that the crux was pretty hard for 5.10b/c! It was also very different in character than the other arete routes. This was more like a sport route as there was very little jamming and the rock was steep, smooth, and required a lot of stemming with occasional little crimpers and edges.
Visit on ggpht.com
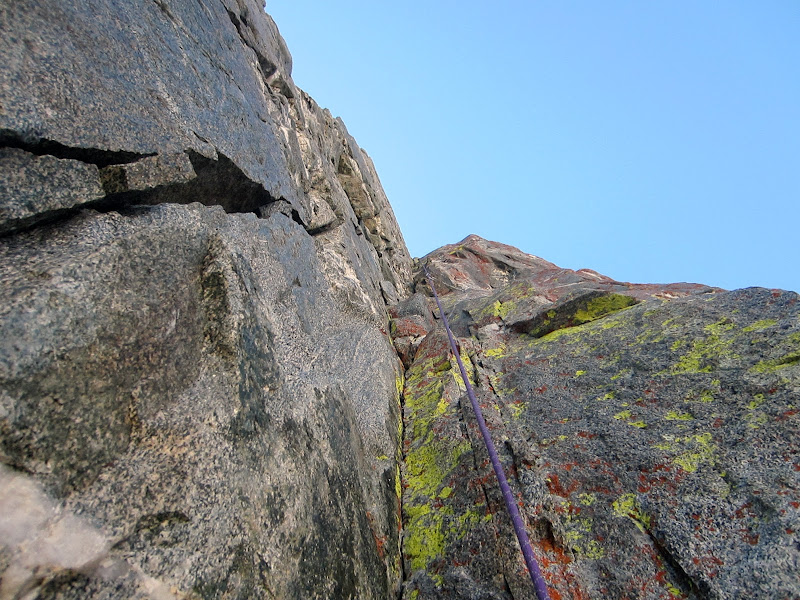
Following P2 of Dark Star. Topo called this 5.8, but it felt more like 5.9-5.10a to me and only slightly easier than P1. Croft indicates the 5.10c crux more in this area than lower down on P1.
Originally I thought I might lead P3 (5.9 according to Moynier & Fiddler's topo). However, as their topo indicated P2 as 5.8, which felt much harder to me, I had my doubts about being fast on the 5.9 and speed was a paramount concern for today. So Tony the rope gun launched off. Surprisingly, he had a much slower and uncertain time on the crux of this pitch.
Visit on ggpht.com
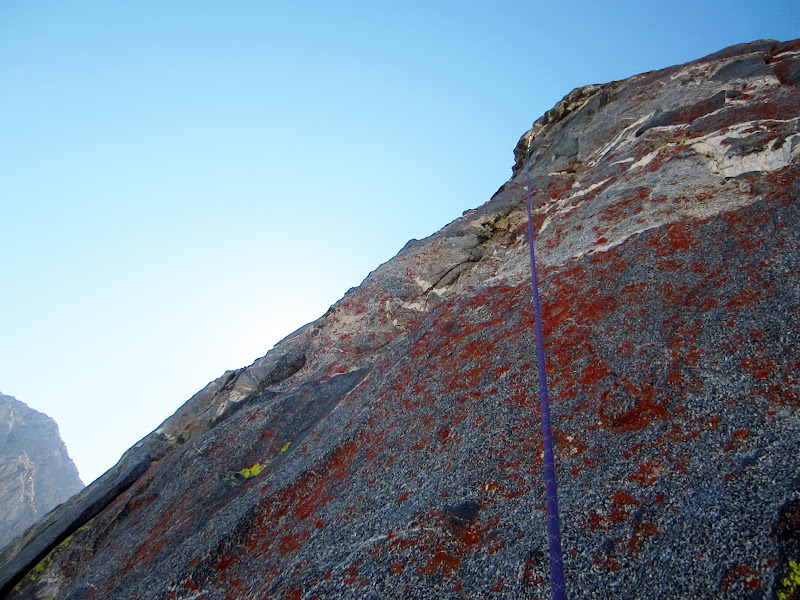
Following P3. A 5.8 traverse leads to a 5.8 corner & roof and then a tough 5.10a finger crack in a corner.
I followed the short 5.8 face traverse to a nice corner.

Visit on ggpht.com
Following P3 at the 5.8 corner. The 5.8 roof is far above, and requires a reachy, awkward traverse-undercling left to bypass.
The roof at the top was entertaining. It looked harder to bypass than it turned out to be. The 5.9 corner after was a surprise though! Because we had brought a light rack, Tony had already used the only cam size that would protect this, so he had to use a nut in the parallel crack. The crack was so thin I could barely shove my fingertips in to the first knuckle and the moves were reach and physical to reach the next few jams were I could get my fingers in. Tony's hands are smaller than mine, and he had the same problem. Croft's topo rates this 5.10a and I'd say that is more accurate than Moynier & Fiddler's 5.9 rating.

Visit on ggpht.com
Following P3, where the 5.10a finger crack has eased up to 5.8ish hands.
I took off on the next pitch of wandering 5.7 that was slightly loose. We hoped to maybe start simul-climbing the route at this point.
Visit on ggpht.com
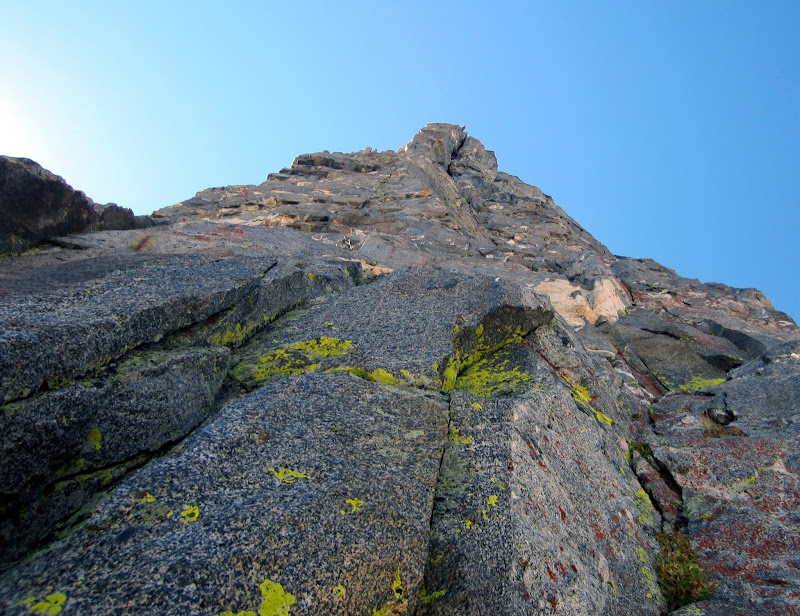
Leading wandering P4 (5.7). This pitch zigzags a lot, going far left, then far right before entering the shallow corner above leading to The Gash.
Visit on ggpht.com
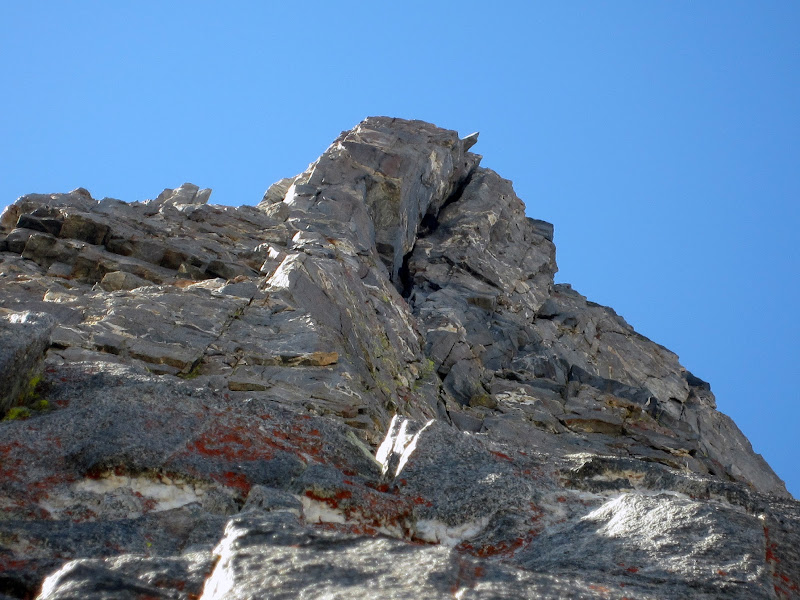
The Gash of P5. That 5.8 chimney is really cool.
Visit on ggpht.com
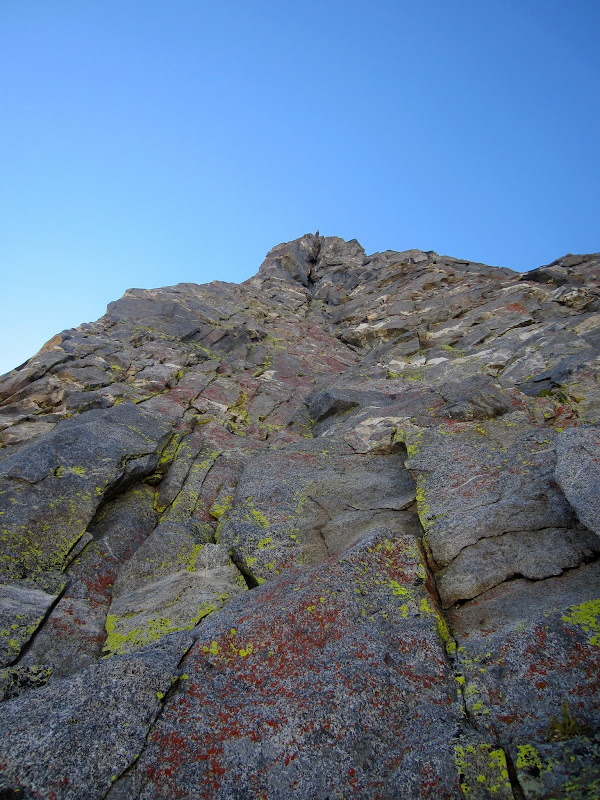
In the shallow corner leading to the P5 chimney.
Unfortunately rope drag got to bad just before I reached the short 5.8 rooflet, so I had to stop and belay Tony up. I think we would have avoided this if we had halved the rope for this pitch. My penalty for stopping short was missing out on the neat chimney pitch, as Tony sped by and launched up the next pitch.
Visit on ggpht.com
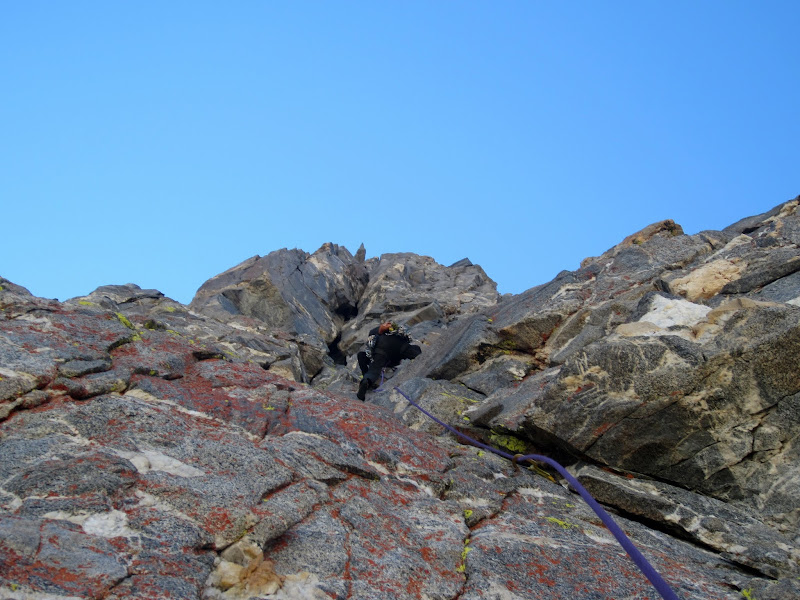
Tony leading P5, shortly after the strange 5.8 roof where one steps under and left.
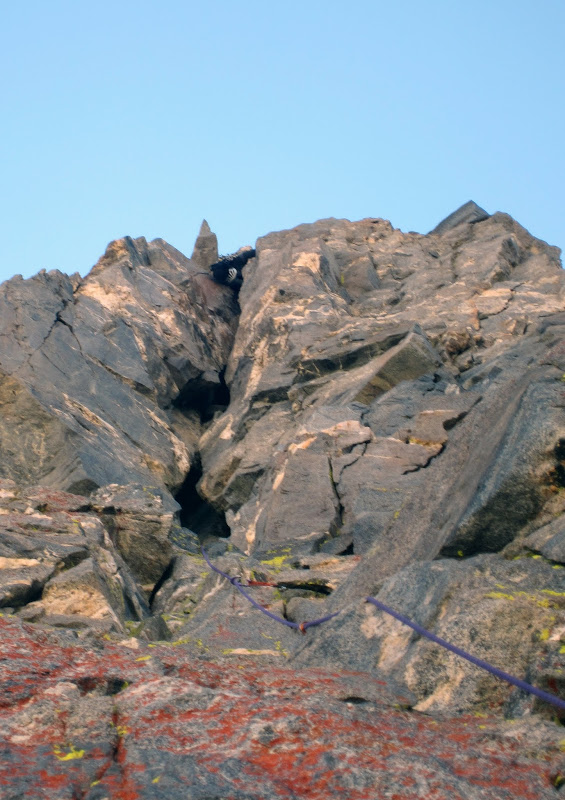
I saw the chimney noted in the topo, but I had no idea how cool it would be. There was a funny moment when Tony crawled inside and shouted out to me, asking if he should go left or right. Whaat? I couldn't quite picture what he meant by that, and the topo didn't give any indication of there being a choice. Tony searched around and decided to go right. He trailed his pack and popped back outside the chimney, offwidthing and stemming the final exposed section to a good belay ledge, where drag stopped him and he belayed me up.
Visit on ggpht.com
Tony exiting the P5 chimney. It gets exposed when you squeeze back outside!
My pack was a bit larger and I couldn't even get inside the chimney with it, so I trailed it from the start.
Visit on ggpht.com
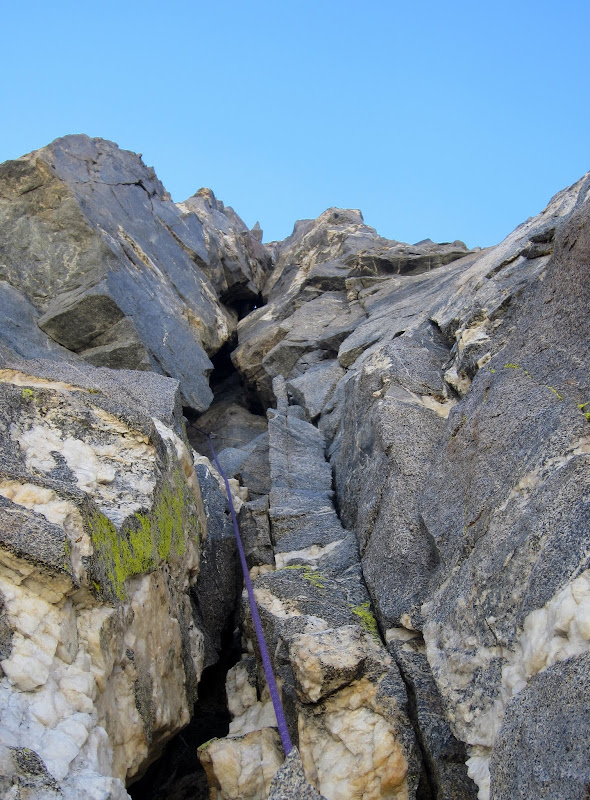
Reaching the P5 chimney. Time to trail the pack and crawl inside.
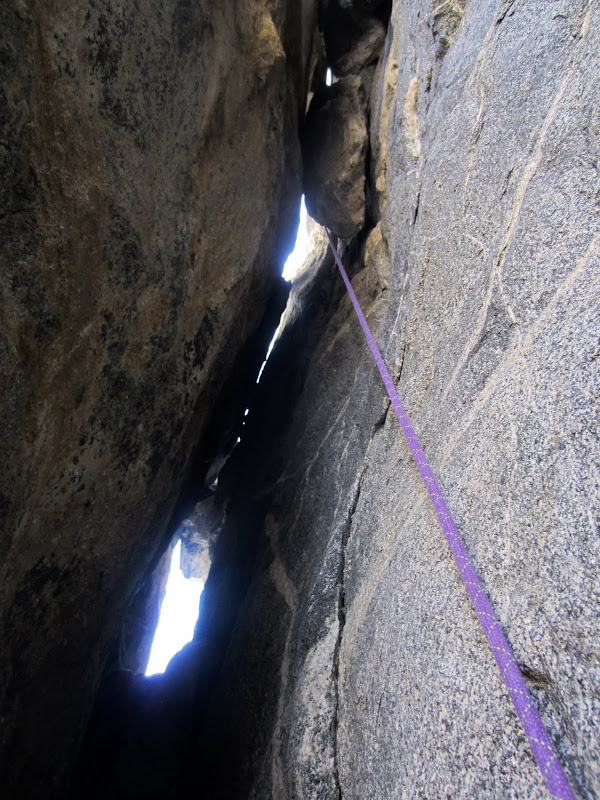
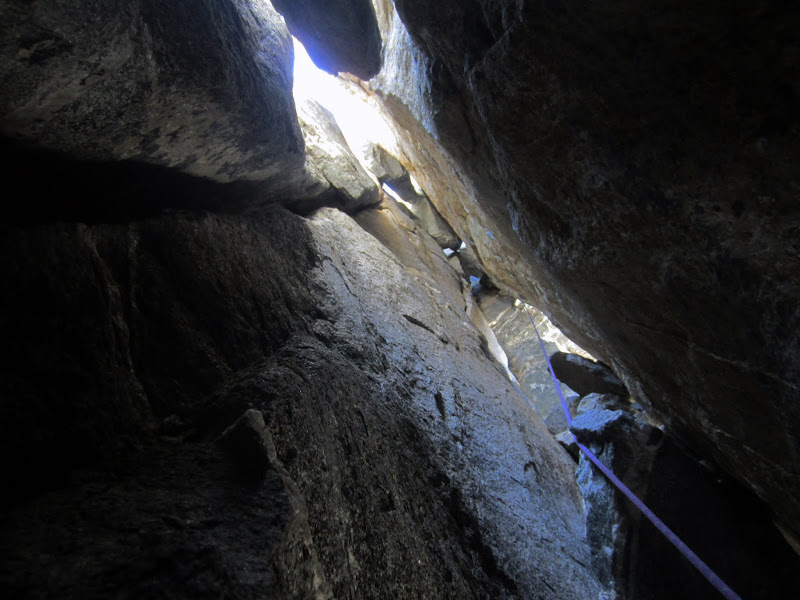
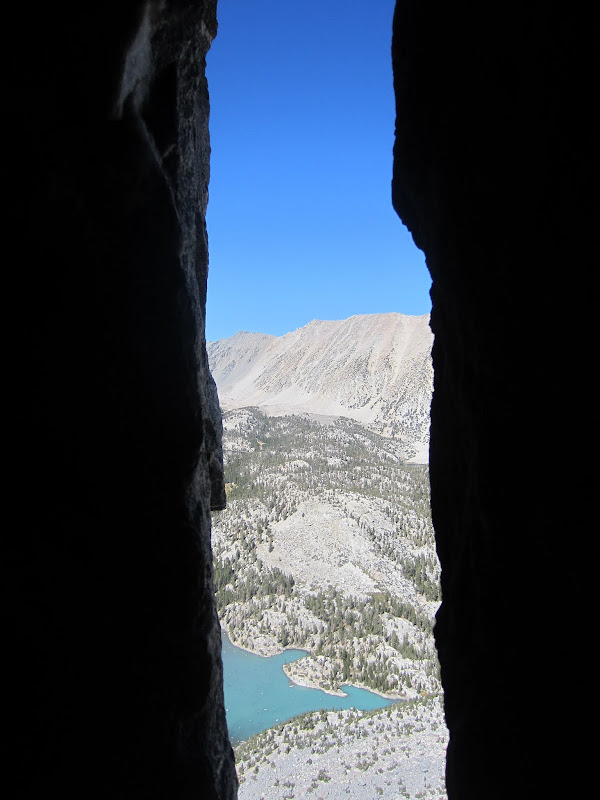
Really the Gash is less of a crack and more of a gap between a pillar and the rest of the Lower Buttress, capped with chockstones. So one could tunnel through the feature, or climb up and exit back out right.
Visit on ggpht.com
Inside the P5 chimney.
Visit on ggpht.com
Climbing inside the Lower Buttress of Dark Star on the P5 chimney. Make sure to exit right.
Visit on ggpht.com
Looking out from the P5 chimney. This section was too tight for my torso to squeeze through.
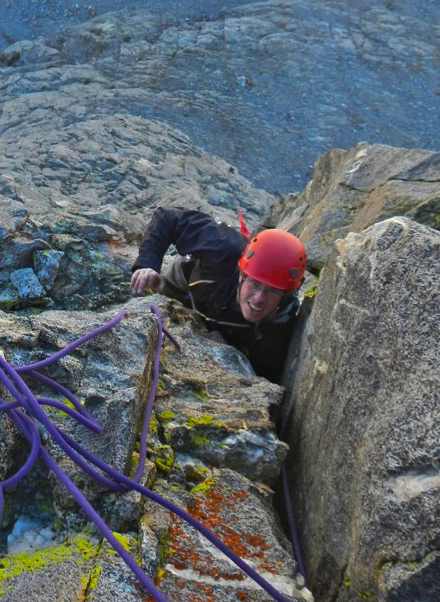
The chimney is rated 5.8 in the topo, but really, by Valley standards it was mostly 5.6 and somewhat 5.7ish at the end. Then end gets exposed where you are forced out of the chimney, but if you keep your body pasted in the crack above and climb it like an offwidth, it's pretty secure and not too hard.
Visit on googleusercontent.com
Finishing the P5 chimney. I'm trailing my pack here. (by Tony Nguyen)

Visit on googleusercontent.com
Tony atop P5 and most of the hard climbing on the route.(by Tony Nguyen)
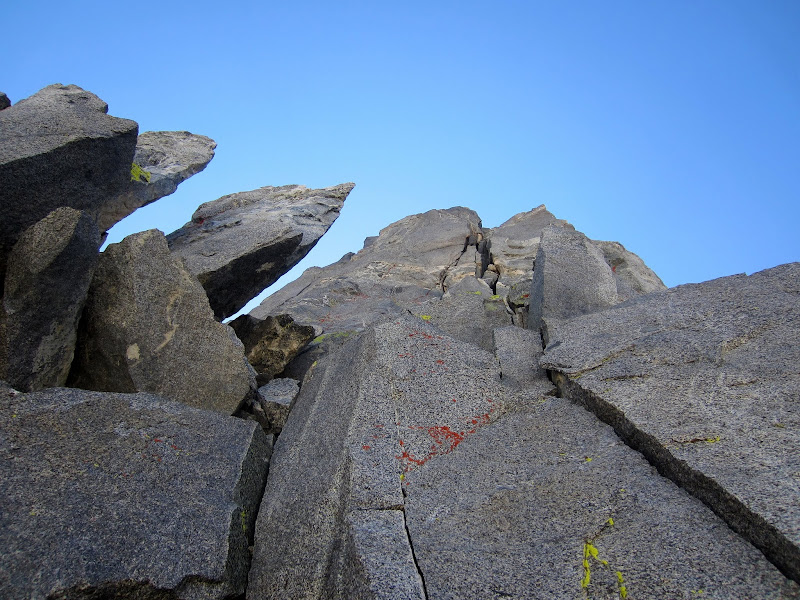
From here I started out leading again, and this time we were finally able to get simul-climbing. The next section was rated 5.8, but I'd call it 5.7 with loose blocks that require some delicacy.
Visit on ggpht.com
P6 5.8 cracks. These weren't too hard but you had to take care of loose blocks in the cracks. The terrain quickly eased up after this as we crested the headwall of the Lower Buttress.
The terrain eased considerably and we made quick time climbing over the top of the Lower Buttress and to the base of the Middle Buttress.
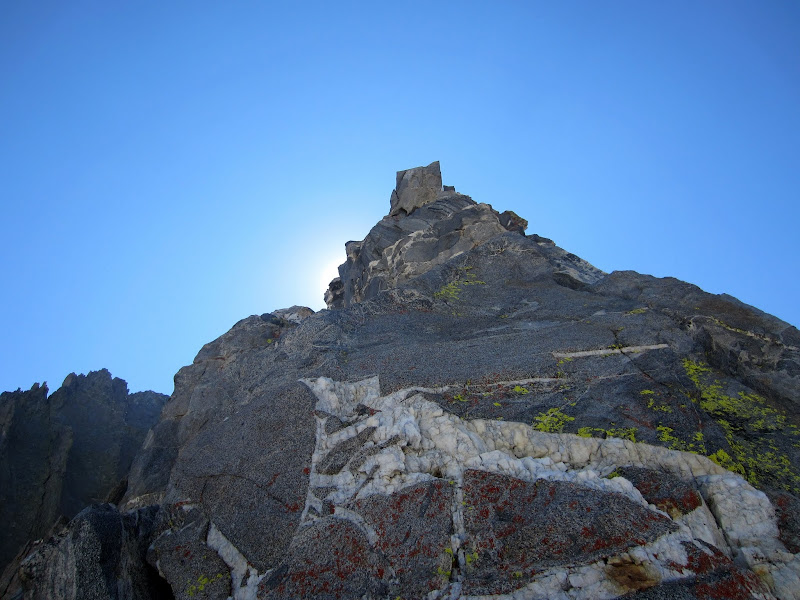
Visit on ggpht.com
P6 easy cl. 4-5 on the ridge crest of the Lower Buttress.
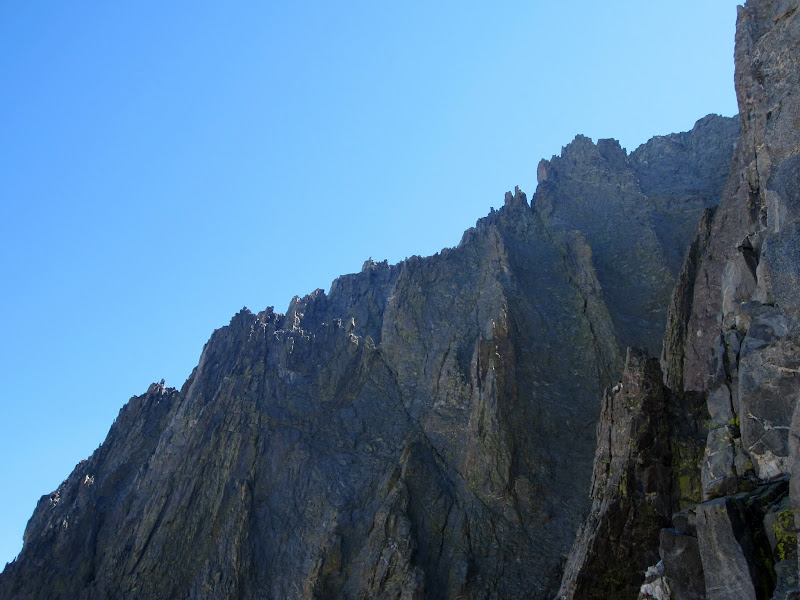
Visit on ggpht.com
Celestial Aretes from Dark Star.
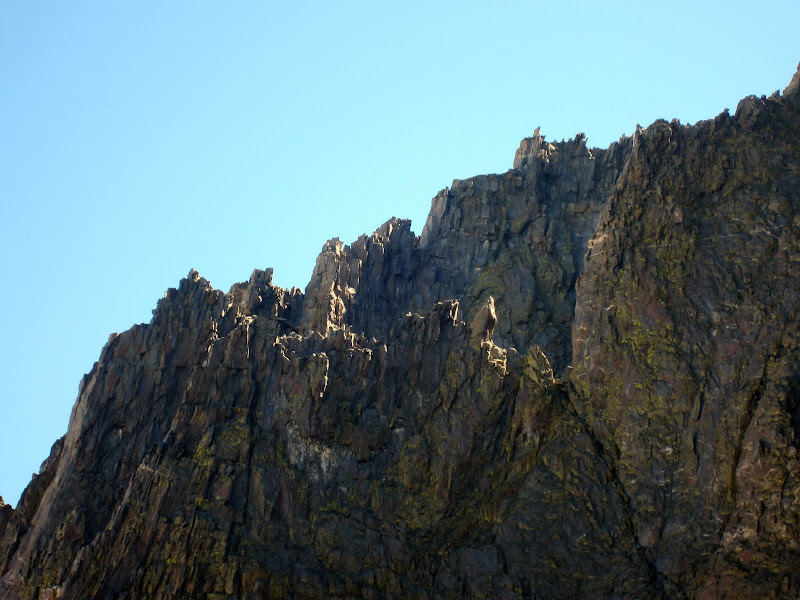
Visit on ggpht.com
Sun Ribbon Arete crux area from Dark Star's Lower Buttress crest.
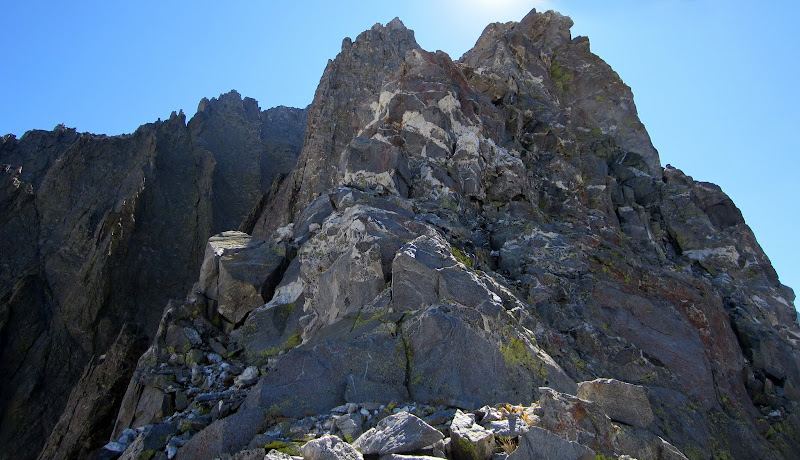
Visit on ggpht.com
Simul climbing the crest of the Lower Buttress.
Most of the terrain after the 5.7-5.8 cracks above the chimney was really easy. Really, shortly after the 5.8 cracks it might be better to just solo as exposure decreases and terrain becomes mostly class 2.
The Middle Buttress
Visit on ggpht.com
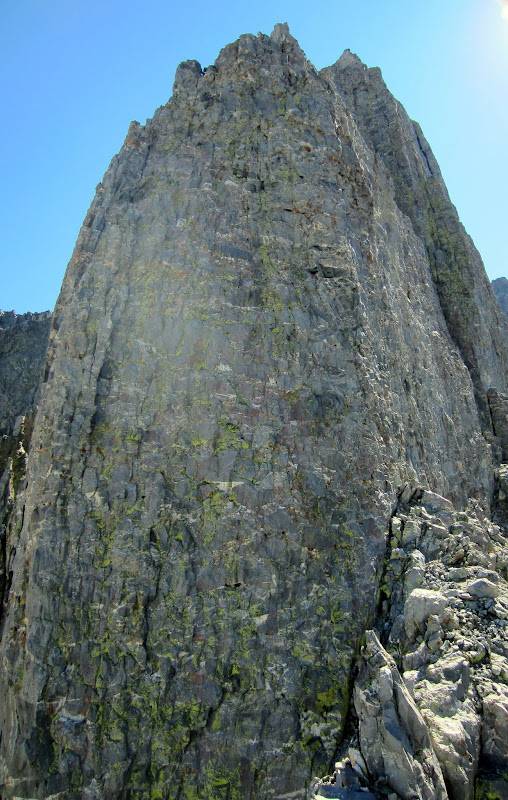
The Middle Buttress seen from across the gap.
Visit on ggpht.com
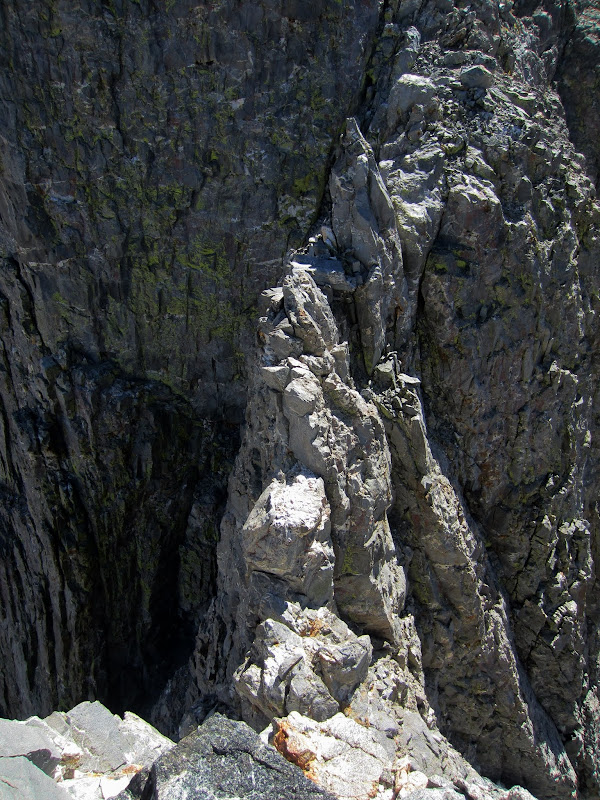
The gap crossed to access the Middle Buttress. A rope is nice here since it is loose and exposed, but it is really easier than it looks.
Visit on ggpht.com
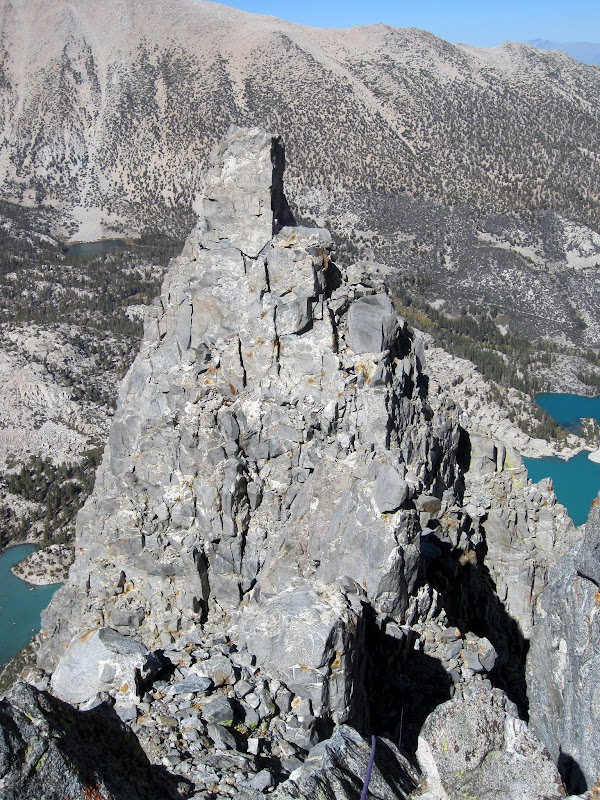
Looking back at Tony atop the Lower Buttress.
At the base of the Middle Buttress is a nice sandy ledge. We took a lunch break here and began to relax. According to the topo it seemed like we were pretty far along and that most of the terrain ahead would be trivial. We thought we were ahead of schedule.
The Phantom Pitch
So my take on this pitch after looking at several topos and numerous accounts, is that everyone seems to go a different way. This is understandable as the pitch up from the notch has very few identifiable features. It is mostly a sea of steep rock with small cracks, corners, and bulges everywhere. We couldn't see anything 'roof-like', but Tony took off up what looked like the best line.
Tony linked the next two pitches in a great lead. The terrain was really steep and slightly runout and once again was mostly sport-like face climbing rather than jamming cracks. Supposedly P10 was 5.6 turning to 5.7 and P11 had a 5.10a roof. I guess we took the wrong line as P10 felt like 5.8 right off the ledge, had sparse pro, no wide crack (indicated in the topo) and there was a 5.10a/b-ish crux, but there was nothing roof-like encountered. The crux, at the end, was more like a shallow corner passing through a very steep, almost overhanging face section, split by a strange finger crack that you could sort of jam, but not really.

Visit on ggpht.com
Tony leading P10-P11. We never found the 5.6-5.7 terrain of P10, and we never found the 5.7 wide or 5.10a roof of P11. We did find pretty sustained face climbing with semi-runout pro! Crux felt about 5.10ish face & fingers. This also has some loose bits and the belayer is in the line of fire (yikes!).
Visit on ggpht.com
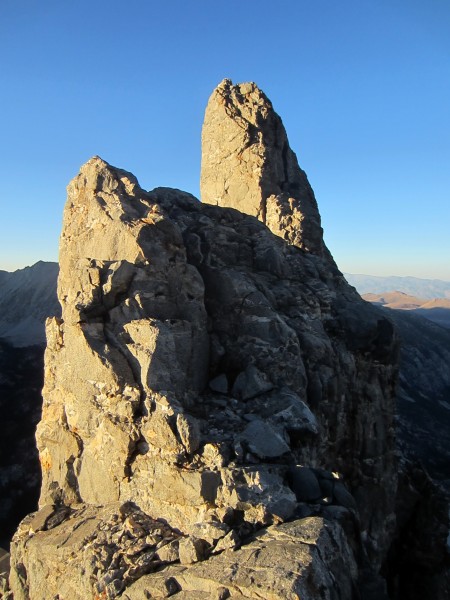
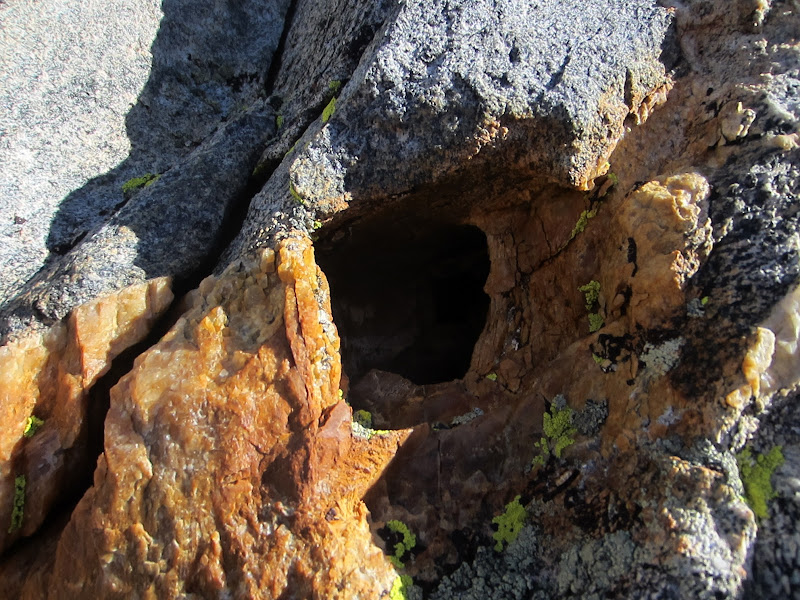
Eroded dike pocket on Dark Star. Perhaps the reason for the route name? There were a lot of these on the middle buttress, ranging from small finger pockets to fist pockets like this one.
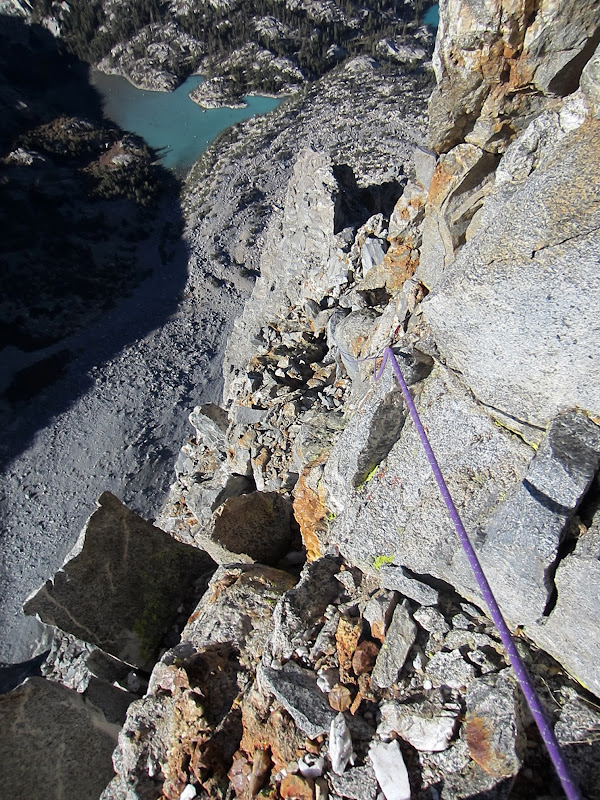
I led out on the next pitch to resume simul-climbing. We expected to simul the rest of the route unless we felt like doing the 5.10a finish variation. The climbing started off very loose, so I traversed a lot on the beginning so that if I knocked any rocks down they would be less likely to land on the rope or Tony.
Visit on ggpht.com
Leading P12, loose junky 5th class. Take care not to knock blocks onto your belayer.
The rock got better and the terrain eases. However, we found 70m was too long to simul with and should have halved the rope to 35m, so we stopped several times unnecessarily due to rope drag before we made the switch. Very little pro besides natural running pro is needed from here on out.
Visit on ggpht.com
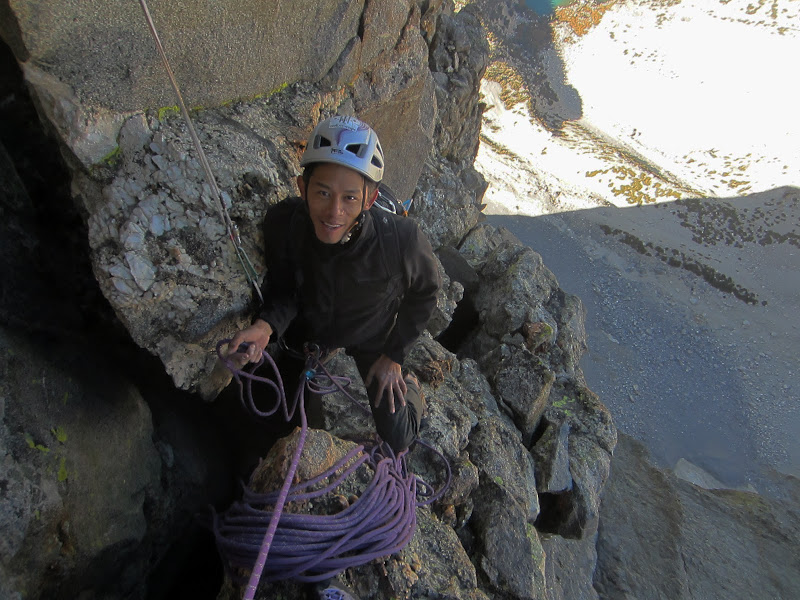
Tony on a belay atop the Middle Buttress.
We thought we were nearing Sandy Gap, beyond the Middle Buttress, but each time I climbed over or around a tower, there was another tower above me.

Visit on ggpht.com
Another tower on the Middle Buttress.
Visit on ggpht.com
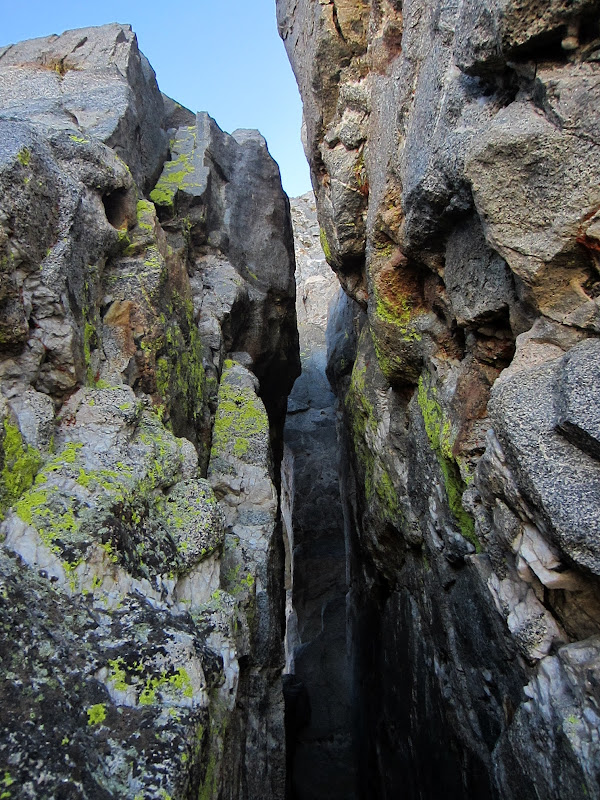
Chimney cutting through a tower on the Middle Buttress.
Visit on ggpht.com
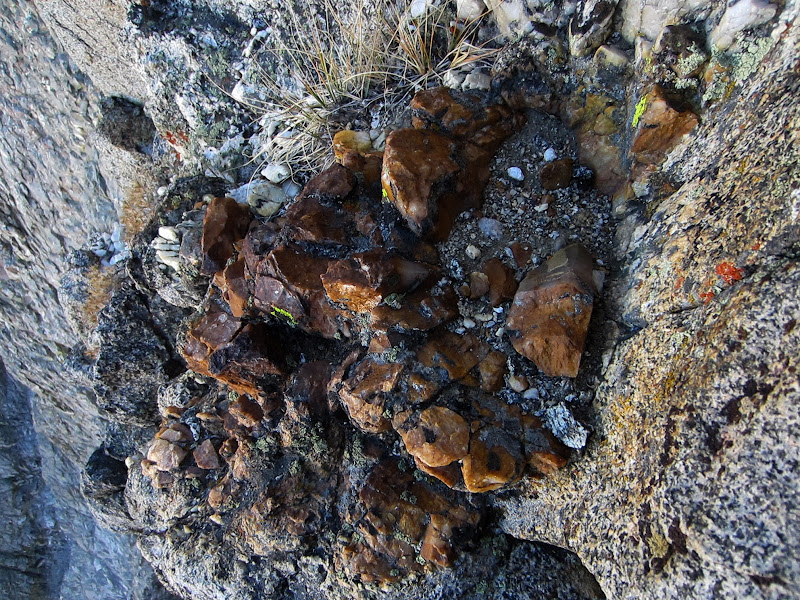
Dark Star brown rock.
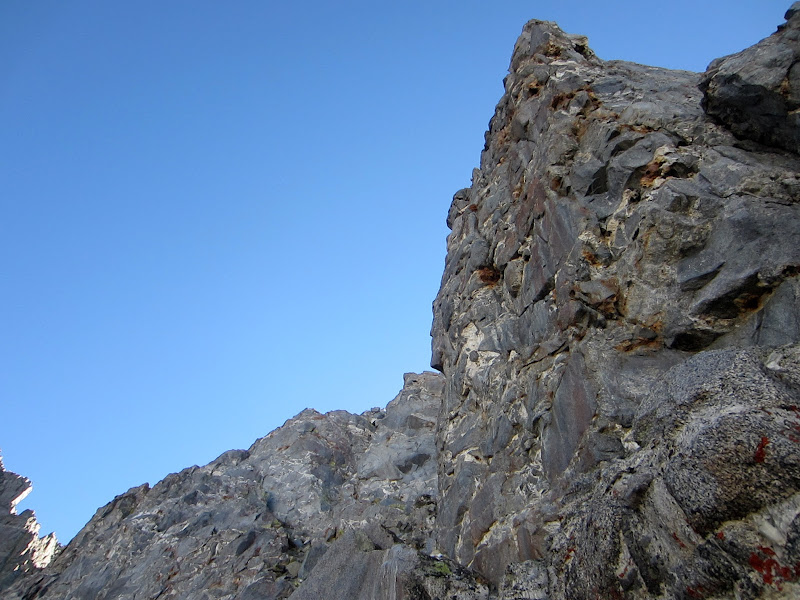
Visit on ggpht.com
Yet another tower on the Middle Buttress.
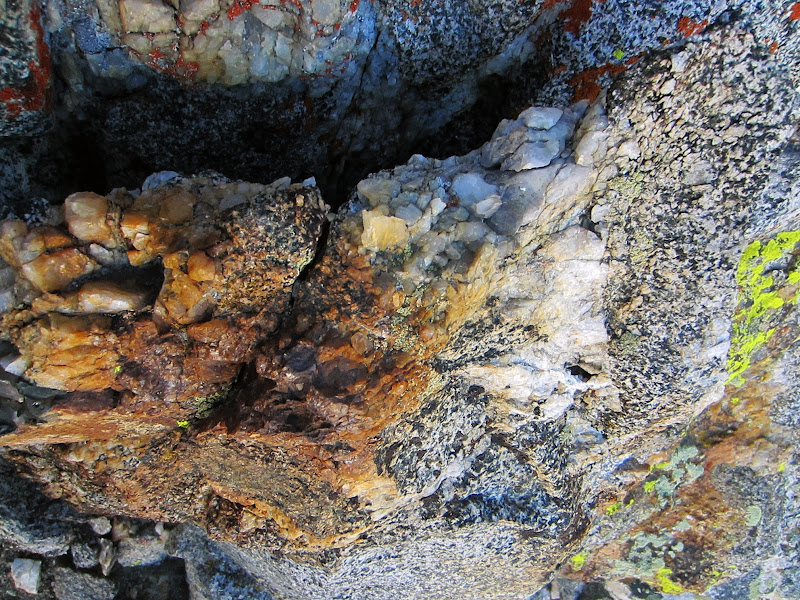
Visit on ggpht.com
Dark Star rock.
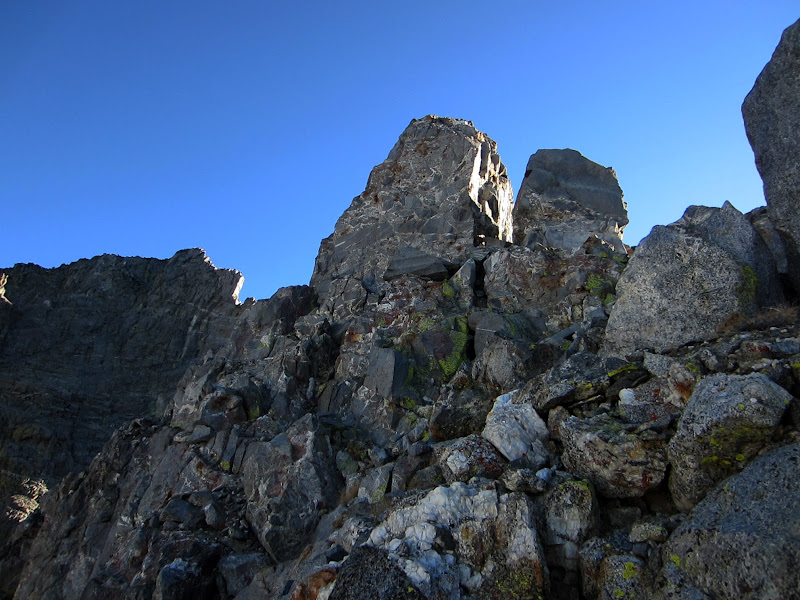
Visit on ggpht.com
Even more towers on the Middle Buttress. Where is the Sandy Gap?
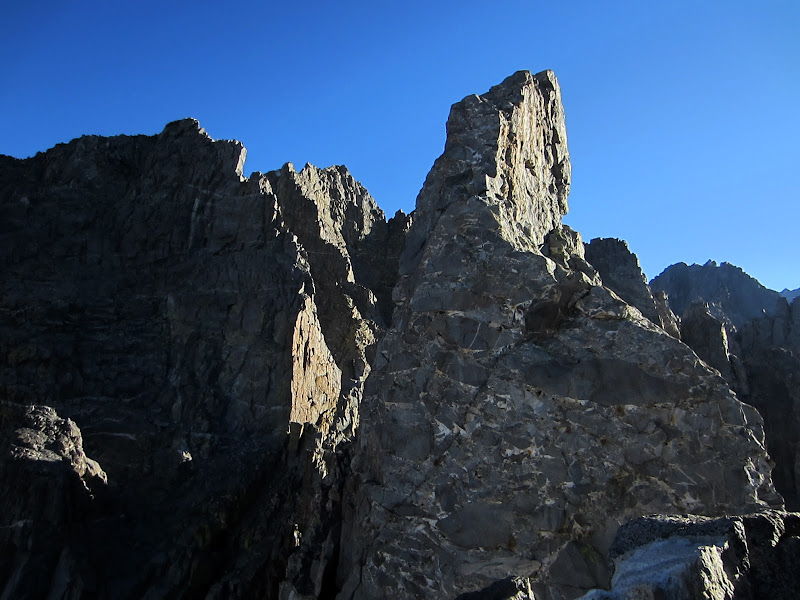
Visit on ggpht.com
Even more towers on the Middle Buttress. This is at the first rappel, which can easily be downclimbed with some creative routefinding.
Now we were beginning to get concerned as the sun was getting pretty far to the West, and while the topo made the Middle Buttress look small, it was taking a lot longer to get over than the Lower Buttress.
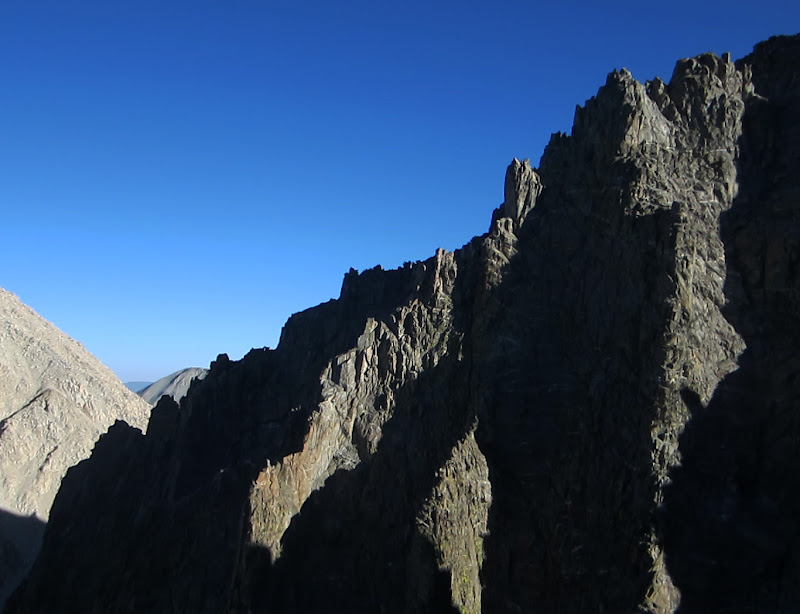
Visit on ggpht.com
Celestial Aretes from the Middle Buttress rappels on Dark Star.
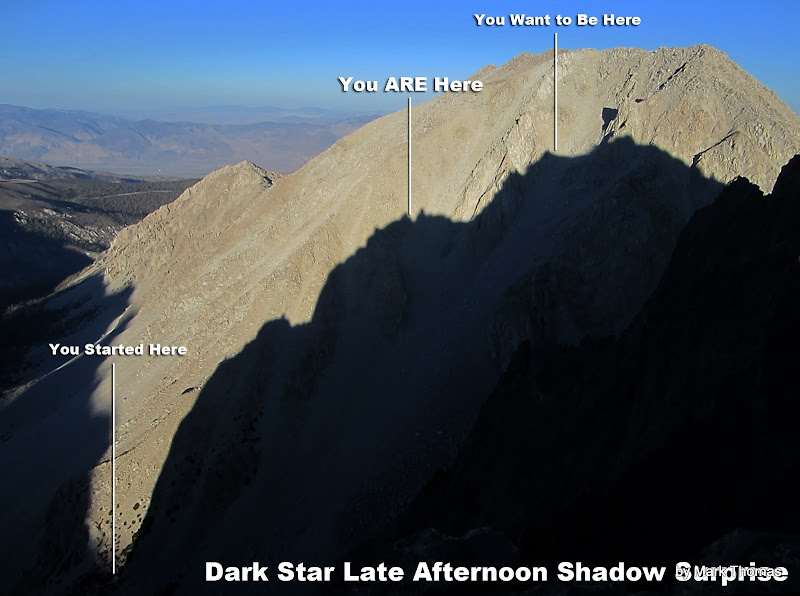
Suddenly I reached a large notch and some rappel slings. I didn't want to take the time to stop and do a rappel, so I looked around and found a class 4 way down to the notch. Rope drag stopped me here, though, so I belayed Tony in. As I took in slack I noticed Dark Star's profile being cast upon Mt. Alice, and I could identify the large notch that I must have been at. It was not encouraging to see how much farther we had to go to finish the ridge!
Visit on googleusercontent.com
Orienting ourselves on the ridge with the shadow of Dark Star. We are at the notch between the two little towers on the Middle Buttress. It's getting late and we have a ways to go! Time to speed up . .
Visit on ggpht.com
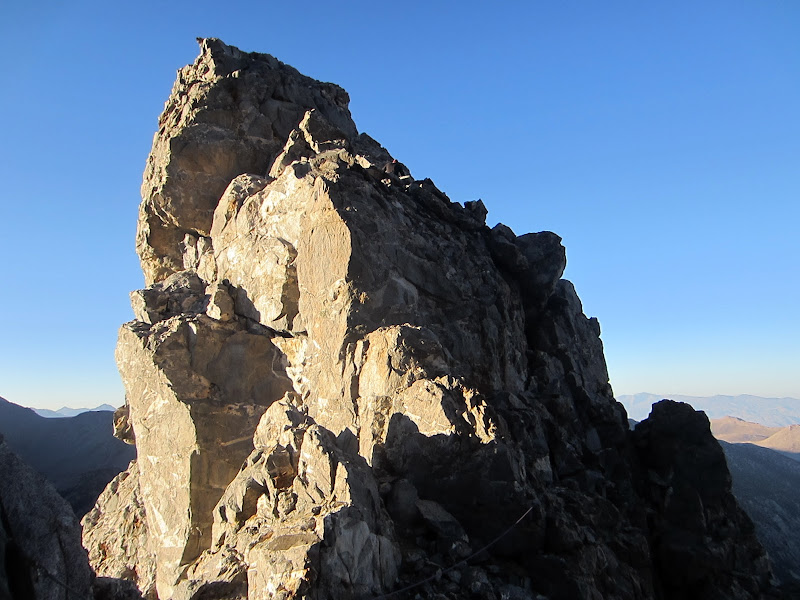
Looking back at one of the towers on the Middle Buttress.
Visit on ggpht.com
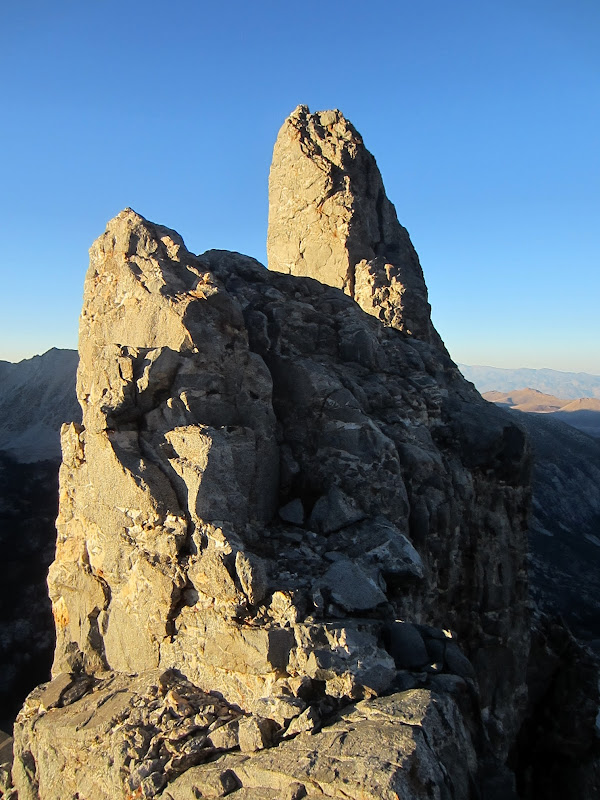
Looking back at some of the towers on the Middle Buttress.
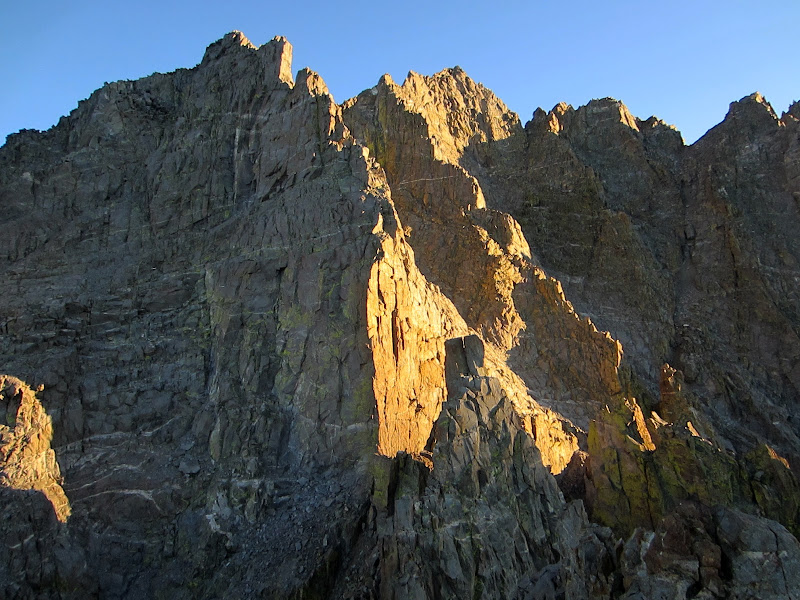
At last we reached a view of the Upper Buttress. The view ahead was not encouraging, as it looked far away and the ridge became a lot more narrow and rugged. At last Dark Star was starting to seem more like Sun Ribbon Arete.
Visit on ggpht.com
The day is ending, but Dark Star isn't!
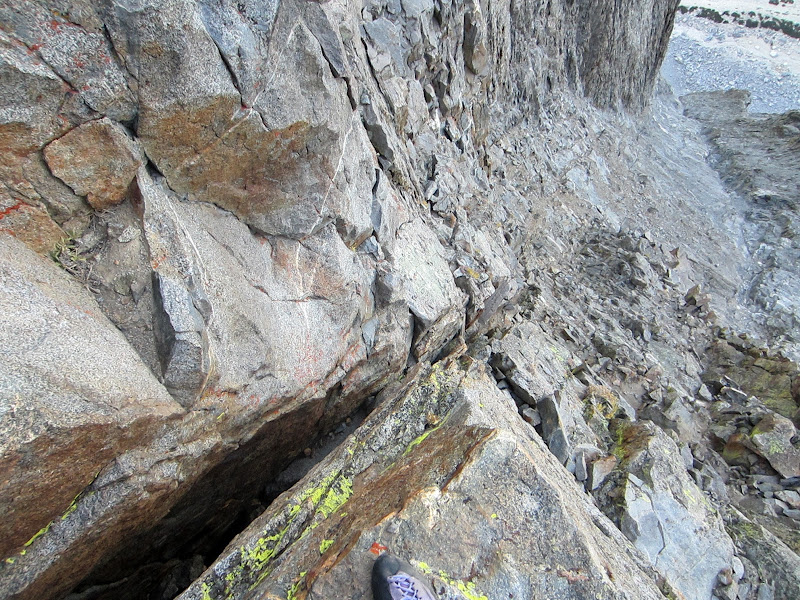
This final section took some time to cross. Up, over, around and through the various towers, I picked my way along the ridge. I came across a few more rappel stations, but at each one I could pick out a reasonable downclimb, so we continued simul-climbing.
Visit on ggpht.com
Downclimbing another tower as the Middle Buttress steps down to Sandy Notch.
Visit on ggpht.com
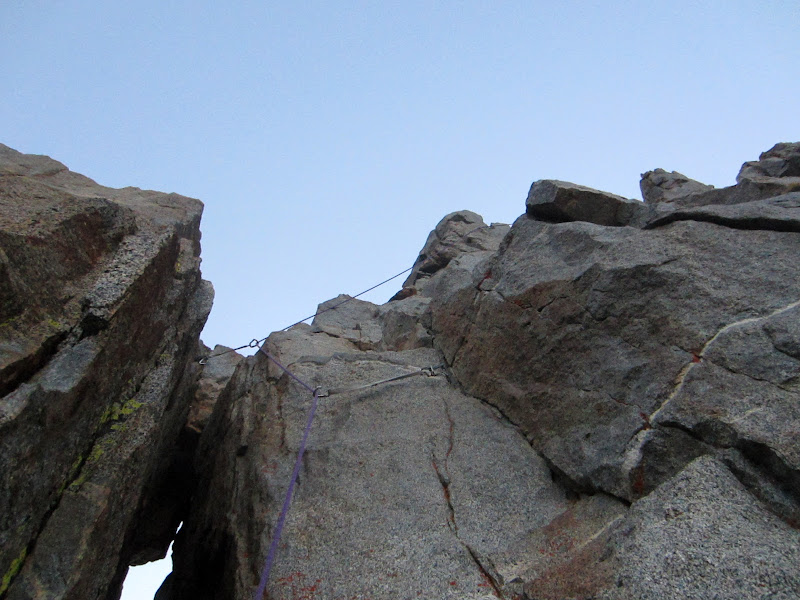
The second major downclimb as we simul climbed.
Visit on ggpht.com
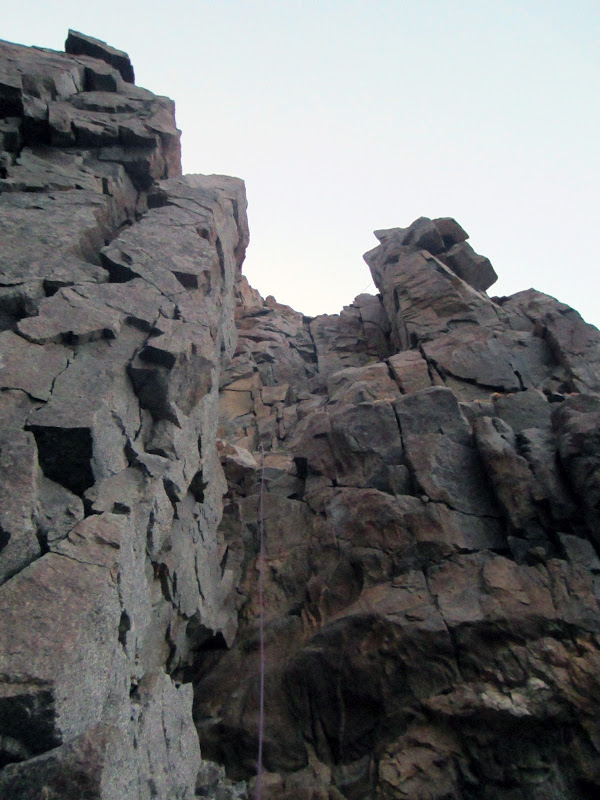
The third major downclimb as we simul climbed. This section was navigated by a sort of corkscrew path.
The third major downclimb took us off the ridge and into the gully to the left of the ridge crest. The Sandy Notch was nowhere in sight, just sandy sloping slabs and ledges in the gully. This also reminded me of the lousy end of Sun Ribbon Arete. It seems anticlimactic to finish a spectacular knife edge ridge climb by scrambling up an easy gully, but it felt so contrived to get back onto the remaining ridge crest, and having climbed so many pitches to reach this point I suspect most climbers lose the motivation to do so.
Due to darkness, we decided to just get the route over with so we finished by climbing up the cliffs to the left of the final ridge after reaching the major notch in the ridge between the Middle and Upper buttresses.
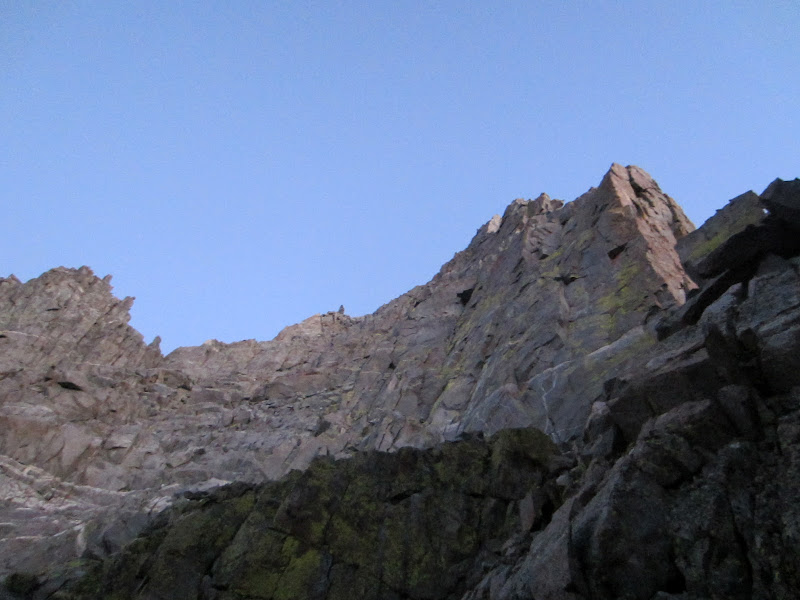
Visit on ggpht.com
The final bowl to finish as it got dark. The topo indicated it to be cl. 3, but the final bit of simul climbing was definitely in 5th class terrain, perhaps up to 5.7ish. We did the last 200 ft in the dark by headlamp.
We donned our headlamps about 100' below the top, and finished on some low 5th class terrain. Most of the finish was class 2 with bits of class 3. Although it was dark when we topped out, we were merely 100 ft away from our camp. Not too bad there!
October 1 - Lazy Summit and Hike Out
Apparently the climb took more out of us than we had realized. We slept in the next morning! In order to traverse to Gayley with overnight packs and the amount of water we had with us, we should have at least gone a bit beyond the summit on the Dark Star day and then left early today. Oh well, I guess the traverse will have to wait for another day :-)
We ate a leisurely breakfast, visited the summit, and had a relaxed hike out and drive home.

Visit on googleusercontent.com
On the exposed downclimb from the summit of Temple Crag in the morning, complete with mad scientist bed head. Dark Star is behind. (by Tony Nguyen)
Visit on ggpht.com
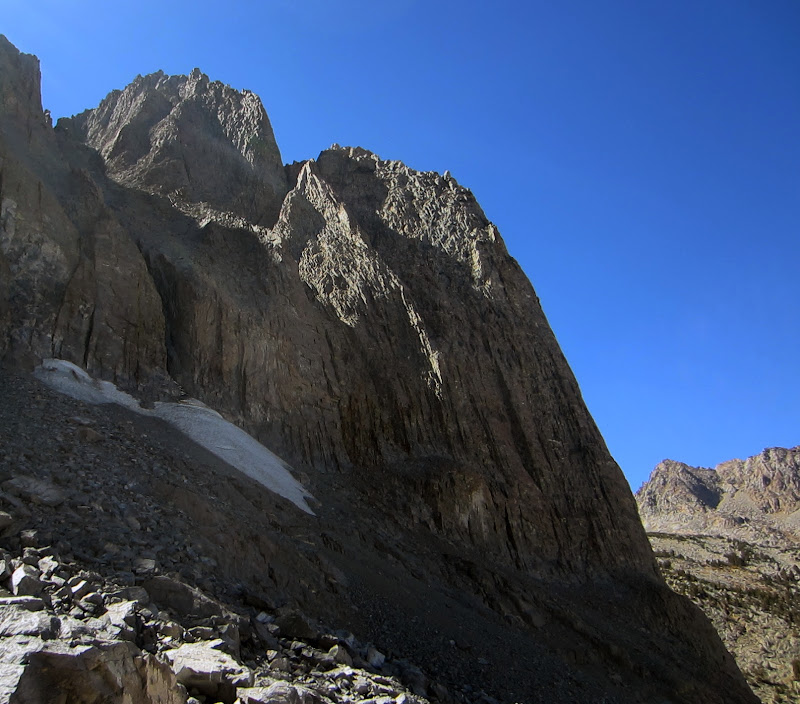
Dark Star's Lower and Middle Buttresses seen on the descent.
Visit on ggpht.com
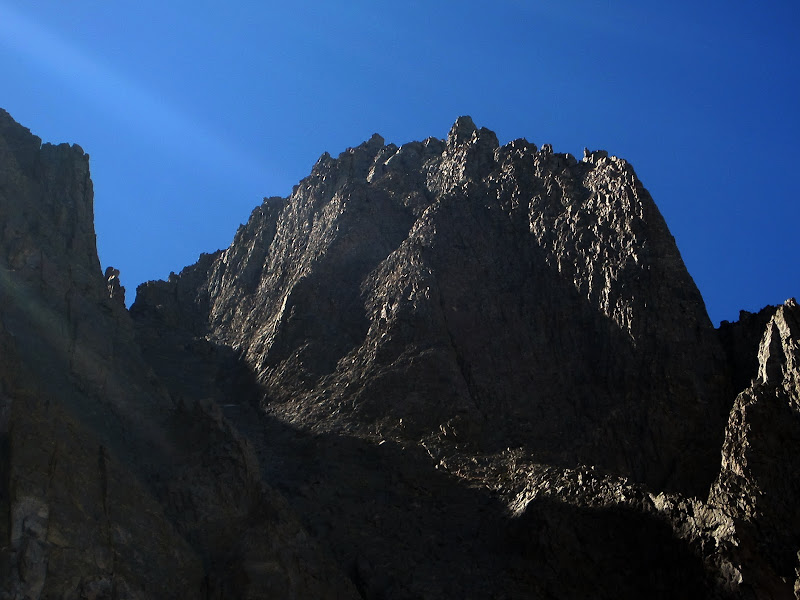
Dark Star's Middle Buttresses, lined with endless towers and a tricky downclimb on the backside,
Visit on ggpht.com
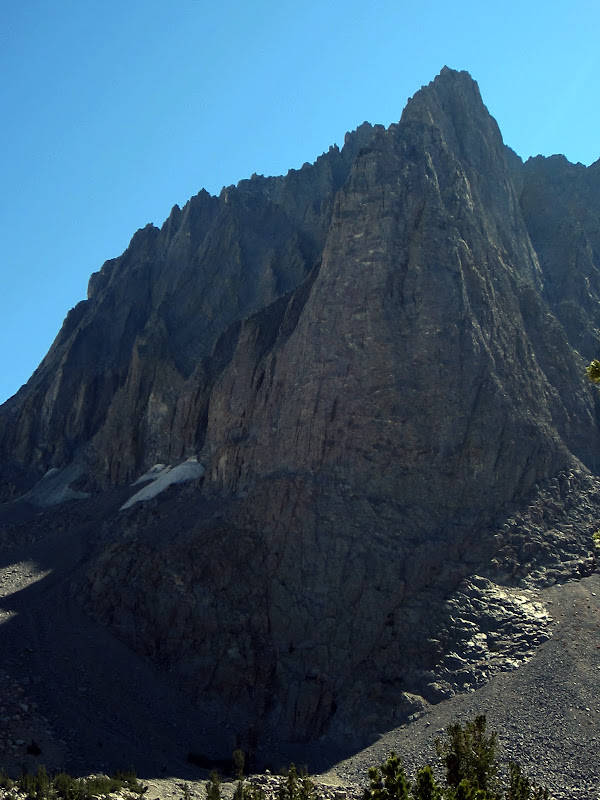
Dark Star's Lower Buttress seen on the descent. We climbed from the absolute low point to the top, and beyond!
Tony and I had been e-mailing back and forth all summer with plans to climb together, but interests or timing had never quite seemed to pan out. This trip came together at the last minute and it worked out great! I'm looking forward to the next alpine outing that we can do together.
Notes
We brought cams up to a #3, mostly singles but doubles in a few sizes, especially in the smaller range. Tony is a strong climber and didn't mind running things out, so if I had been leading I probably would have taken a larger rack, but still mostly bringing extras in the small cams range.
The Lower Buttress is in the shade most of the day. Perhaps in summer days you will get a bit of sunshine, but expect shaded, cold climbing until one reached the crest of the Lower Buttress. From there the route stays mostly in the sun.
As if the Grade V designation isn't enough of a hint, this is a long route, so start early, move fast, and simul or solo most of the pitches above P3. Also, the Middle Buttress is much larger and takes more time to cross than the topos lead one to believe, so don't get casual after the Lower Buttress like we did!
When simul-climbing the Lower Buttress, shorten the rope if simul-climbing before the chimney. After the chimney, 60m is fine and you can simul to the base of the Middle Buttress (nice sunny lunch/nap bench). Shorten the rope to 30m for simul-climbing on the Middle Buttress - 60m is too long and drag will eat you up and force some belays.
The rappels can all be downclimbed at 5.6 or less, with reasonably solid rock - however routefinding to do so is tricky if you're not used to simul-climbing complex alpine ridges.
I only know of two topos for this route - the one from Moynier & Fiddler's great guidebook, "Climbing California's High Sierra: The Classic Climbs on Rock and Ice", and the one from Peter Croft's guidebook "The Good, The Great, and the Awesome". While Croft's topo is less detailed and clean, I'd say it is the more accurate and informative topo and does not mislead one into thinking the simul-climbing distances are shorter than they are. We didn't bring that one along but looking at it after the climb, I wish we had!
Looking on SuperTopo, it appears that Chris McNamara and Brock Wagstaff have basically combined and improved upon these two topos. So the best and most complete one I've seen is found at the link below:
(Dark Star Topo)
Only suggestion is on P14, you can also go left of the crest on cl. 3-5, and it misses the 5.10 & 5.8 variations that finish on the upper buttress. Also, I thought P2 was harder than 5.8 (maybe because my hands were cold and I was tired from the long pitch?), P7 was easier than 5.8, and on P6, climbing out on the face is optional and for knowing the technique the chimney was more like 5.6-5.7, including the finish if you stay in the crack.
