I prepped myself for leading all of the cruxy wide on this climb by sleeping 3 hours, puking up breakfast on the RR of Sunnyside Bench (off-route, don't worry), then eating only 400 calories for the day. Fortunately, like saving the star player for the final inning, while I led the earlier wide pitches that Nic was not happy to lead, Nic finished off by leading the face & rotten pitches I was not happy to lead. All in all, 21 hours car-to-car, so it was either that long, or we were that slow. Either way, we had fun.
Or in a more refined way to put it . . .
YPB, a Yosemite Classic, or Classic Yosemite? I'd say neither, and both. In a way it is classic, but it is NOT a Type I Fun sort of classic that people are accustomed to in Yosemite. There are some brushy sections, and a lot of the rock is loose or exfoliating. It also lacks the elegance of many of the lines in Yosemite, making the routefinding very difficult and the route much more reminiscent of an alpine climb (I have never climbed such an indirect 'direct' variation). However, there are some stellar pitches, the views from the route are wonderful, and it is a good looong rock climb. The approach is also not to be underestimated involves a lot of hiking, cross-country travel, and scrambling or simul-climbing just to reach the base of the first pitch, nearly 2,000 ft above the Valley floor. However, it is Classic Yosemite in that it has lots of burly wide climbing, stout face climbing, some incredible hand cracks, and huge exposure at the end.
I would like to give special thank to Clint Cummins for helping me figure out this route when I was attempting to match the Reid topo to the terrain from recon photos I had taken. Without such help we surely would have gotten even more lost and spent more time climbing in the dark!
Standard Wombat Warning applies to this trip report. For those that want to keep the route mysterious, don't read any further!
I first became intrigued with the route when I stumbled across the topo in the Reid guide. Looking around online, including the SuperTopo forums, I became more interested in the route, but information on the route was still vague. So heading in to this climb, there was still a lot of mystery surrounding the route.

Visit on googleusercontent.com
Yosemite Point Buttress area from Pharoahs Beard Area.
[Click to View Linked Image]
Yosemite Point Buttress and Lost Arrow Spire seen from Steck-Salathe.
Visit on ggpht.com
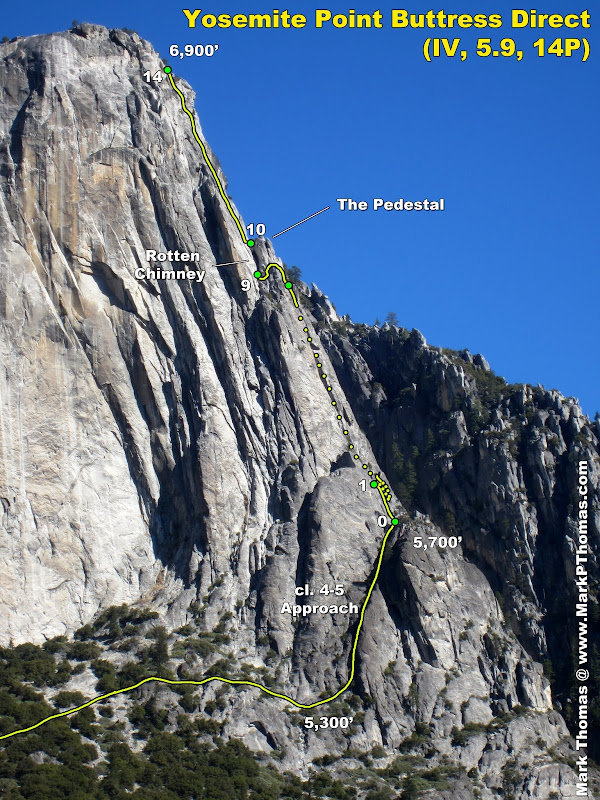
Yosemite Point Buttress from the top of Lena's Lieback
Visit on ggpht.com
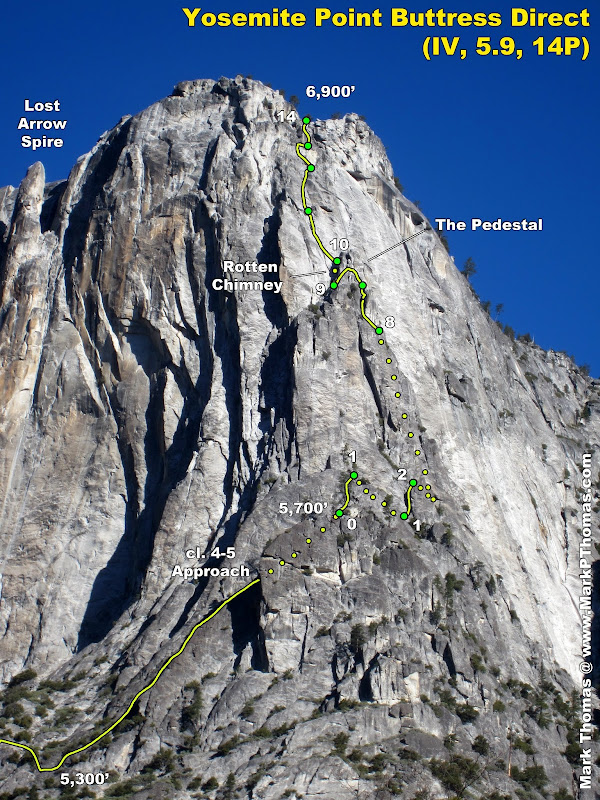
Lost Arrow Spire and Yosemite Point Buttress
Nic Risser and I were fired up and ready to go for the route in May of 2012. A few days before our climb, I received an urgent e-mail from my friend Val, asking if I had already or was about to climb YPB, and if I handn't, to e-mail her right away. Hmm, that's strange. I had never even told Val about the climb . . . Also, Val was working with the NPS for determining closures for raptor nesting, so I already knew what this must be about. I was tempted to pretend to not see the e-mail until the next week, but gave in to my conscience and responded.
Val had done a Google search for YPB, and my recon photos for figuring out the route had come up! She had also seen raptors flying right around The Pedestal. The route was slated to be closed that weekend, and we were asked to not go up, even before the closure, as the birds had been sighted. Sigh . . . I had already just lost Arch & Cookie just as I felt ready to venture there, and now this one! So Nic and I waited for Fall . . .
Visit on ggpht.com
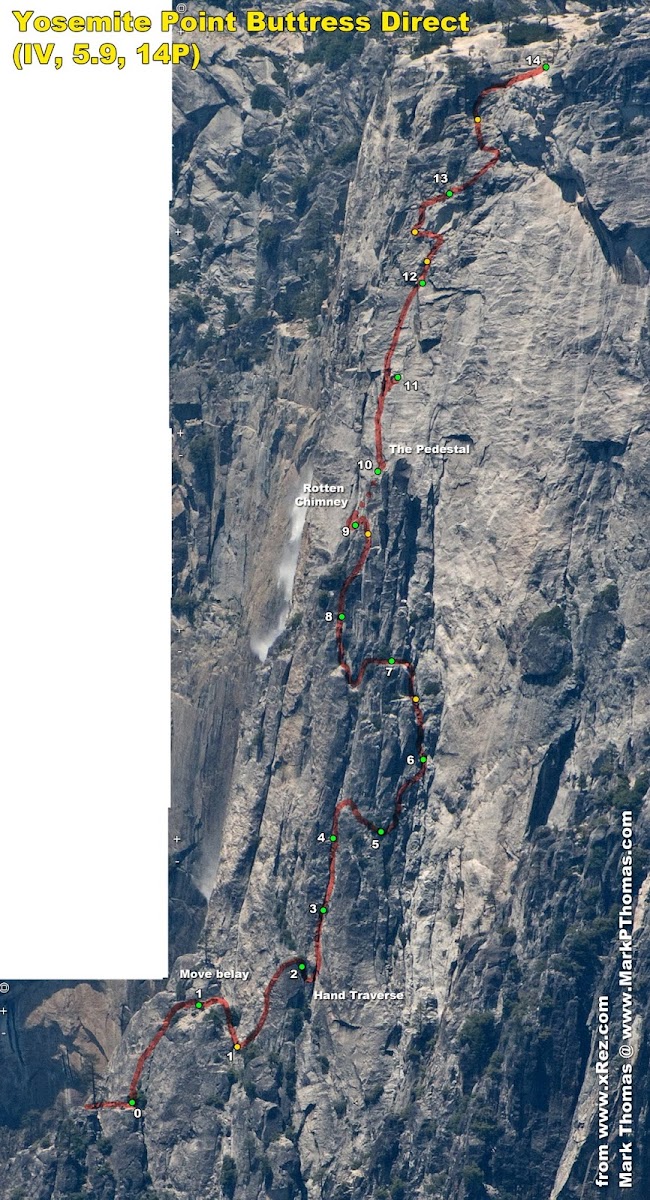
Yosemite Point Buttress as I think the Reid guide shows, seen from the East (image from www.xRez.com).
(We completely missed the last half of P13 and all of P14, so the lines for those sections are my best guess. Everything else should be pretty accurate.)

Visit on ggpht.com
Yosemite Point Buttress as I think the Reid guide shows, seen from the South (image from www.xRez.com).
Approach
At long last Fall had arrived, and mountain temptations were waning, so Nic and I headed to the Valley to give this route a go.
We started the approach at about 5am, and apart from one wrong turn in the dark, managed to pick our way to Sunnyside Bench Regular Route. We soloed most of it, but as we had never done the climb before and it was dark, we somehow got off route near the top. We belayed the final pitch, which had a piton and some bolts (? The SuperTopo topo doesn't show any!), so despite the holdup we were glad to have gotten the rope out. I wasn't feeling too hot with the Pop Tart I ate for breakfast, so my stomache jettisoned it and the pre-climb water chug at the base of this mystery pitch. Not the best way to start a long, sunny route. I learned later that I had also left most of my food for the day back in the bear box.
From atop the RR, there was a well traveled trail that ended near the waterfall at the far left edge of the ledge. It was easy enough to follow the cairns and feint climbers trail from here as we had the early morning light to see by at this point.
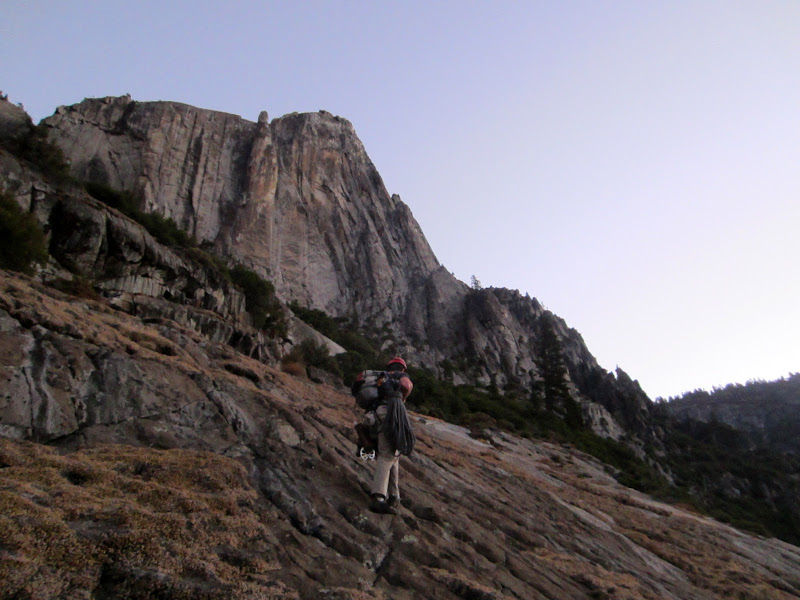
Visit on ggpht.com
Nic on top of the second tier of Sunnyside Bench on the early approach.
By this time the approach was straightforward, as there was a pretty good climbers trail and cairns marking the way. We picked our way up some cl. 3 ledges and then some cl. 3-4 grassy slabs to gain the top of the Second Tier just as the first morning light let us see see our objective.
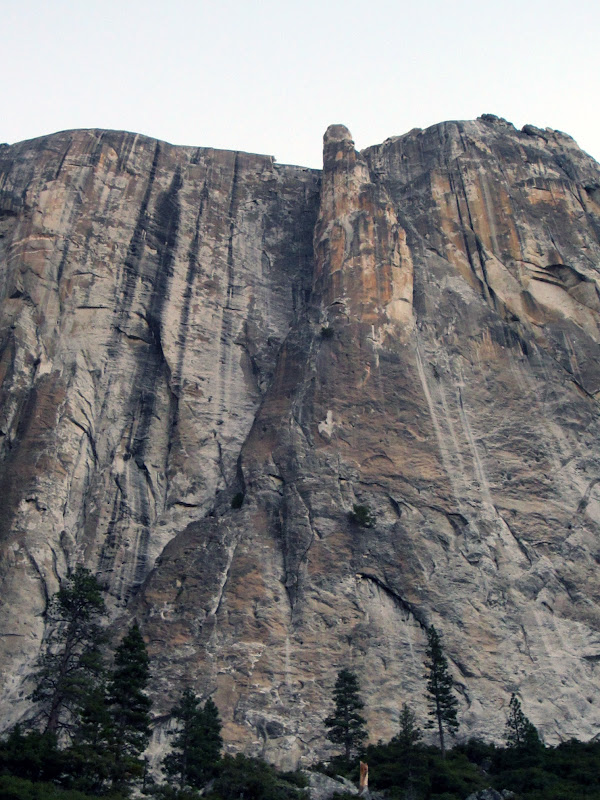
Visit on ggpht.com
Nearing Lost Arrow Spire.
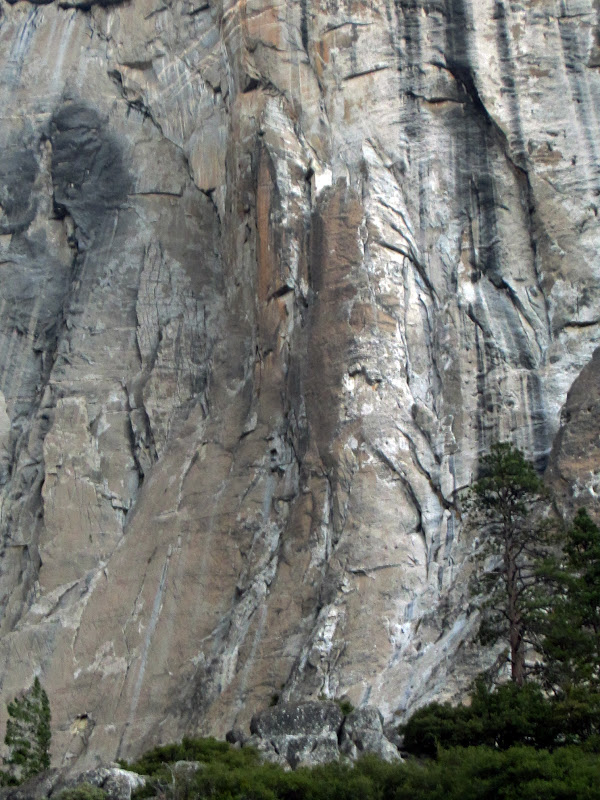
Visit on ggpht.com
Geek Towers. I want to check these out sometime!
Once you are nearly to the base of Lost Arrow Spire, when it looks like you have gone too high for the approach gully to YPB, the brush clears up and you can traverse to the right. There are a few cairns and some sandy traversing and short downclimb bring you to the base of the gully. Some people simul-climb this section, as while the Reid guide calls it class 3, it seems like the consensus is that it is low 5th, or at least sketchy class 3.
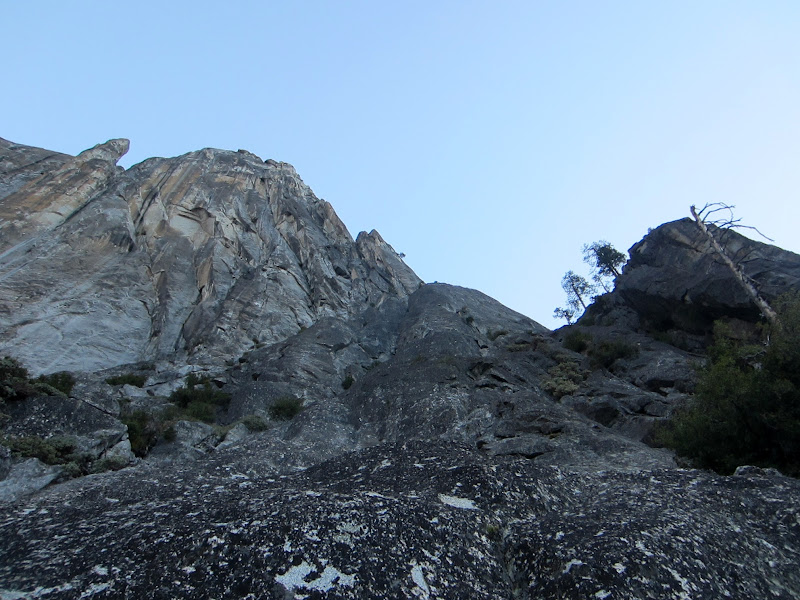
Visit on ggpht.com
Cl. 4-5 scrambling up the approach.
Nic stayed more on the face to the left and found class 4. I went into the corner and found a lot of loose, vegetated crud, and cl. 5 chimneying (chickenwings, stacked feet).
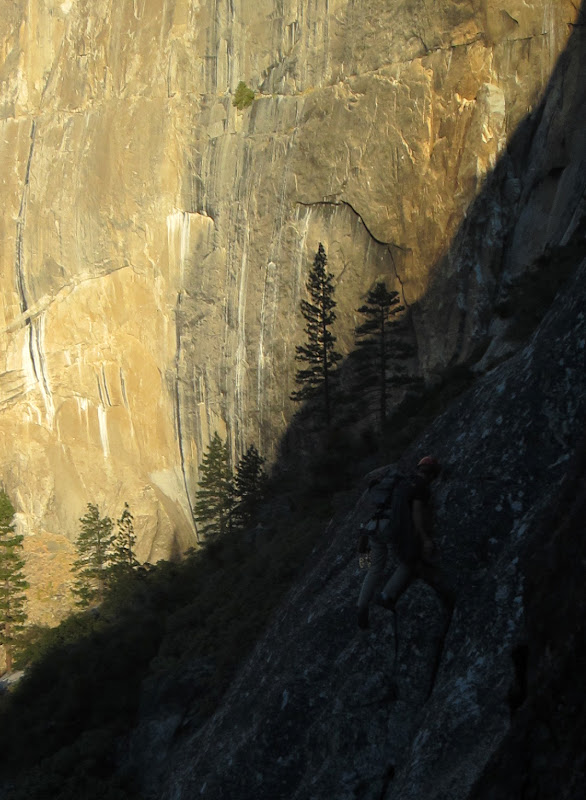
Visit on ggpht.com
Nic on cl. 4 terrain approach as the sun rose.
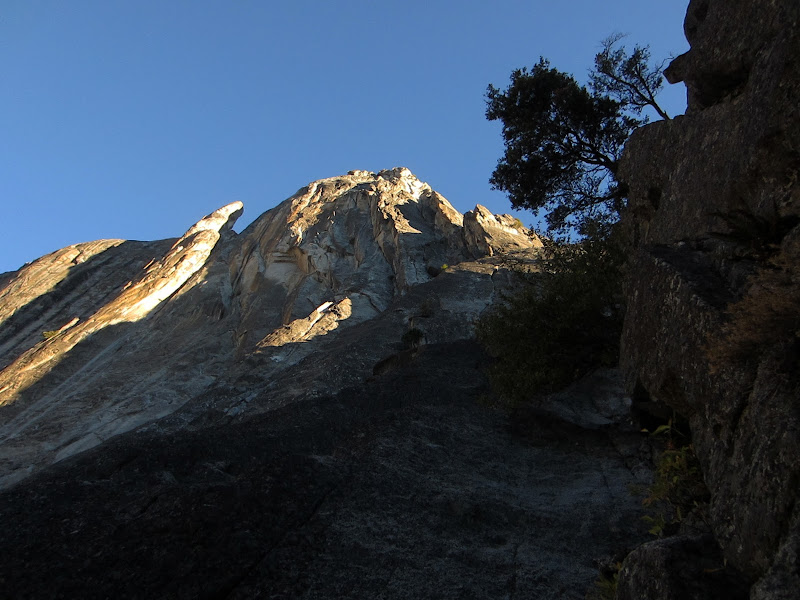
Visit on ggpht.com
Sunrise on the YPB approach. My way ended up being dirty cl. 5 in some chimneys and corners.
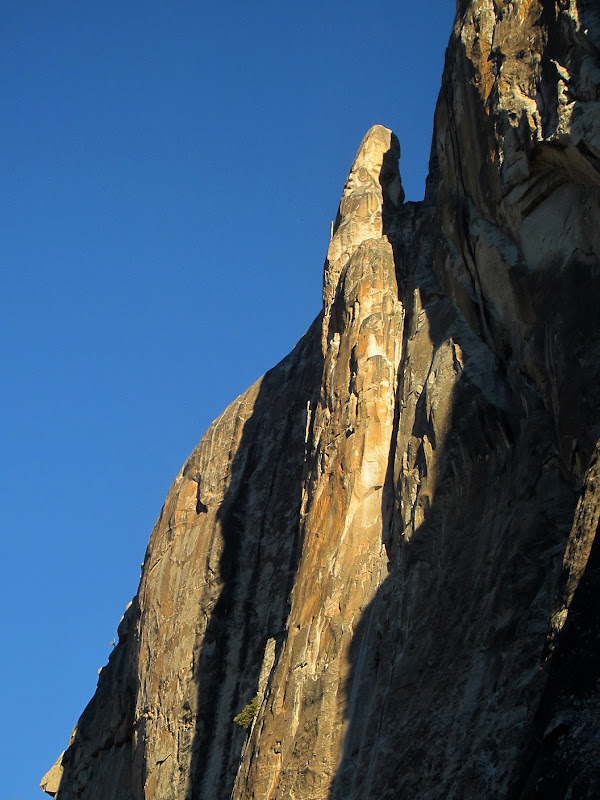
Visit on ggpht.com
Sunrise on Lost Arrow Spire on the scrambling part of the approach to Yosemite Point Buttress.
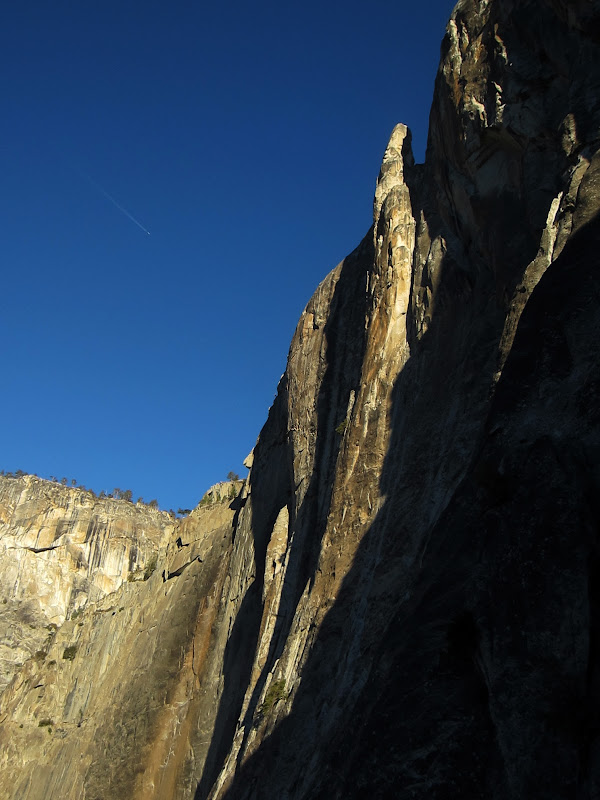
Visit on ggpht.com
Sunrise on Lost Arrow Spire on the scrambling part of the approach to Yosemite Point Buttress. Geek Towers are peeking out of the shadows below.
At last we reached the base. We worked out the first pitch, ate a snack, and suited up. Time to climb!
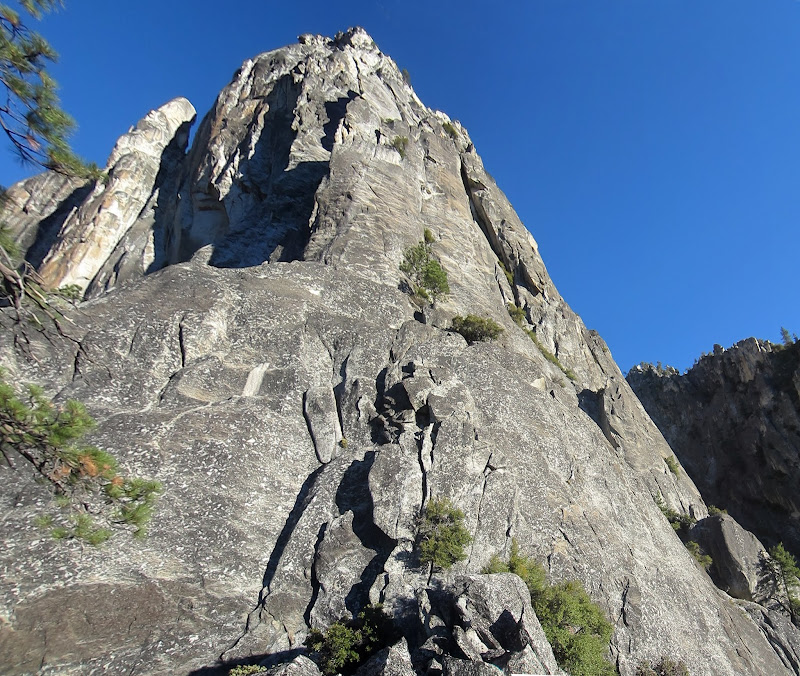
Visit on ggpht.com
YPB seen from the start of P1. 8am. We left the car at 5:30am, so it took us about 2.5 hrs to get here. Bathroom break and getting lost in the dark added some time.
The Pedestal Pitches
The business of P1 is short and not that hard for 5.8. I would call it 5.7. There are some loose & gritty sections, but nothing too bad.
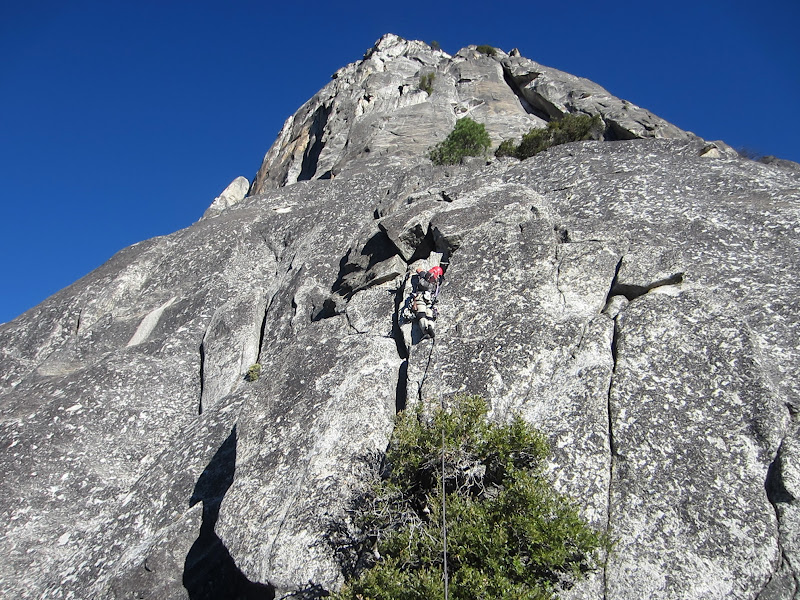
Visit on ggpht.com
Nic leading P1.
The pitch ends at a large sand ledge. You have to traverse about 100' across this ledge and down into a gully, and set up a belay in brush or the chimney alcove to start P2.
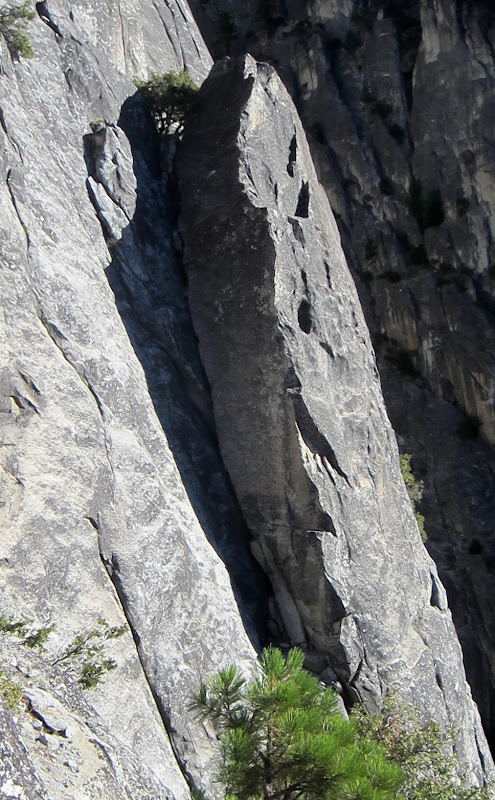
Visit on ggpht.com
Looking down and over to P2. This route is sooo direct . . .
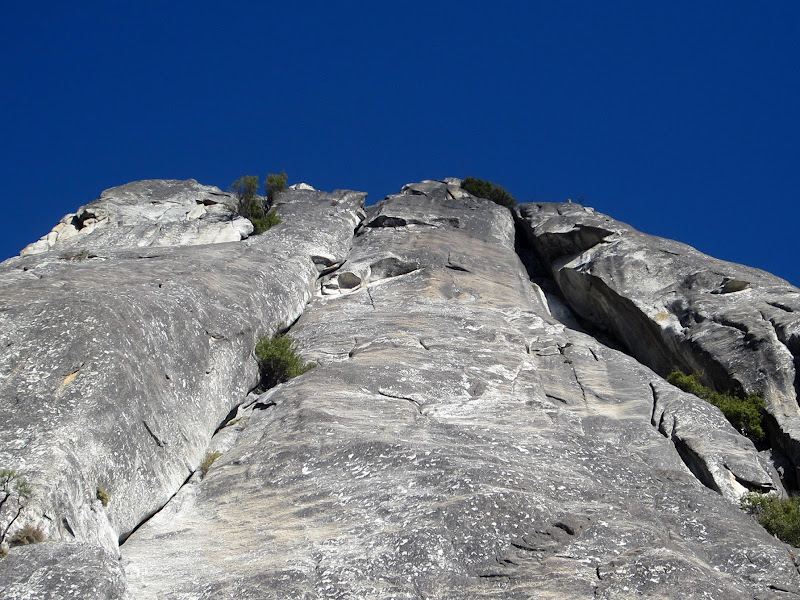
Visit on ggpht.com
Looking up the S Face of the Buttress. I wonder why there isn't a variation that goes up one of these lines?
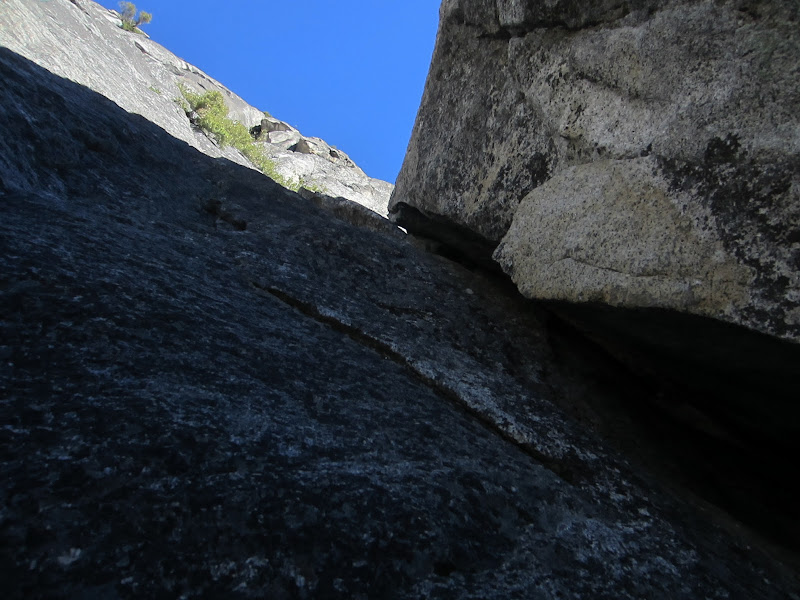
P2 was a great pitch. It starts as a left-side in chimney that pinches you out of the crack and then allows you back inside of more of a squeeze/OW deal. The crack pitches tight again near the top, where I found it best to lieback a bit, turn right side in, and climb the upper part as an OW. Bring your #5 and/or #6 C4 for this. The wide climbing is sustained for about 30m. This pitch should have gone fast, except I had some clusters with my trailed pack getting caught in pro, and I had issue switching sides as the trailed pack held my legs in and I had neglected to flip my gear sling or readjust my rack before I switched side. Oops.
Visit on ggpht.com
Climbing the P2 5.8 squeeze-OW.
At the top of the pitch you pass through a slot and down into a corner with a tree for a semi-hanging anchor.
Visit on ggpht.com
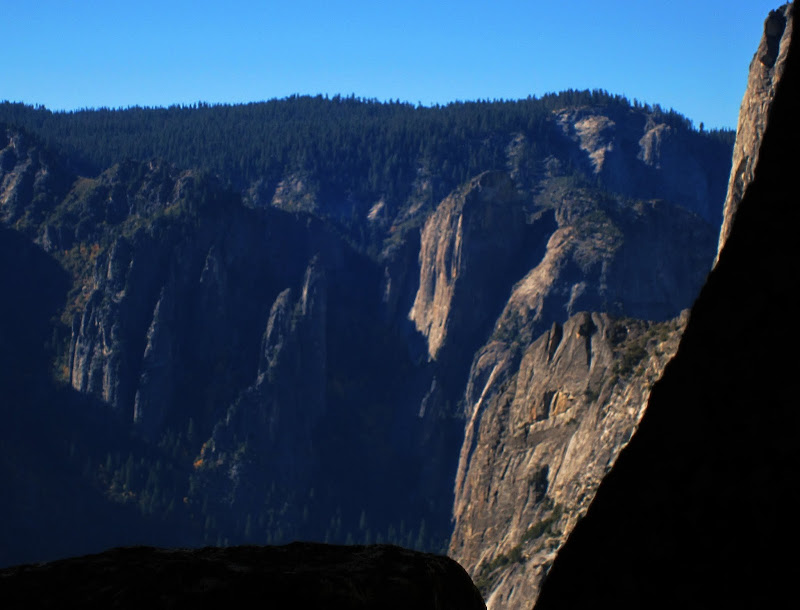
Cathedral Spires and Rock from the P3 belay.
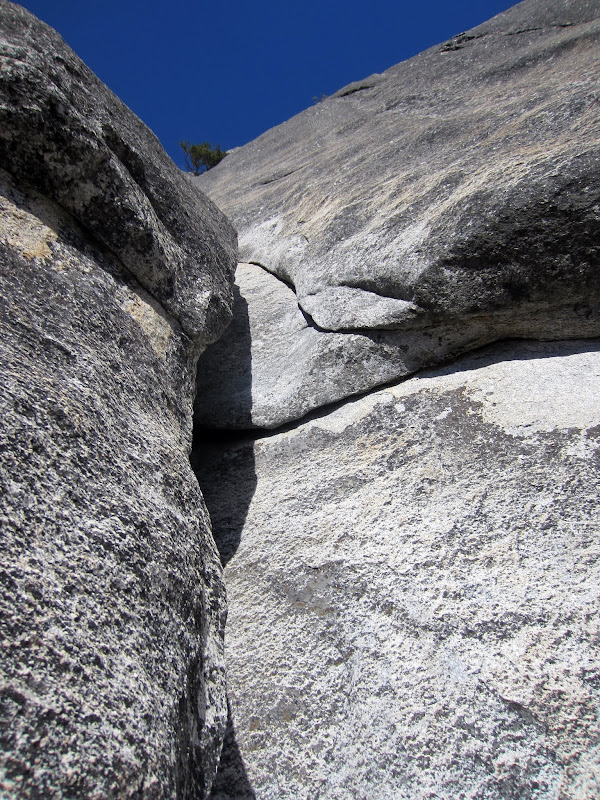
P3 (5.9) is one of the best pitches on the route. You start by downclimbing about 10 ft to a window sill-like ledge that you shuffle along around a corner. Here it ends with a wide chimney.
Visit on ggpht.com
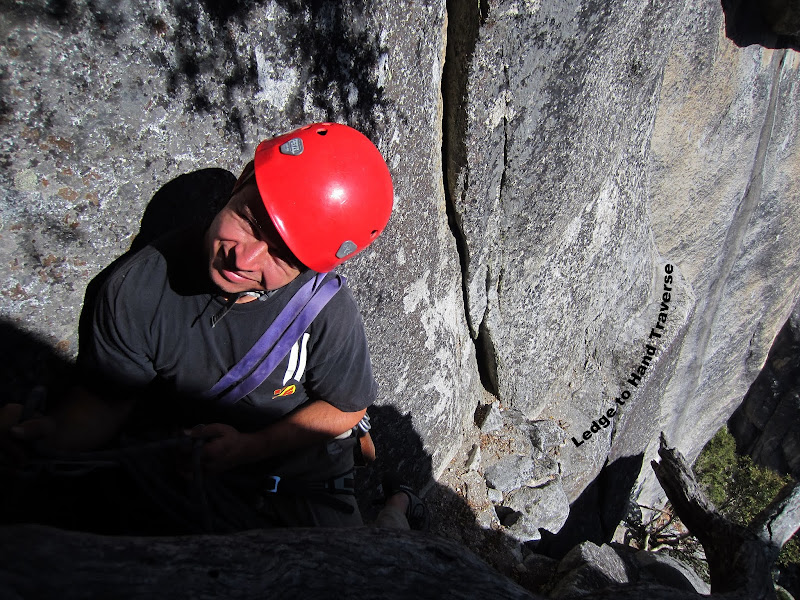
Nic at the P3 belay.
Visit on ggpht.com
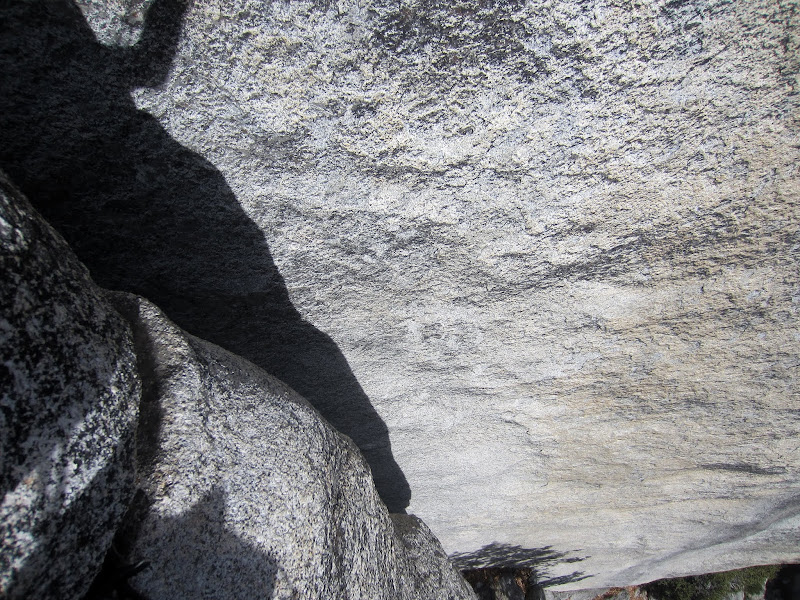
P3 chimney & OW seen from the start of the hand traverse.
A hand crack forms along the ledge just as it ends at the chimney. I crouched down, shoved in my hands, and lowered onto my arms as I shuffled my jams to turn the corner.
Visit on ggpht.com
Reaching the P3 hand traverse. You have to mantel-downclimb onto the ledge and throw in some hand jams as you flip around the corner into a stem & chimney position.
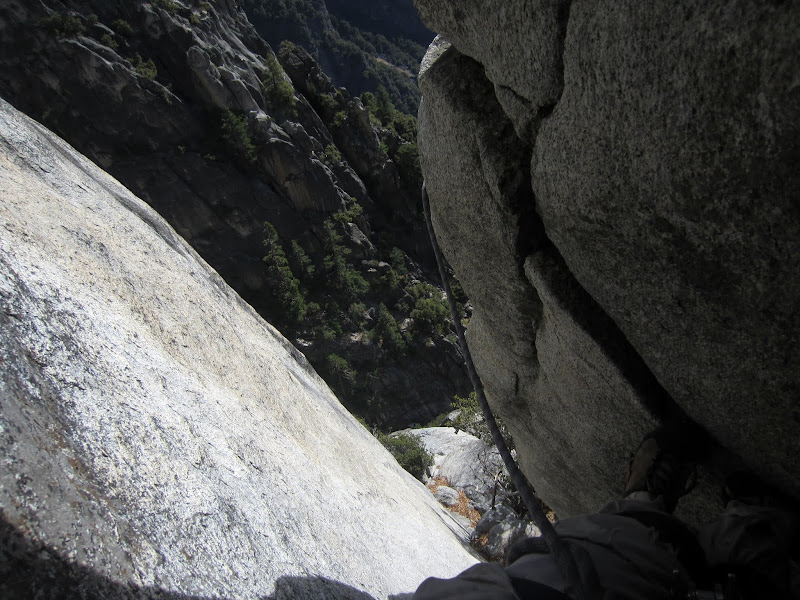
The chimney & crack leaned in a funny way and the chimney was wide, so this transition was awkward and physical, but the jams are bomber. Once stemmed, I got into back-foot chimneying and moved up until I could stand on the hand traverse crack. Because you climb down, around, and back up, it is tricky to protect this part without inducing massive rope drag.
Visit on ggpht.com
P3 standing on the hand traverse crack inside the chimney.
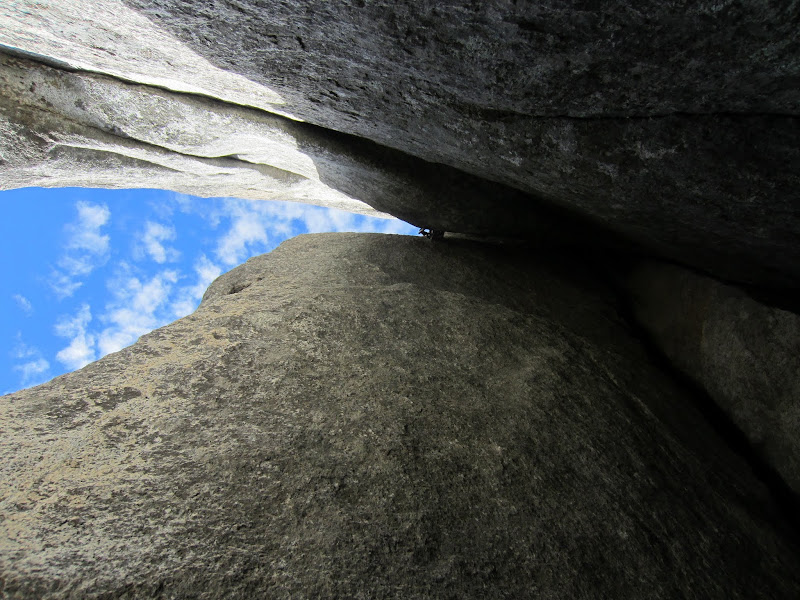
I had about 15-20' of gradually narrowing chimneying to reach the first real piece of gear. The chimney is fun and about 5.7. Reminded me a bit of The Remnant, Right.
Visit on ggpht.com
P3 chimney, which forces you outside into a 5.9 OW.
Visit on ggpht.com
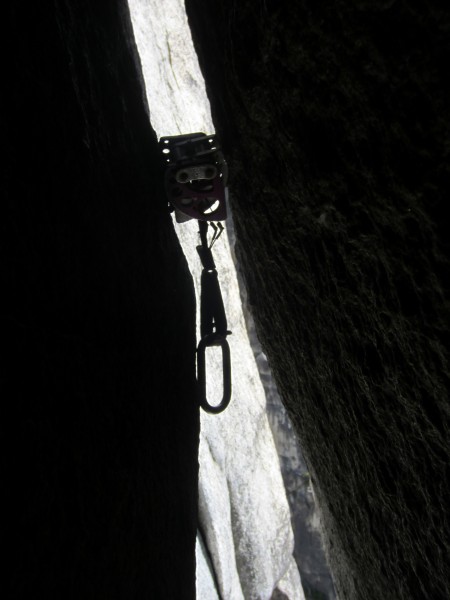
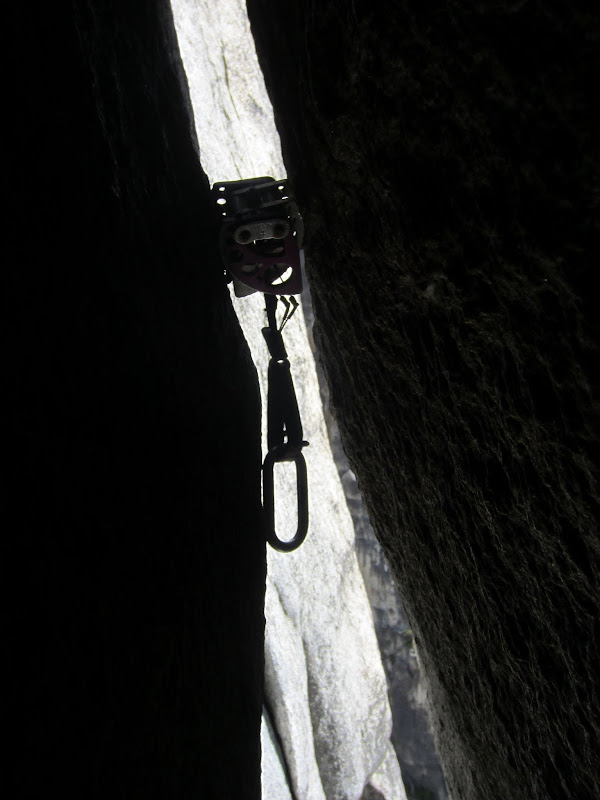
Fixed #4 Camalot atop the P3 chimney. Time to exit!
This part was strange. You have to traverse out of the chimney, then climb back into the crack as it continues about as a 5.9 OW. I clipped the fixed cam, but as I wasn't sure how reliable it was, I backed it up by placing a #3 C4 cam in a constriction a bit higher, from inside the chimney, then clipped the #3 by threading the sling and rope on the outside of the fixed cam.
Visit on ggpht.com
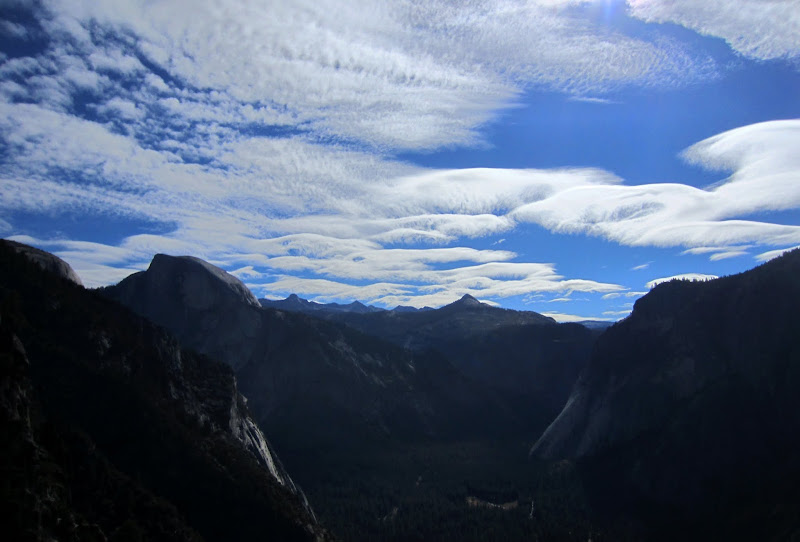
Lenticulars of the incoming storm forming over Yosemite. One nice thing about climbing OW is you can free your hands to take photos :-)
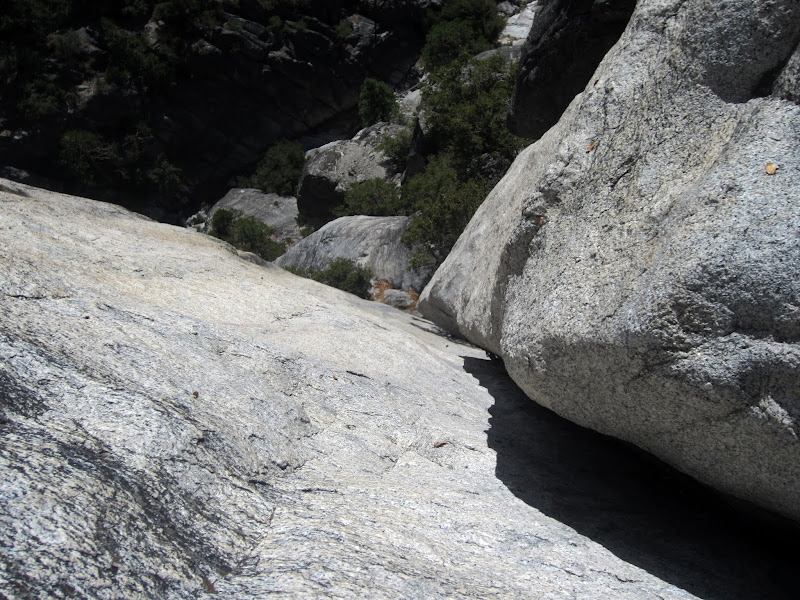
The OW was really fun. Good rock, solid moves, and a lot of cam pushing. I was glad to have #5 & #6 cams with me to push along, leaving smaller cams here and there where there were smaller cracks or the crack narrowed before widening again.
Visit on ggpht.com
Looking down the P3 5.9 OW. There is a good deal more in the pitch, though.
The only downside with this pitch is the trees above dump massive amounts of leaves into the crack. As you climb up, you are like a leaf blower, spinning out massive flurries of leaves as you go, especially if a nice cooling breeze comes by. I wondered what Nic thought as I was sure he could see lots of the leaves spinning down out of the corner.
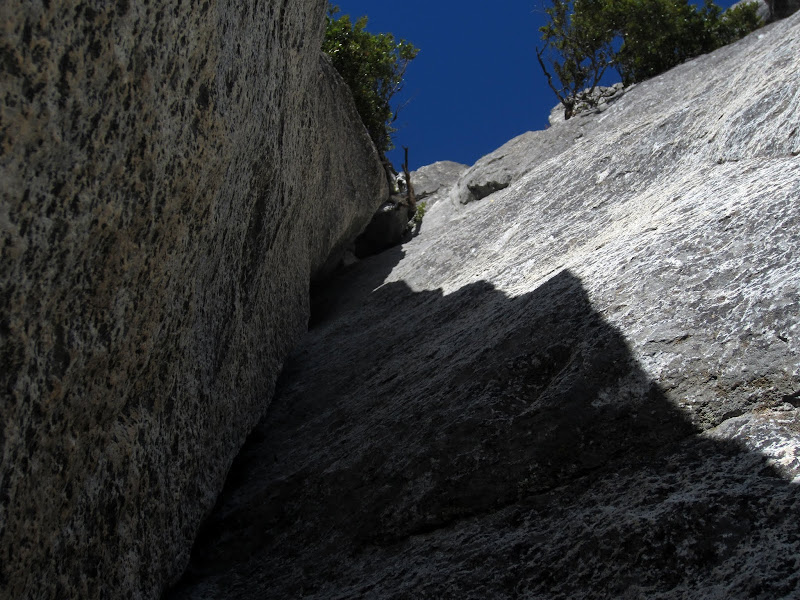
The final crux of the route is climbing through tree branches to the belay. Mixed cl. 5 bushwacking with chimney technique was hard to work out elegantly, but at least the belay was comfy.
Visit on ggpht.com
Remainder of P3.
Visit on ggpht.com
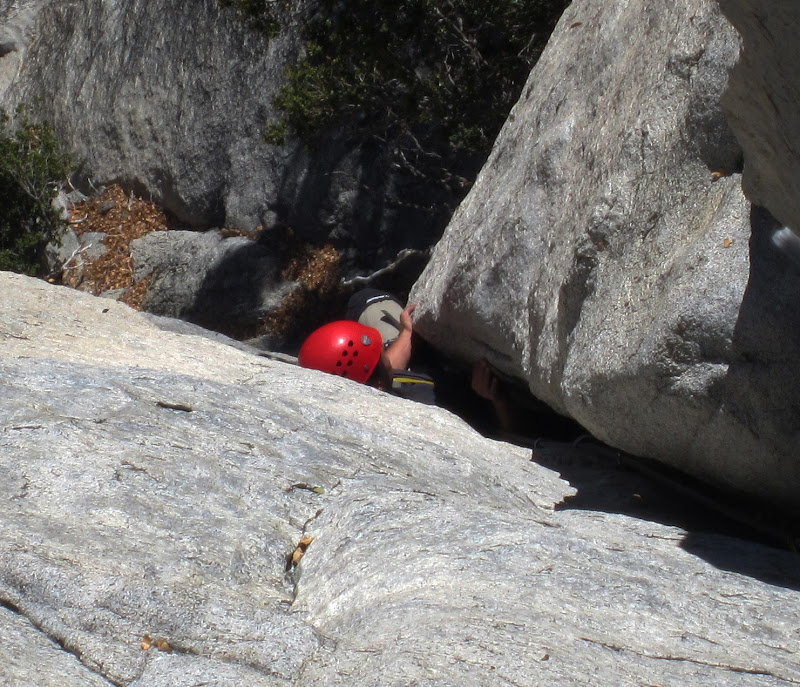
Nic following P3.
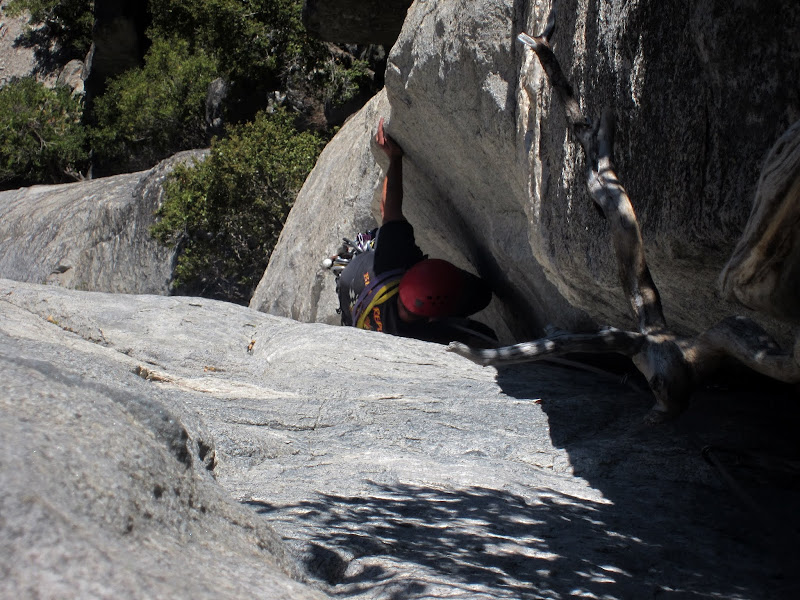
Visit on ggpht.com
Nic following P3 as the crack transitions into a flare.
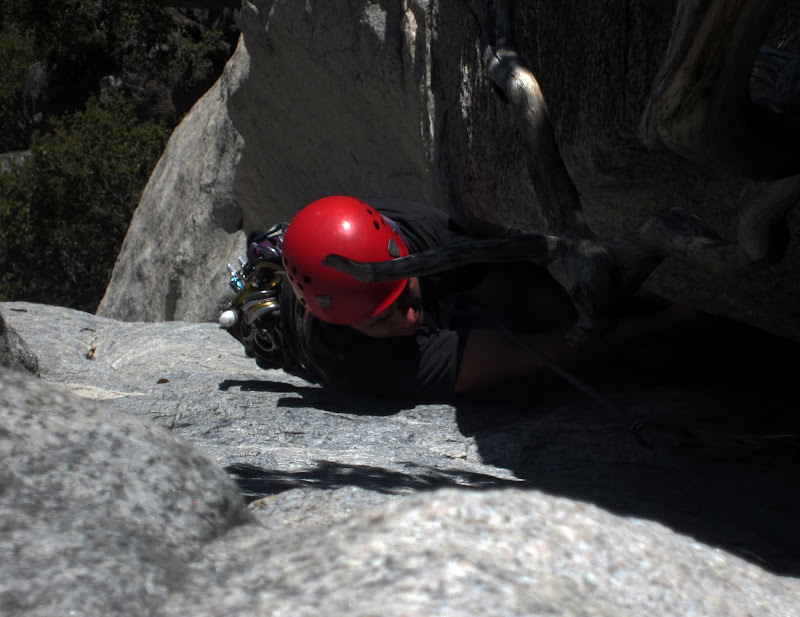
Visit on ggpht.com
Nic following P3, nearing the tree bypass crux.
According to my notes, the next pitch, rated 5.7 chimney, was supposed to be short and easy. It turned out to be neither.
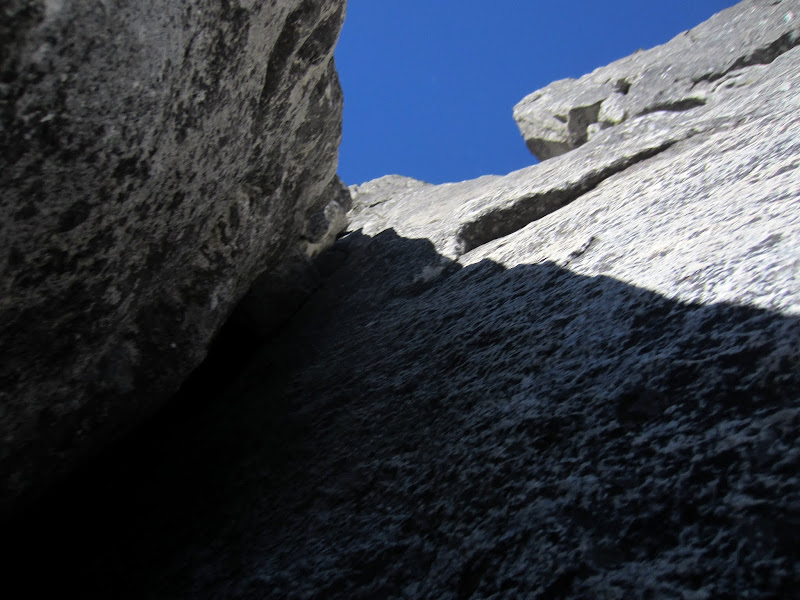
Visit on ggpht.com
Looking up P4.
The start off of the belay was really awkward and felt as hard as the crux moves on P2. This pitch is definitely 5.8.
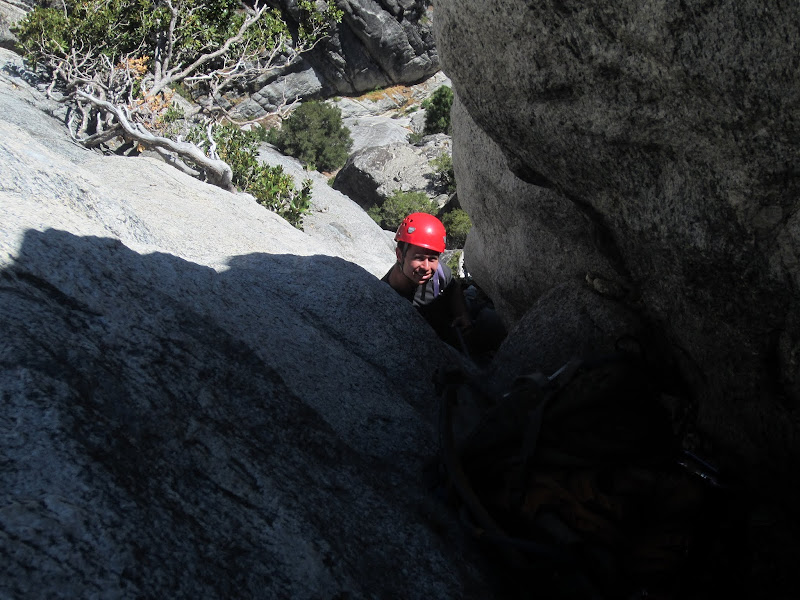
Visit on ggpht.com
Looking down P4, pack in tow.
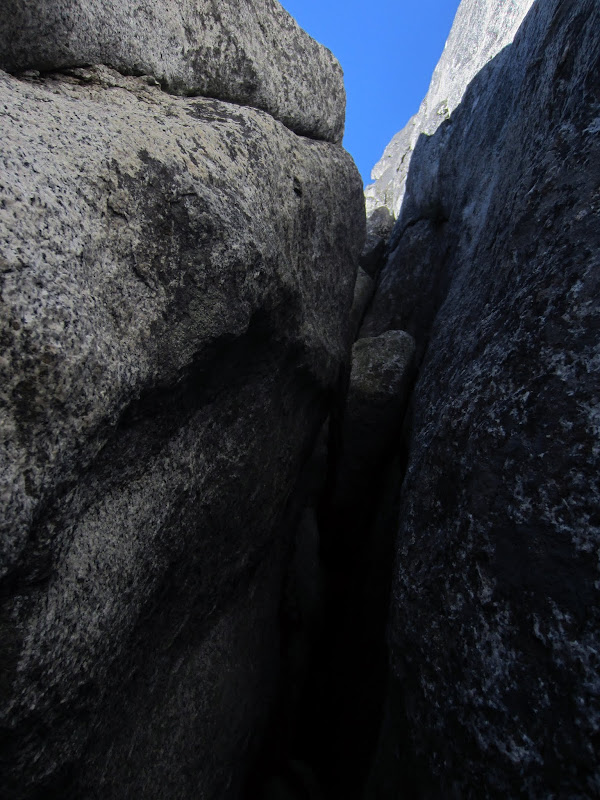
The chimney difficulty eases after the first body length or two and becomes more like 5.6-5.7.
Visit on ggpht.com
More P4 chimneys.
Visit on ggpht.com
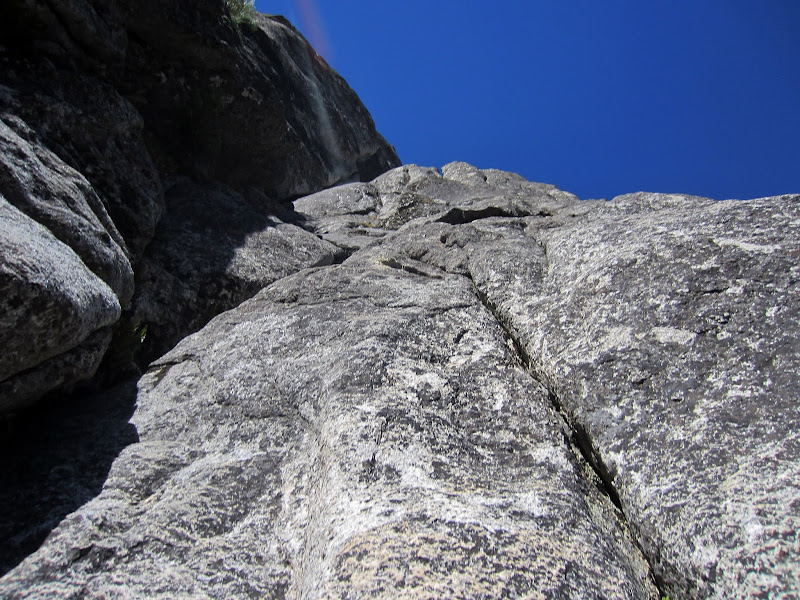
P4 dirty stemming, then back to more chimneys.
The chimney fades away and it is very tempting to climb into the large corner on the right, but the topos showed that as a feature not to be climbed. The rock gets mungy and gritty here, and I did some stemming between the rotten corner and a thin crack on the face before the chimney resumed.
Visit on ggpht.com
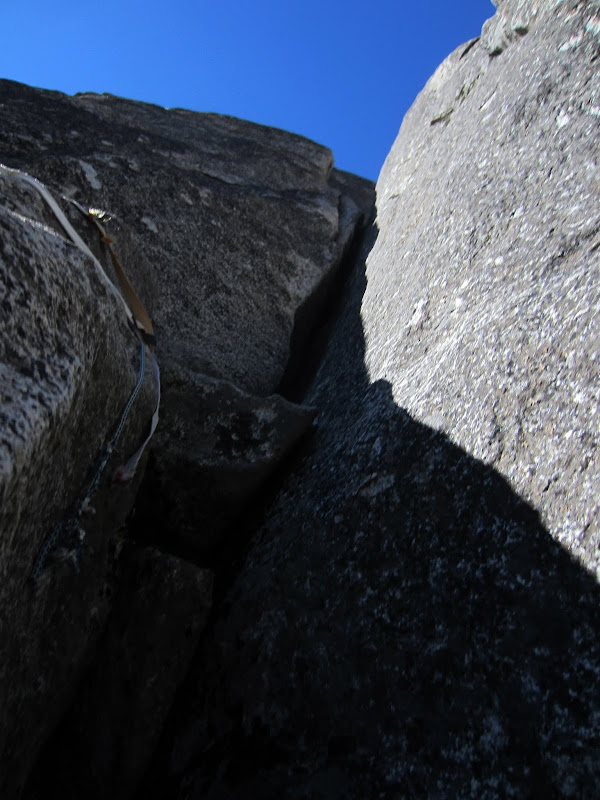
P5 chimney-OW. I linked this with P4, and it ended with a large traverse and downclimb. Massive rope drag!
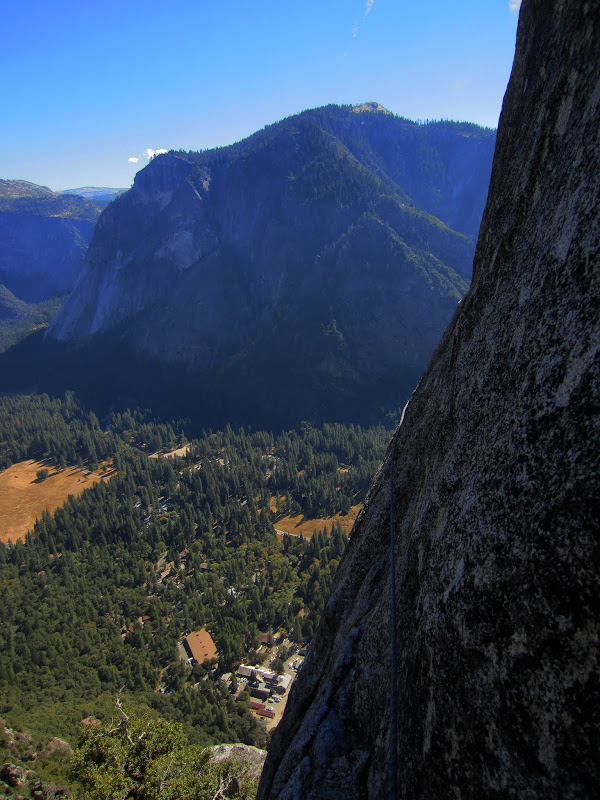
At a nice ledge with slings, it was tempting to continue straight up a nice looking 5.8-5.9? OW, but the topo had me looking for a traverse right. I clipped the slings, traversed about 20' over on a ledge, and found thin 5.7 face climbing. This part was trickier to figure out and more runout for the follower than expected. I found an OK cam placement and downclimbed thin 5.7 face for about 20'. I attempted to get in a small C3 cam in the only possible pro placement, but rope drag popped this out, so the follower has no pro for this entire section after cleaning the first piece. From there I traverse about 15' right, and then about 10' back up and right to intersect a corner to set up a belay, hopefully with better fall potential for Nic than if I downclimbed straight down to a ledge below.
Rope drag for the face climbing was horrendous. I suspect it would have been better to not link P4 & P5, but climb P4 to the start of the traverse.
Visit on ggpht.com
Looking back on the P5 5.7 traverse and downclimb. There really isn't any pro for a ways.
The ledge below had a large tree with slings. I suspect we should have gone there and began the P6 traverse from there.
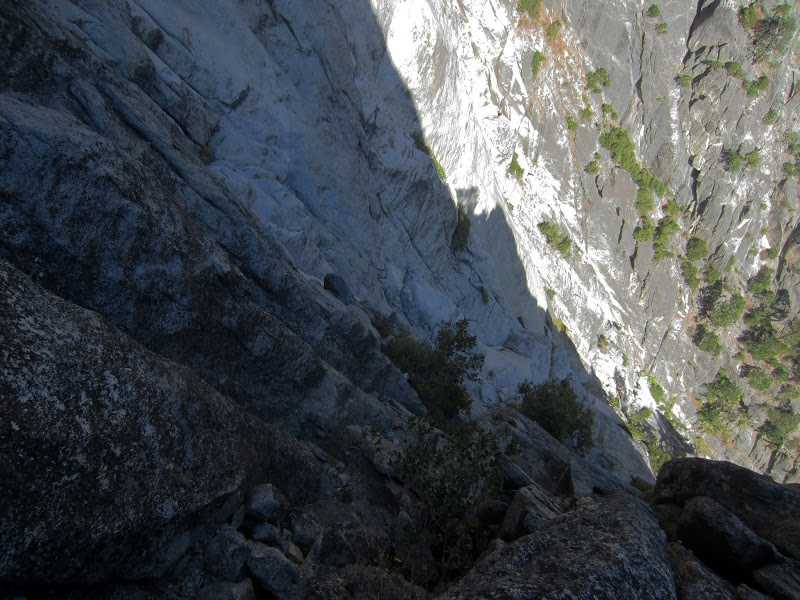
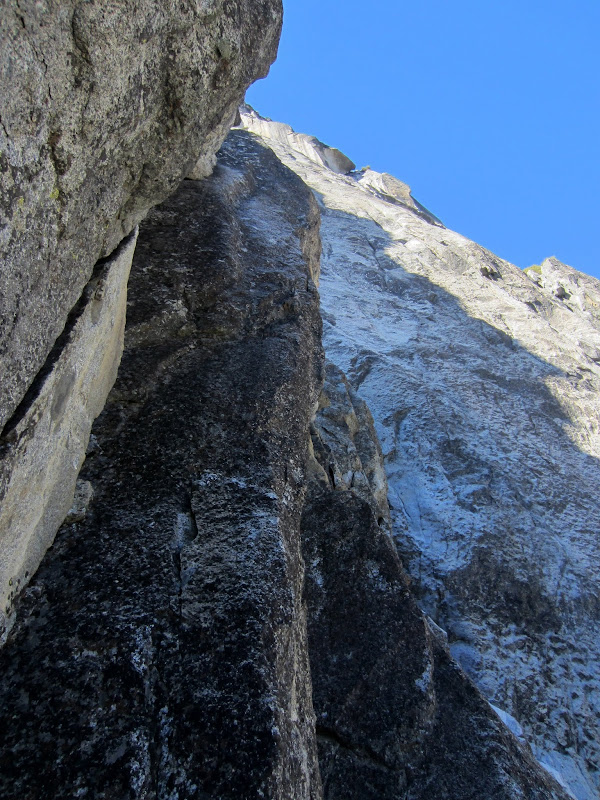
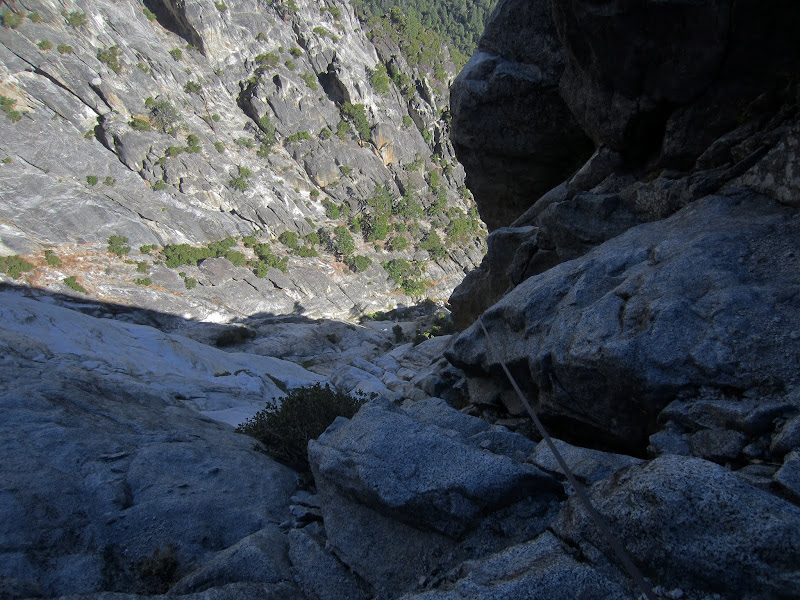
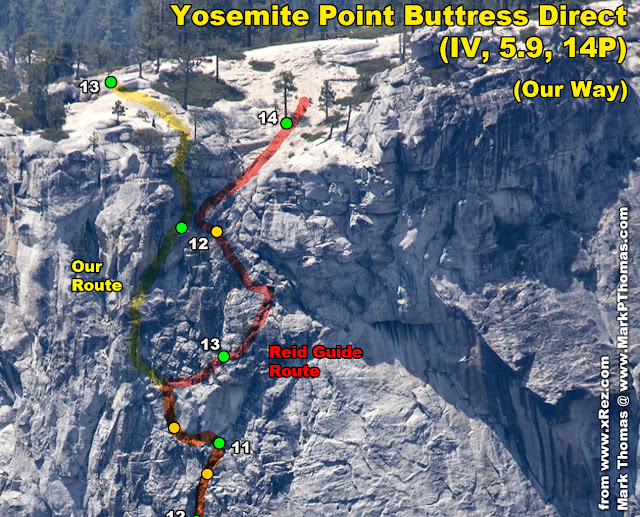
Now, this is where it seems a lot of people get lost, and I think we were off-route a bit too. Perhaps Clint can clarify here where we should have gone versus where we wandered, but if I understand where we were aiming for, then I think I worked it out (as shown in the xRez annotated images at the beginning of the report). I'm uncertain here as what we ultimately did really didn't match the topo in any way.
Basically, after the 5.7 traverse right and downclimb at the end of P5, end P5 at the ledge with a large tree. DO NOT ascend the crack above, but instead traverse farther right around the arete, reaching a smaller ledge and a piton in a small crack. From here, climb up a shallow gully and climb over and up beyond several corner systems, taking the easiest line, until you are in the last corner next to the white granite wall. From here climb straight up until rope drag or rope length stops you. There are many belay options.
What we did, in contrast, was we had ended P5 in the crack, and intuition would say to keep climbing up the crack, as although it looked hard, it was clean, protectable, and looked like fun 5.8-5.10. Instead, I climbed partway up until I could take the next crack branching to the right, cutting through the arete (thinking this was the "hand traverse" I had noted on a leaning crack on P6 in the Reid Topo). This was harder than it looked! After rounding the corner and seeing sparse face climbing and a good ledge below, I downclimbed, found the piton, saw the ledge ending about there, so I climbed back up to what looked like a better way to get into the next corner system, and picked my way up and across perhaps two more corner systems before I started climbing straight up again. This wandering cost us some time, and the drag was bad.
Visit on ggpht.com
Looking down from P6 on the continuing traverse.
Visit on ggpht.com
P6 traversing around more corners. 5.6-5.7.
Visit on ggpht.com
Looking down P6.
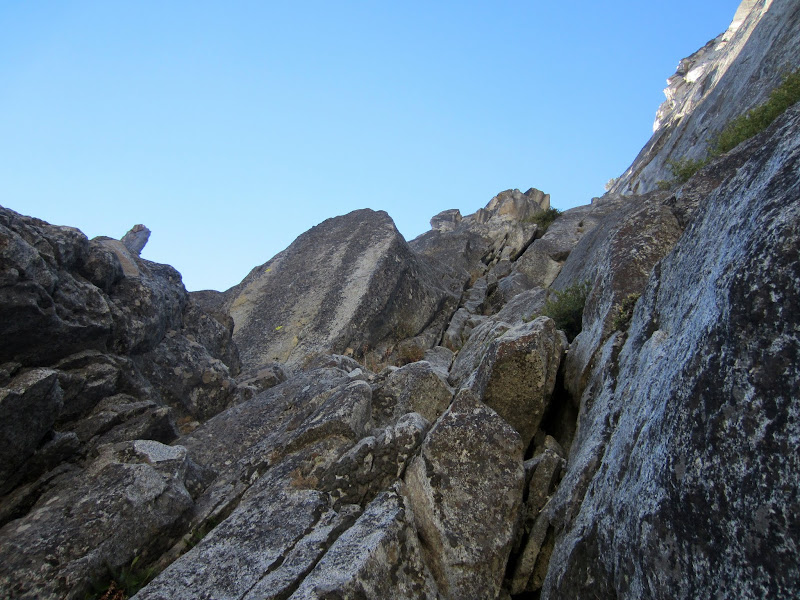
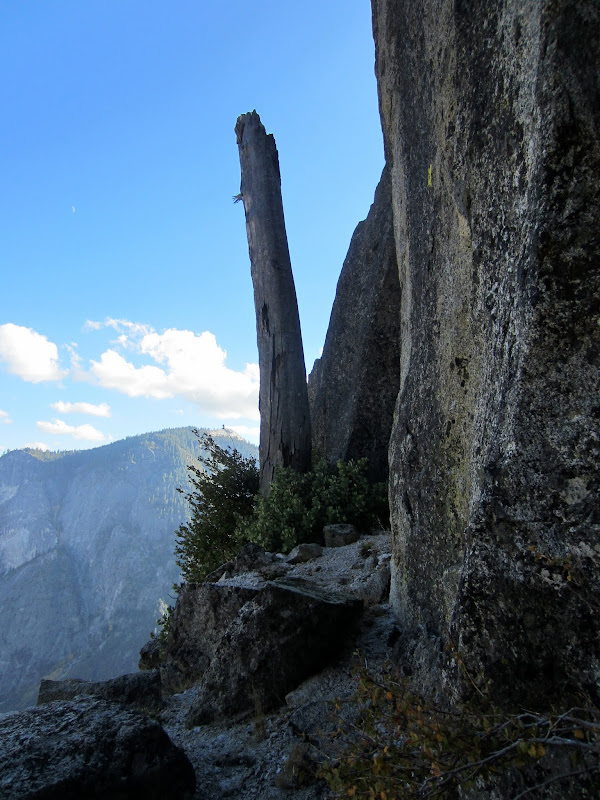
Rope drag stopped me somewhere near the end of 60m. Nic climbed up to me, and by now I was really dragging. So much wide climbing while hauling a pack had left me worked! Nic was feeling energetic since he had only led P1, so now he led the way. Based off the the xRez photo, we believed we were just short of the large ledge traverse left with the (former) pine tree landmark that used to be visible from the Valley (reports were that rockfall decapitated the tree some years ago). We were maybe 50' lower than the underside of a hanging flake on the great white granite wall to our right, which formed a small roof and had bushes on top (visible in the XRez photo). We saw what looked like a large ledge up and to the left, with a large dead pine tree trunk. This must be it!
Visit on ggpht.com
Looking up P7.
Nic climbed up and over to the ledge, but wasn't convinced that we were in the right spot. He continued up to another set of ledges and traversed along. From up there he saw that he should have continued traversing on the ledge, so he downclimbed as he traversed to intersect the route.
Visit on ggpht.com
P7 old Big Tree landmark. Looks a little dead now.
I followed along, up occasionally loose & mungy rock, before traversing left about 80-100' and climbing down about 30' and back up about 15' to a large, flat ledge beneath a chimney.
Visit on ggpht.com
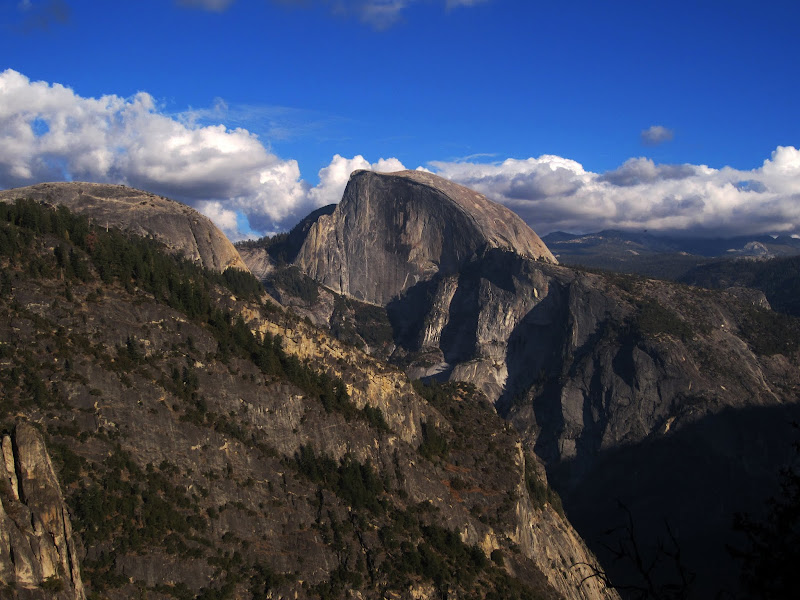
Half Dome and North Dome from P7.
Visit on ggpht.com
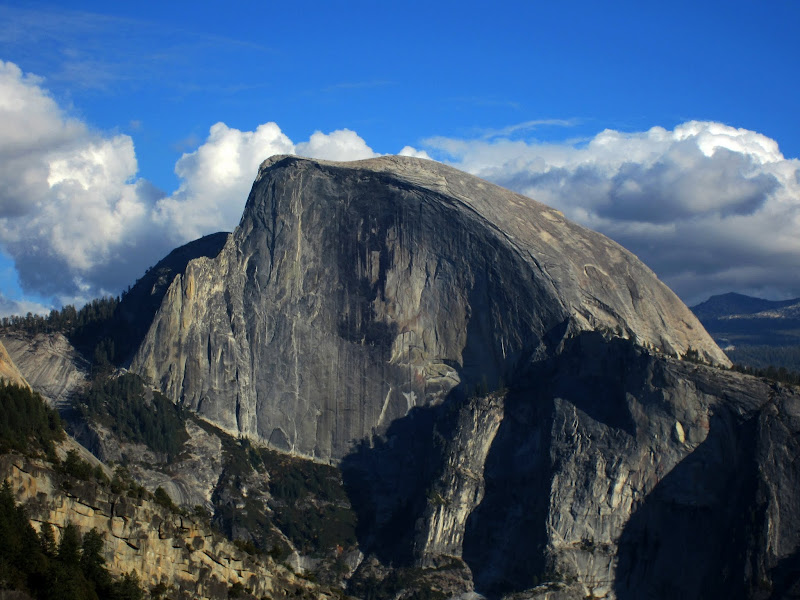
Half Dome from P7.
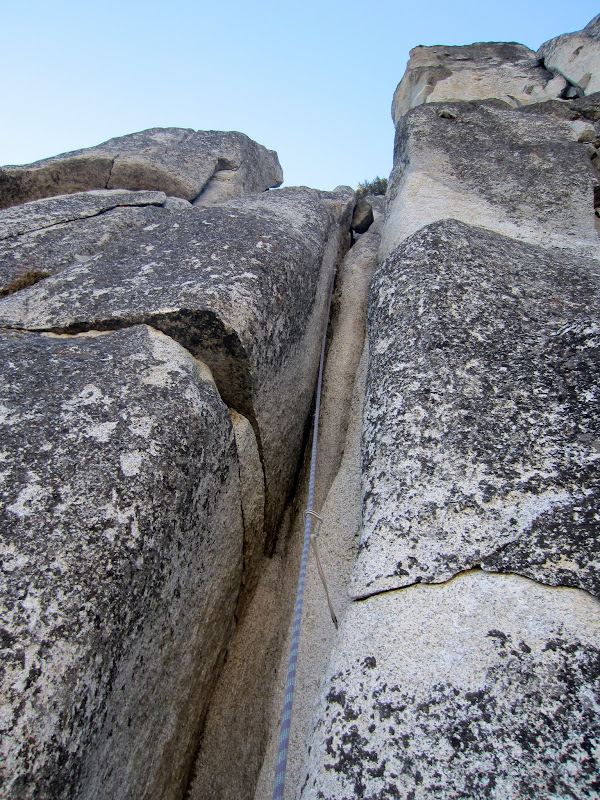
This chimney is the chimney shown in P8 of the Reid Topo. It is about 40' and line with decomposing granite. Although the rock was unpleasant, the chimney was not. Nic made short work leading this, and neither of us needed to trail our packs (as we had on P2, P3, P4, & P5). The chimney is easy and has a lot of features and a nice jam crack inside.
Visit on ggpht.com
P8 easy chimney. There is a jam crack inside and it is climbable without trailing the pack. The rock is as rotten as the Rotten Chimney pitch, though.
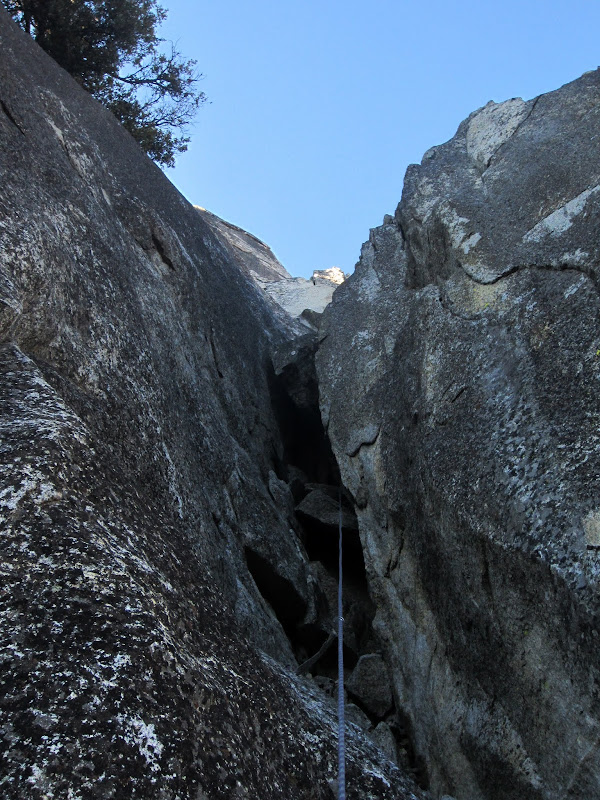
Atop this chimney the route turns a corner on the left, ending up on a ledge back on the south side of the formation (pitches 3-8 were all on the east side). From here you turn back right and ascend another easy chimney. This one is wide, mostly stemming, and you tunnel behind a large chockstone. The Reid guide shows P8 ending atop this chimney after it slants left, but Nic stopped short, on a ledge to the right of the chimney just after the chockstone. The next bit was all unprotectable squeeze and he didn't quite feel up for leading it. This wasn't a problem, though, as he was nearly out of rope anyways.
Visit on ggpht.com
P8 chimney with a chockstone tunnel through. Wee. This chimney was also pretty easy to climb with a pack on.
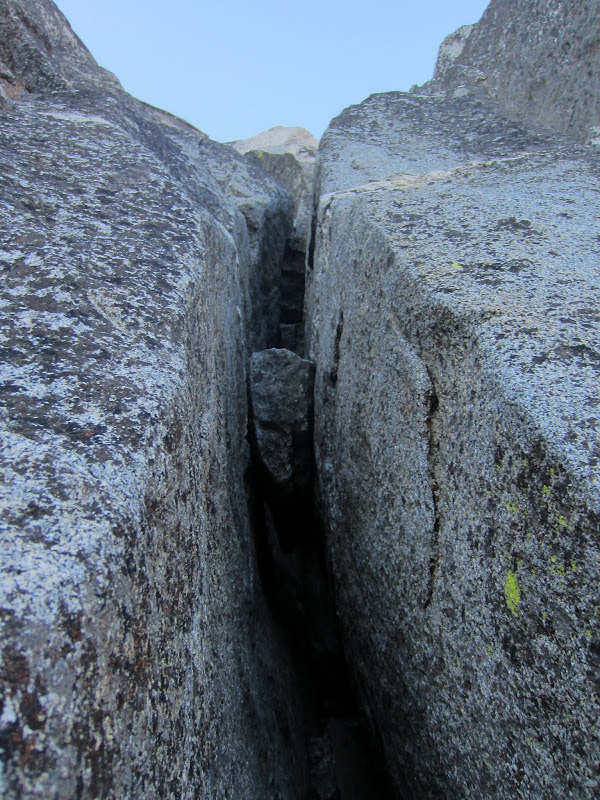
I linked the remained of what Reid calls P8 to reach P9. Since this was nearly a full rope length, I think someone is cheating when they numbered these pitches. This is another pack-trailing pitch.
Visit on ggpht.com
P9 OW-squeeze. There is no pro in this apart from a thin crack out on the face about halfway up. Fortunately it is secure.
I made quick work of the squeeze and began traversing left (west) all the way around the formation to reach the base of the P10 Rotten Chimney, which is formed between the main wall and The Pedestal leaning against it. This traverse is pretty long, maybe 100', and you down climb maybe 40'. It is mostly unprotectable and has some of the worst granite I have ever climbed. You could rip off granite chunks with your hands, willy nilly, and the face was nothing but ball bearings of gritty granite. You could never rub enough off to get smooth surface. The ledges were covered in sand and chunks of granite grit and scree. At least it was no harder than low 5th. This had me wary of what the Rotten Chimney would be like.
I turned the last corner, going farther over and down than expected, then walked partway up the chute until I could make a small, 2-piece anchor in the wall on my right. I had read reports of there being no secure anchor here, but mine seemed all right, albeit not the best positioned.
Visit on ggpht.com
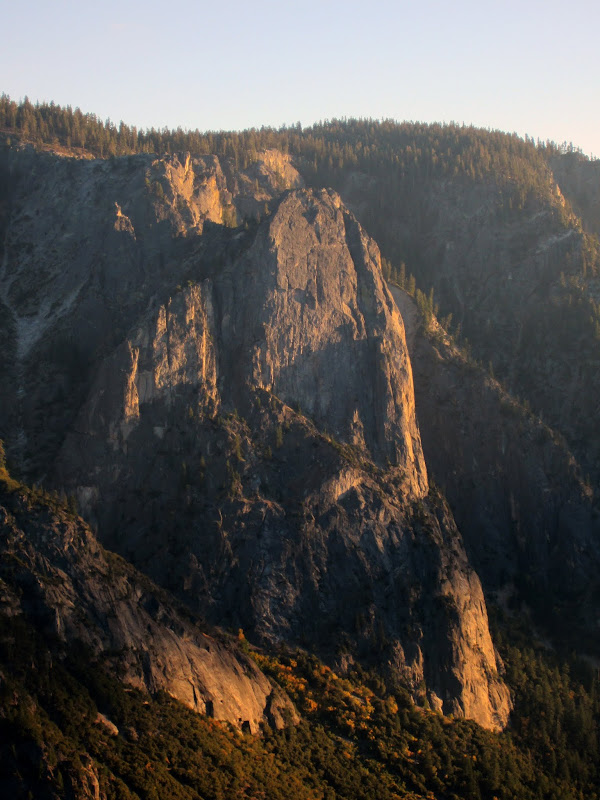
Sentinel Rock from the base of P10.
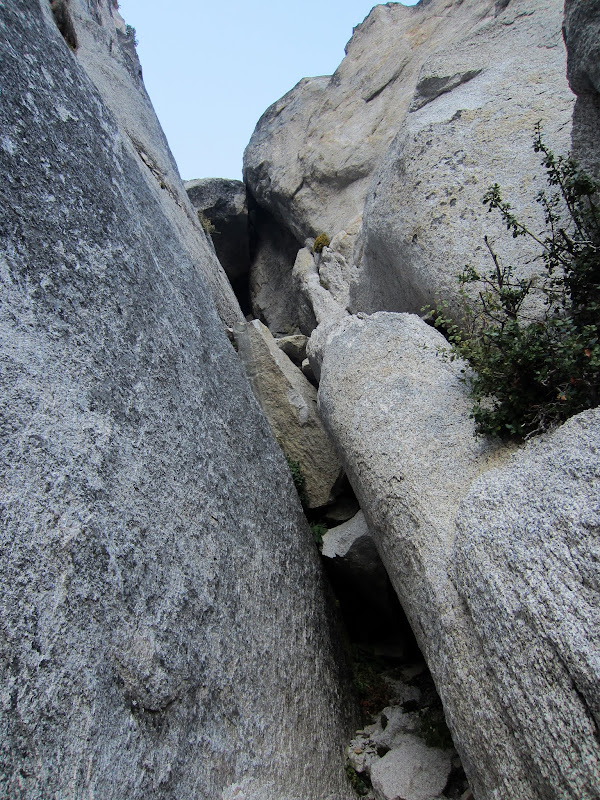
By this point it was apparent that we might have trouble ahead. The sun was close to setting, and we still had 5 more pitches to climb to reach the top! As soon as Nic reached me I took off, trailing the pack for the last time. The rotten chimney is a left-side in back-to-foot chimney and there is no pro until you reach the chockstones atop the first step. Still, this was only about 10' up and not too hard - maybe 5.6-5.7, but the rock on the foot side of the chimney is covered in exfoliating flakes. Still not too bad, as with care you could find clear spaces to smear your feet, or if lacking that, scrape away the granite flakes with your toe to make a good foot placement.
Visit on ggpht.com
P10 Rotten Chimney. Not that bad really, though there are some really loose bits at the top, but it is secure and easy climbing there.
Above the first tier I had an easy scramble to reach the tunnel through behind The Pedestal, beneath the giant chockstone that the pitch ends on top of.
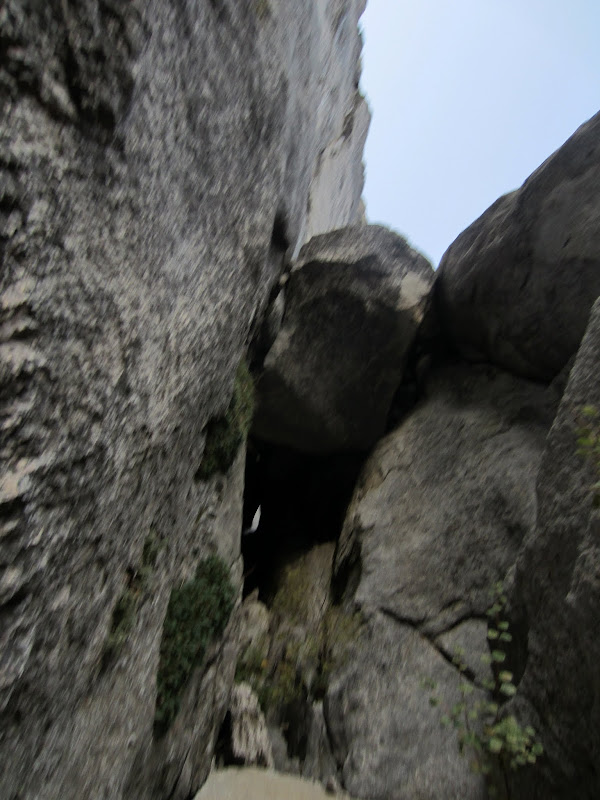
Visit on ggpht.com
Leading the P10 rotten chimney, reaching the tunnel through.
It is inside the chockstone that the truly rotten part of the Rotten Chimney lies. I just stopped caring about kicking down rocks of all sizes at this point. This part was more like 4th to low 5th, though. I took an early exit, which was a mistake. There is a rope-eating notch between the boulders and even with a directional, rope drag was awful, and I had to set up the belay specifically to work with the directional to keep the rope out of the crack. We then had to move the belay down and onto the giant chockstone to properly belay P11.
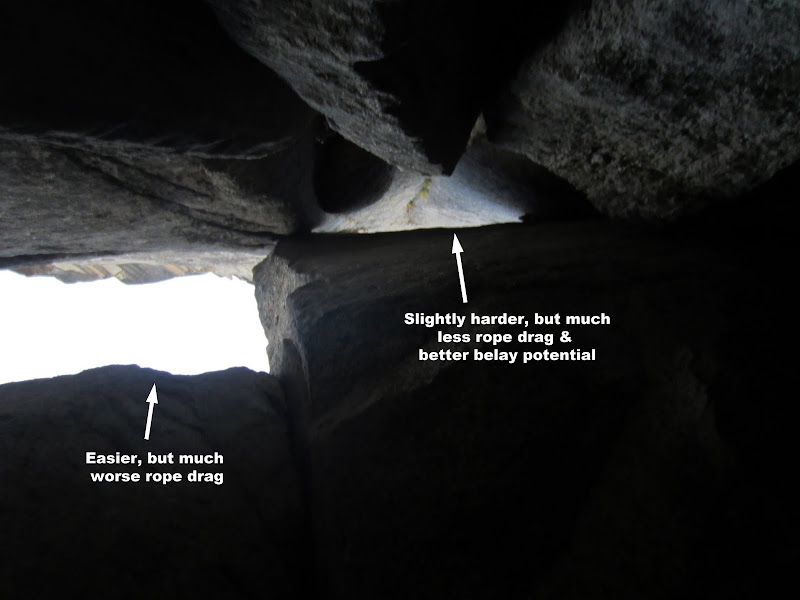
Visit on ggpht.com
P10 Rotten chimney tunnel through. I did not take the squeeze finish, so this is conjecture.
Nic reached the top of P10 just as the last light was fading. This was fortunate, as we were at least able to scope out P11 & P12 in daylight, so we knew what to look for in the dark.
The Headwall Pitches
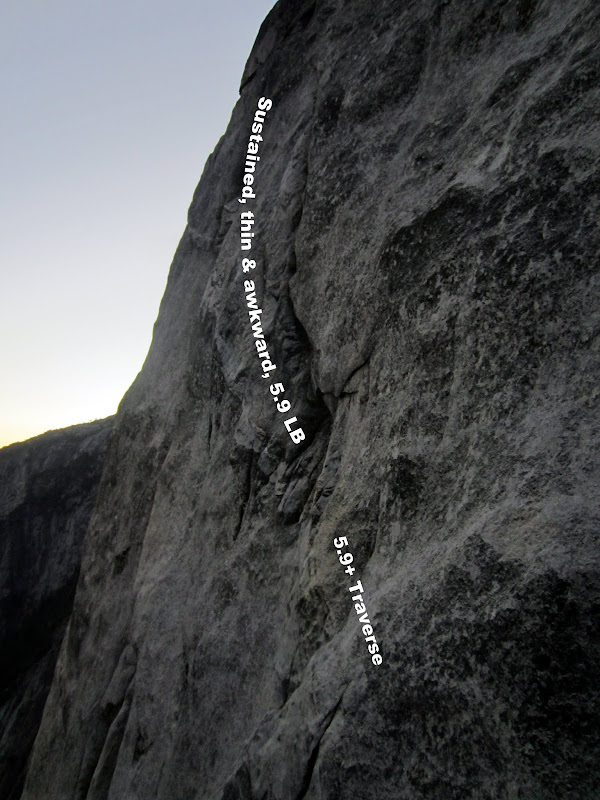
Visit on ggpht.com
P11 at dusk from atop the Pedestal.
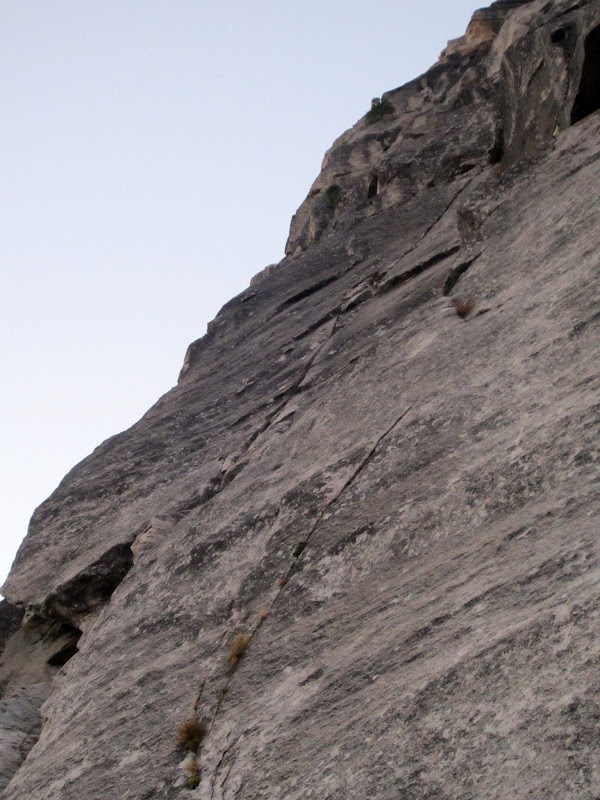
Visit on ggpht.com
P12 at dusk from atop the Pedestal.
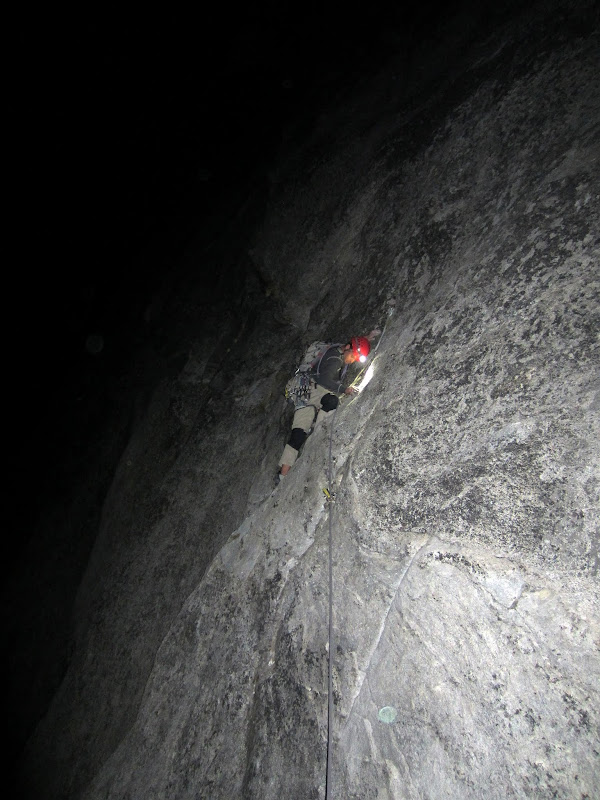
We donned our headlamps and Nic took off. He would lead the last 4 pitches to the rim. Pitch 11 starts hard right off the deck at solid 5.9 as you step off the Pedestal above exposure. Nick had to climb about 10 ft off the ledge before he could get in his first piece, an OK #2 Camalot in a shallow flare, and continued up to the first of many ancient pitons. The first piton is high and to the right, with some long tat on it. From there he worked down and left to another piton, then high to step around the corner to access the 5.9 lieback. Following this section the face climbing definitely felt like 5.9+ to me, and you'd definitely take some good swings if you fell. If the pitons held it would be all right, but I don't know if I'd want to test those pitons!
Visit on ggpht.com
Nic leading the P11 5.9 traverse at night.
I watched Nic's headlamp recede into darkness as he rounded the corner and made steady progress up the pitch. He found a solid belay with a nice stance about 15 ft short of the end of the rope.
Visit on ggpht.com
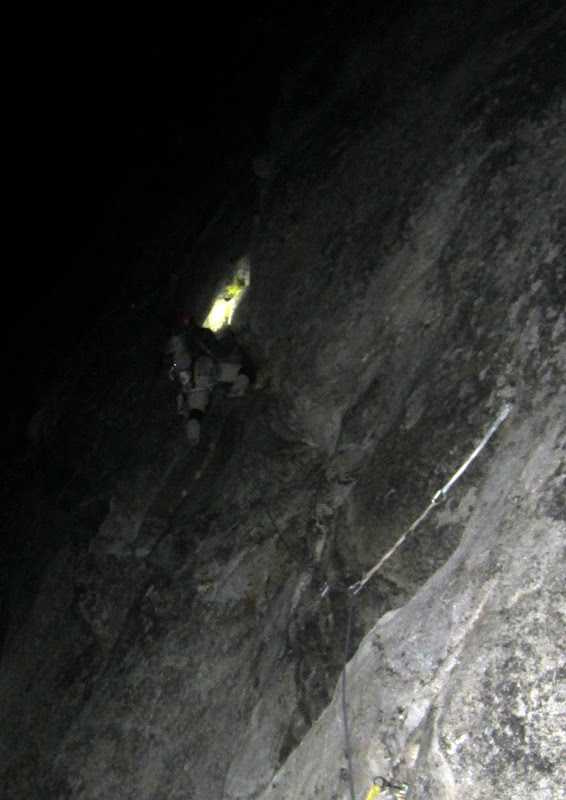
Nic leading the P11 5.9 LB at night.
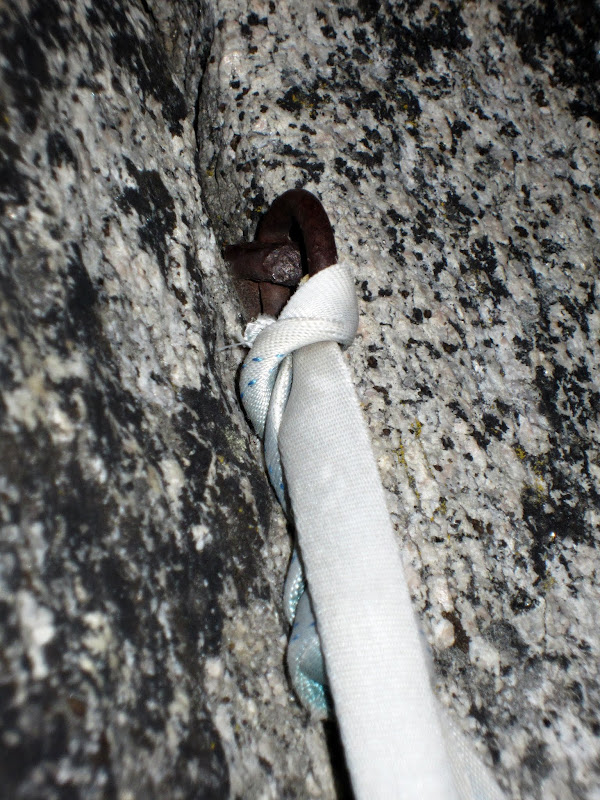
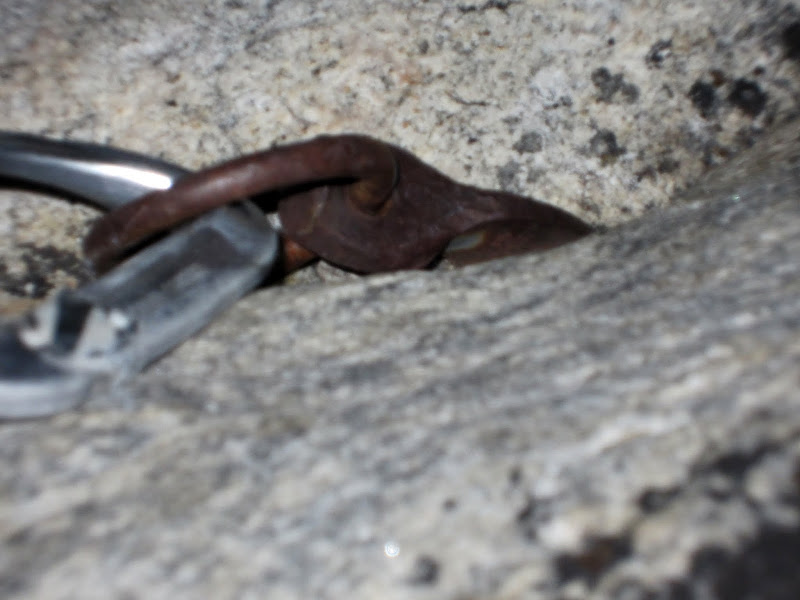
Pitch 11 was mostly clean and very high quality climbing. The old pitons were interesting to see as well. Apart from the first cam, the rest of the 5.9+ face traverse was only protected by the old pitons.
Visit on ggpht.com
P11 old piton. First one on the pitch.
Visit on ggpht.com
P11 old LA piton. Second one on the pitch, before reaching the lieback crack.
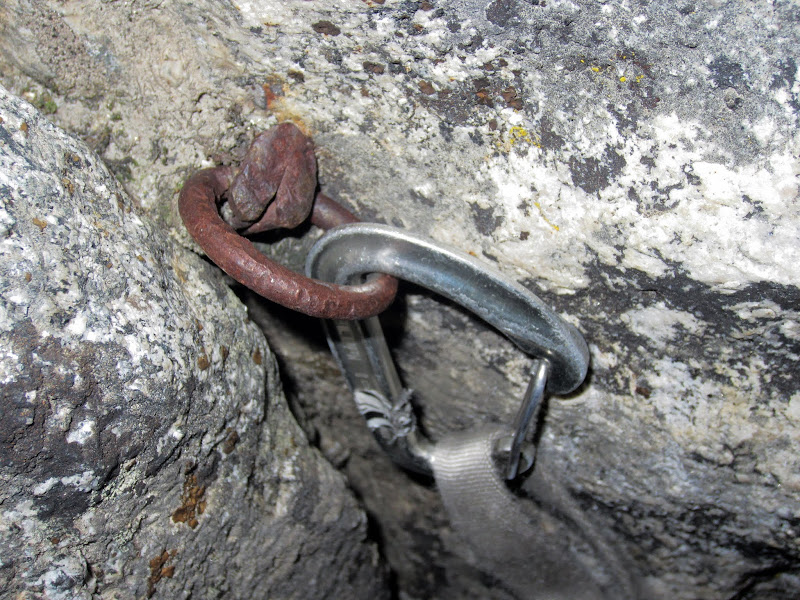
Once in the lieback crack, things still stayed thin. Pitons were still the only protection for the next little bit, but gradually the crack widened to accept gear. Higher up there were still a couple more pitons and even a bolt out on the face to the left. The 'lieback' was sustained 5.9 for maybe the next 50 ft or so before it gradually eased off to 5.8 as it turned more vertical. Although there were a few slightly mungy parts, the pitch was very high quality. A "lieback" is the best way to describe it, but it really was strange, requiring a lot of mixed techniques. Jams, crimps, stems, scums, smears, none of the moves were repetitive and it felt more like a face climb than a crack climb.
Visit on ggpht.com
P11 old angle piton.
I had been worried about the P11 & P12 belays as one of the few reports I could find on the route said the P11 belay was poor and exposed, and the P12 belay was a hanging belay on pins. We didn't find anything like this. The P11 belay was off of a good piton and solid gear, at a nice ledge.
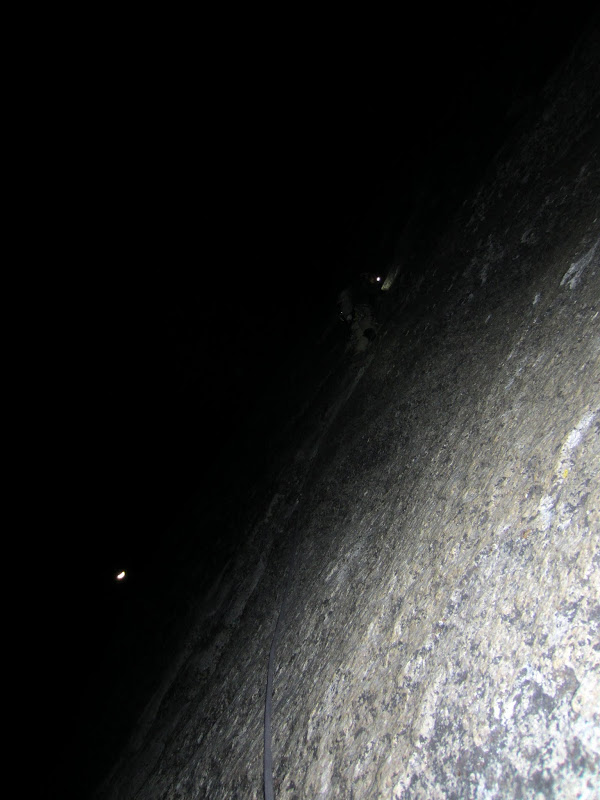
However, as best as we could follow the topo and get a good belay, P12 started off at 5.10R before reaching the wonderful hand crack. Nic had to downclimb about 20 ft before doing a very difficult friction traverse around the corner into a wild, wide stem. From there he zipped up the crack about 30 ft before placing his first piece so that I had proper protection to follow the entry. Thanks!
(Looking at some other climbers' photos, it appears you could end P11 early and belay in the bombay chimney beneath the stem. The climb up to the crack looks tricky but probably not nearly as difficult as the face traverse. However, the belay might have been more marginal. I wonder if that is the better way though . . .)
Visit on ggpht.com
Nic leading P12 crack. Such a sweet crack!
Once Nic was in the crack with gear, he took off and made short work with the rest of the pitch, only slowing down at the very awkward roof-corner crux at the end. The Reid guide shows the P12 belay here, but with the 60m rope Nic was able to go up a ways further on easy ground to a nice, large ledge and a small gear anchor. I think we made the anchor at the optional belay between P12 & P13 in the Reid guide.
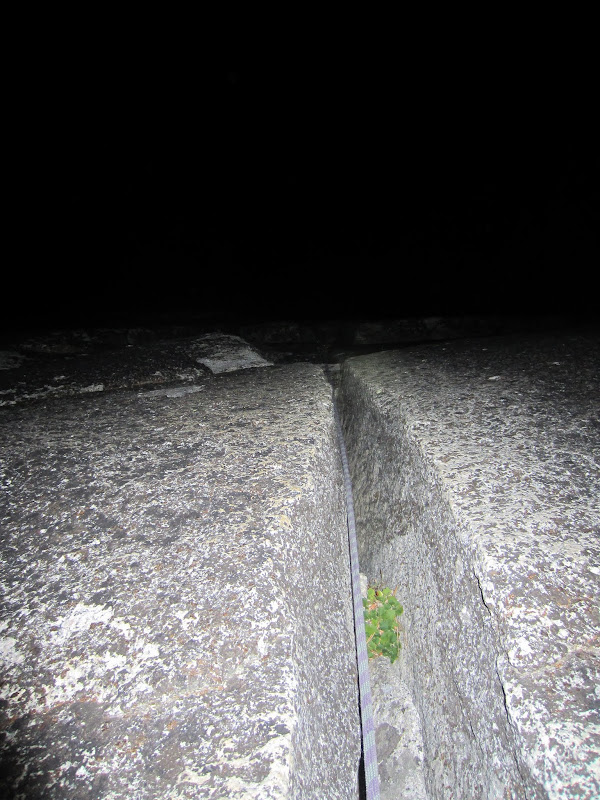
When I followed, I was slow on the face traverse - it was very hard and intimidating to follow. Props to Nic on the great lead! Once I was in the crack, I had a lot of fun. Pitch 12 and Pitch 3 are definitely my favorite pitches of the climb. Pitch 12 had about 150 ft of sustained 5.8-5.9 hand to fist crack climbing.
Visit on ggpht.com
P12 crack. Such a sweet crack!
The final 30 ft before the roof crux was the best, with tight hands (Red Camalot) in a laser cut crack that leaned about 50-60 degrees, requiring an interesting sequence of movements with one foot flagging on the face, one foot in the crack, and your arms twisted around to be jammed in the crack. It was a nice endurance workout.
The roof-corner was mungy and felt more like a bouldering problem to surmount. It was protected nicely by two pitons high and left. After the roof I made quick work getting up to Nic. During the time we were climbing pitches 11 & 12, we heard shouts from the Valley floor. It sounded like someone was shouting my name. Since we knew friends down there who were aware of our plans, we figured our lights high up on the wall were rather conspicuous, so as we climbed on we occasionally shouted and yodeled back.
These last two pitches were definitely 5 star pitches. Despite the darkness and fatigue, we were having a blast. Still, we had the last two pitches left, which we had heard were quit bad . . .
Exit Pitches

Visit on googleusercontent.com
My best deduction of where we went vs. where the Reid topo says to go
Visit on googleusercontent.com
My best deduction of where we went vs. where the Reid topo says to go
I would call Yosemite Point Buttress, 'Direct', a 3-4 star climb if it weren't for the last two pitches. These last two pitches were frightening and really sucked. Perhaps some of this was due to us getting off route in the dark, though. Once again, I'd like to give major props to Nic for leading these!
Nic led off left on a large that pinched down to an extremely exposed, but easy traverse. Class 4, but no pro and very rotten rock. Basically P13 is low 5th, but is somewhat runout due to the rock being too rotten for pro. It also breaks off in your hands, so take care with what you grab. It was quite interesting to break off large chunks of rock and never hear the impact as they sailed off into the darkness. There was also a lot of dirt and sand mixed that blew into your face - I was still finding bits of P13-14 lodged in my nose and ears for the next few days and several rounds of showering.
I suspect after the first traverse left (about 50 ft or so) and short climb up, Nic should have hung a hard right and traversed back that way, but it was hard to tell in the dark with our headlamps. Nic went more straight up and left, and found himself on a 5.10a finger crack at one point. Following this pitch, I followed up a detached flake. After breaking off the edges from some hand jams and stepping on the edge of the flake (resulting in some flailing to catch myself from falling), I really didn't like climbing right up the 4' wide flake as the entire thing vibrated. I was waiting for the entire thing to break off once I was fully bear hugging it. At last the terrain eased and I traversed up a slot and ledge system to the right, reaching Nic at a nice belay at a large pine tree.
The ants here were active and did a good amount of biting as I belayed Nic up the final pitch. He saw a nice long ledge system traversing right and gradually up at class 4, but he wanted off the route NOW! Like an angry beast, he attacked the final 15 ft headwall directly. He made grunting noises on this part even louder than the wide pitches below. I could tell he was struggling to take an unnecessary, direct finish. Since he climbs much harder than me, I was a tad concerned.
"Now Nic, don't forget that I have to follow that thing!" I shouted. He backed off a bit to back up some gear, and renewed his attack. A few more grunts, scrapes, and curses later and finally the rope started moving quickly and then stopped. Now it was my turn. The finish Nic took was very tricky, and perhaps 5.10b (his best assessment. All I can say is it was hard!) A very awkward and off-balance corner in rotten rock led to a sandy, sloping ledge, requiring a funny heel hook & body torque to surmount.
We topped out just before midnight. There we drank the rest of our water, ate the rest of our food, and took a 20 minute nap before heading down the Yosemite Falls trail, which was a mercifully easy descent. We made it into our sleeping bags at Upper Pines at about 3am.
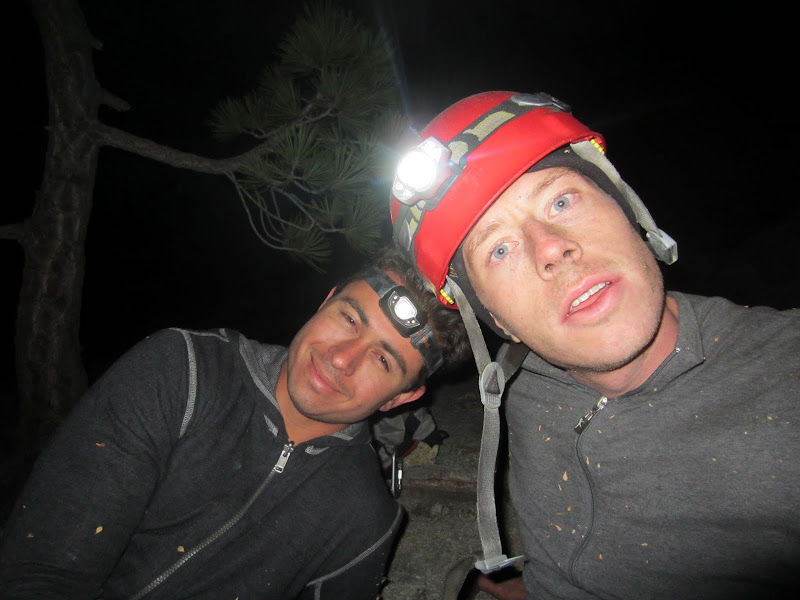
Visit on ggpht.com
Obviously we're stoked to be done with the route.
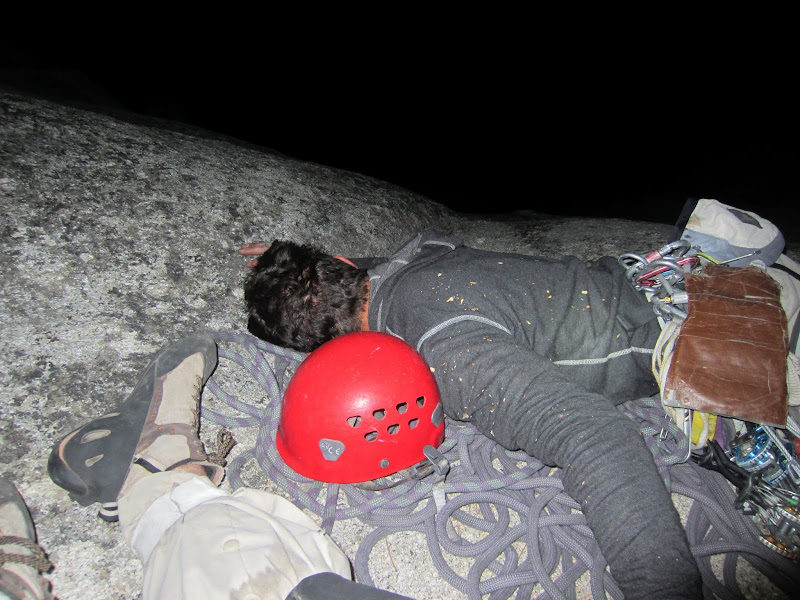
Visit on ggpht.com
Nic after climbing Yosemite Point Buttress. We took a 20 min nap before hiking down the Yosemite Falls trail.
We were pretty spent for the next day, so we slept in, gorged and caffeinated ourselves at the Yosemite Lodge, and still found a bit of energy for some more climbing before heading home.
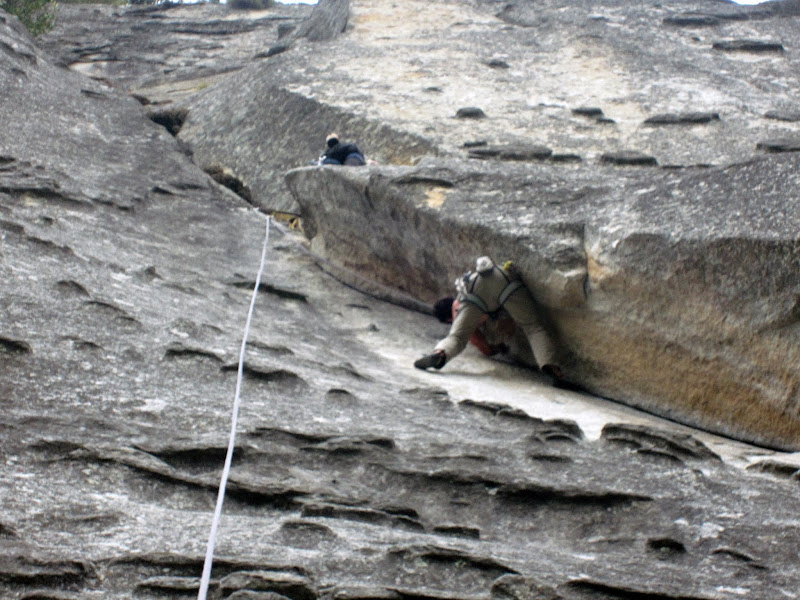
Visit on ggpht.com
Nic doing TR laps on The Tube (5.11a).
Notes
Start early on this route. Knowing the approach ahead of time helps, but if you don't, just factor in routefinding time. It took us about 2hrs of continuous movement to complete it, including soloing the final few hundred feet. Simul-climbing this section might be preferred by others.
Don't haul packs on this route or it will take you forever. I read that if you try to haul P3, your pack WILL get stuck in the top of the bombay chimney. The route gets sun all day (hot), but also gets a lot of sudden wind (cold), so bring a jacket (one for climbing OW in might be nice) and a lot of water. A large pack for the follower might be problematic in the wide pitches, so I feel like our strategy of climbing with two small, equal-sized packs worked well.
Be familiar with trailing packs on wide and pushing cams for this climb. With the wide, I'd say you should be solid at Valley 5.8-5.9 wide before tackling this climb. None of it felt quite as hard as the hardest bits of the NE Buttress of Higher Cathedral Rock, but there was more of it here, it was tighter, and trailing a pack on lead makes it difficult in different ways. I felt like the wide pitches on this route were very high quality. Nic felt like the 5.9 face sections were hard and thin enough that one should be a solid 5.10a friction & face leader before tackling this climb.
We felt like our rack was just about right for the climb. We brought doubles from 0.3" to 3", and then C4 Camalots of 1x#4, 1x#5 & 1x#6. It was very nice to have the wide cams for the wide pitches. Also, kneepads might be a good idea. We were glad to have ours on.
Personal Website
