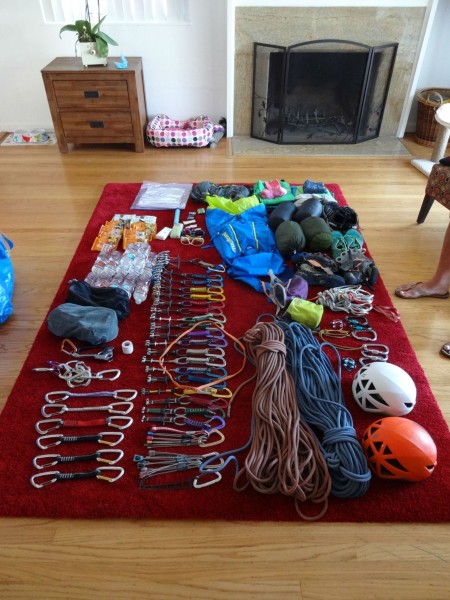
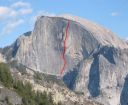
The follower carried a 35L backback with:
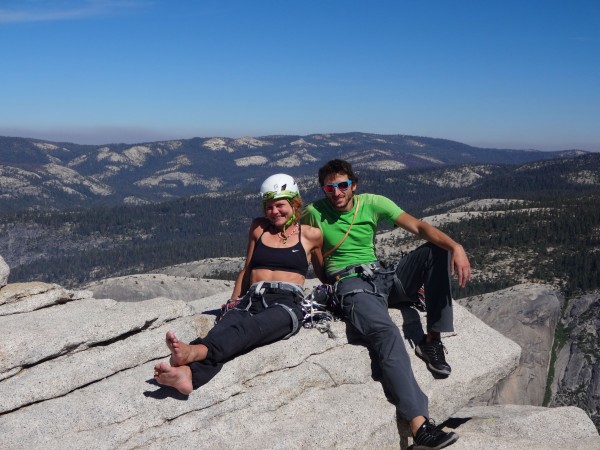
We wanted to climb the route in two days, spending the night on Big Sandy ledge (since we are big wall novices, we wanted to experience spending the night on the ledge - it is a truly unique experience).
Day 1
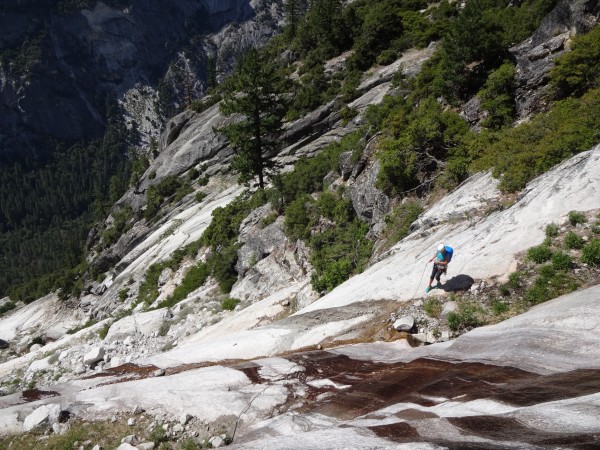
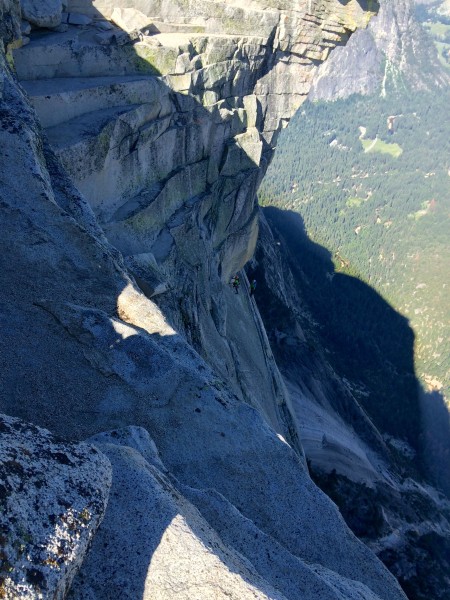
We drove into the valley and parked our car in Curry Village. After taking the shuttle, we started the death slab approach around 1:30pm (wearing our harnesses and all the gear on us). After studying all the reports describing how dangerous the slabs are, our “near death” expectations were so high that we took the wrong way on the first slab. Instead of going right into the forest, we went to the left and started climbing a slabby crack. After ~20m of climbing we’ve noticed our mistake and reverted back into the forest. From that point, we have followed the cones all the way to the base of the Half Dome wall. We did not find the approach very challenging or dangerous (all fixed ropes were set up). Climbing RNWF is so much more challenging that the death slabs should not cause much of a problem.
We’ve reached the base of the route around 4:30pm. The spring was still running. There was a single party ahead of us. Since we still had a lot of time, we’ve decided to fix the first pitch before going to sleep.
We took the bivy sacks instead of sleeping bags to cut on weight but it turned out to be a better idea than we anticipated. There are so many mosquitoes at the base of Half Dome that sleeping without any protection for the face would probably mean no sleep at all. The bivy sack protects face from these little vampires.
Day 2
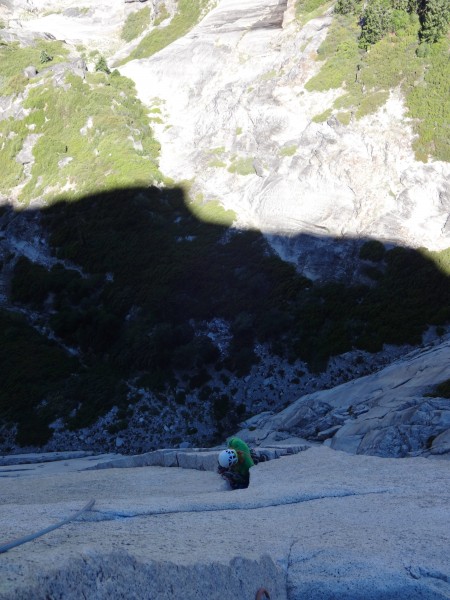
We woke up at 4:20am. It was still dark when we ate the powerbar breakfast. I jugged the fixed rope to P1. My lack of big wall experience was immediately apparent. I’ve wasted more energy jugging the rope than I would have free climbing the pitch. It probably also took more time. The only benefit was that I could have started the jugging before dusk. We only had a single ascender so Eva followed me free climbing the pitch. From this point, we switched to our normal rhythm where we would both free climb as much as possible and additionally the follower would seldom pull on gear to go faster.
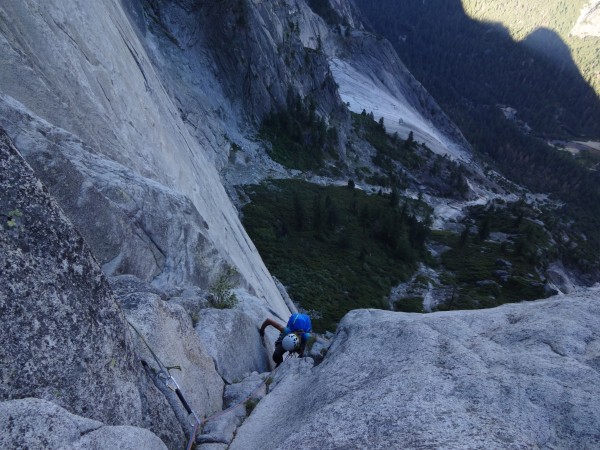
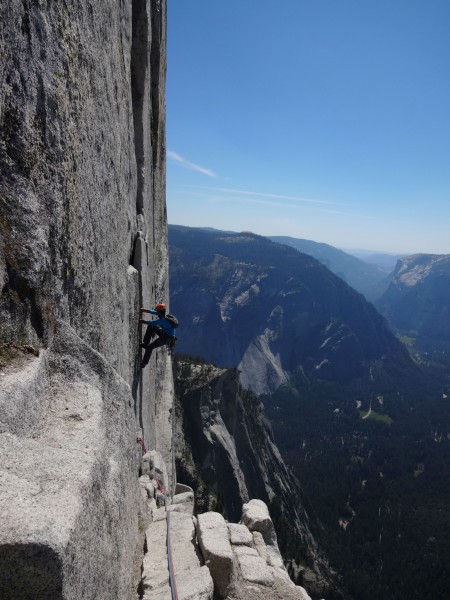
This strategy allowed us to average 40 minutes per pitch. We could go faster but there was a party ahead of us that had a slightly slower pace (they chose more big wall style of climbing with the second jugging the rope). On all bolt ladders, we would pull from quickdraws and stand on rock and bolts to clip. If the bolts were too far, we would clip a sling and step into it to increase reach. On the first chimney pitch, we took the free variation through the hole. It was absolutely spectacular (for us, it was the best free pitch of the route). IMO, the 10c rating is at the exit of the crack which cannot be pulled on gear (bouldery face move). Choose this variation only if you feel comfortable climbing 10c.
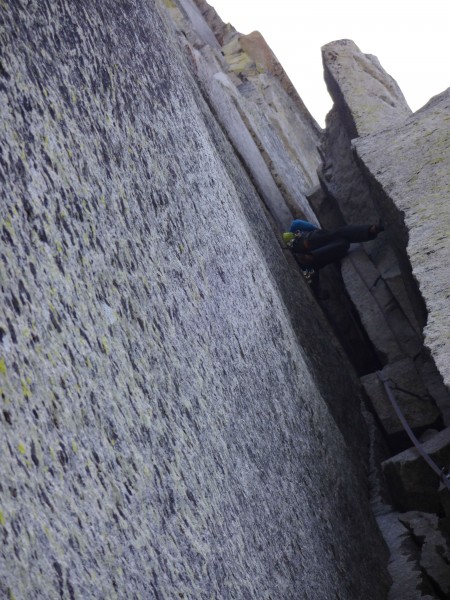
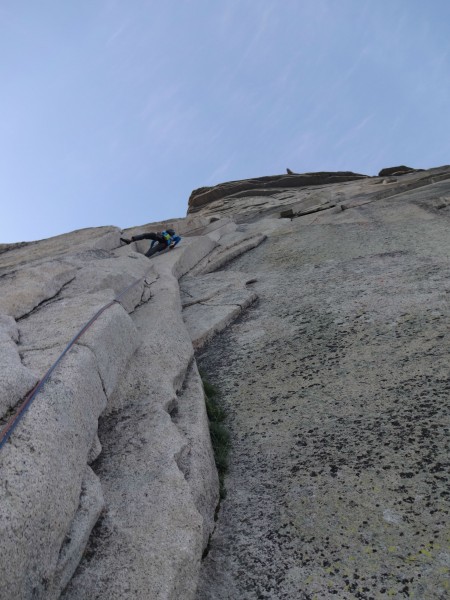
The remaining chimney pitches are perfect for linking if you have a 70m rope. The first pitch takes small gear, the wide 5.7 chimney takes micro gear or no gear and the third pitch takes large gear. There are lots of fixed pitons on all three pitches.
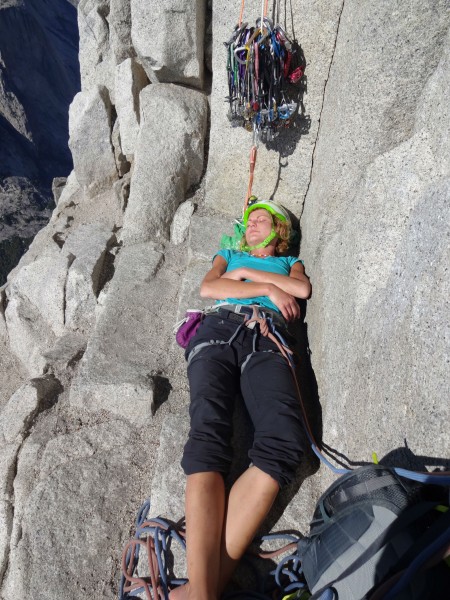
We have reached the sandy ledge at 4pm and enjoyed the big wall bivy. The party ahead of us (Bria and Riki) went for a single day ascend and kept climbing to the top - great spirit!
Day 3
We started at 5:30am. We french freed all three zigzags pretty easily. The crux sections have plenty of fixed nuts and take small cams almost anywhere. I would hang on the rope, pull on the highest gear and reach far out to place next gear and clip the rope. Then repeat the process. The process was slightly harder for the follower with a heavier backpack (still 2L of water at this point + all bivy stuff). We did all three zigzags without linking in 2 hours. If I were to repeat the zigzags, I would leave less gear on the first pitch so that linking the second pitch would be possible.
The 5.8 offwidth does not take BD #4. We carried it all the way to protect this part but it turned out to be useless. Next time, I would not carry any protection for that part. There is literally half a meter of crawling after which you can reach reasonable holds. We hung the backpack on a sling before entering the OW.
On the tension traverse at the final bolt ladder, there are two small holes which took BD C3 perfectly. The size didn’t seem to matter but the width did matter. After stepping into a clipped sling, the second bolt ladder was within a reach. We topped around 9:30am.
We took the hiking trail descend which is awfully long and has no water for a very long time. Next time, we would choose to descend back to the base of the route to refill the water and take the death slabs down.
Detailed gear
Climbing:
Other:
