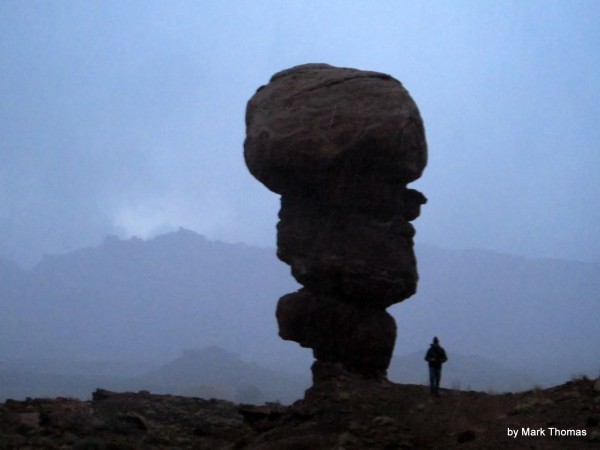
This has got to be the shortest route that I've written a trip report about, but what Happy Turk lacks in length, it makes up for in concentrated fun!
November 10, 2012
Today was the first day of my week-long trip to Moab to climb with my good friend Dirk. My dad came down for the first weekend. Unfortunately the weather was forecast to be bad Saturday, so we did a good 'bad weather' climb - the bolt ladder on Devil's Golf Ball. This was the first time my dad has seen any aid climbing. It also threw a few curve balls at us, but in the end we prevailed. Thanks, Dirk, for the patient belay while I struggled with the surprises!
Visit on googleusercontent.com
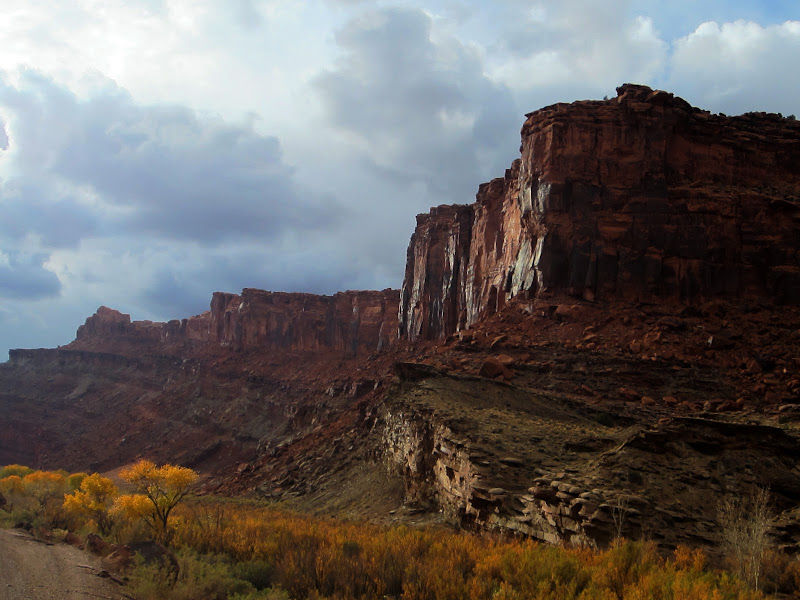
Kane Valley cottonwoods in the fall.
Visit on ggpht.com
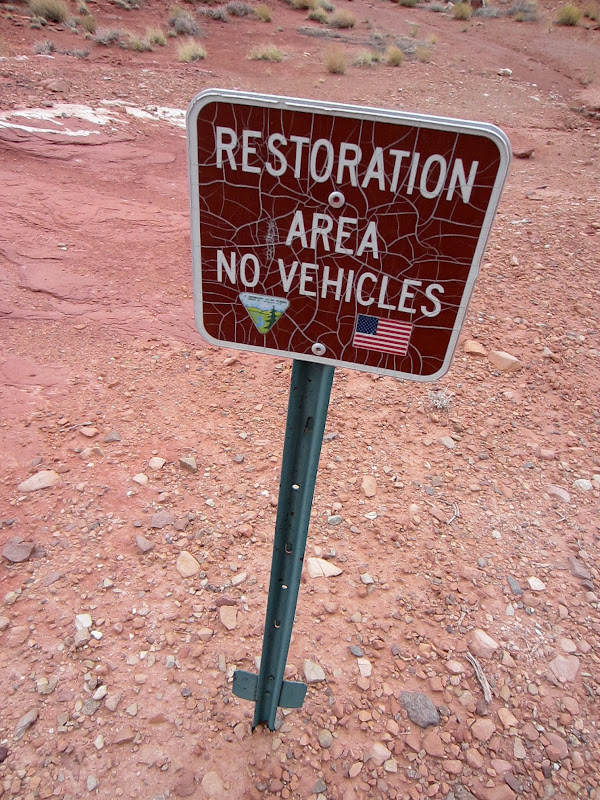
DENIED. We had hoped to drive Dirk's truck up to the base of the formation to access the first bolt. Unfortunately the road has been closed for restoration!
Visit on ggpht.com
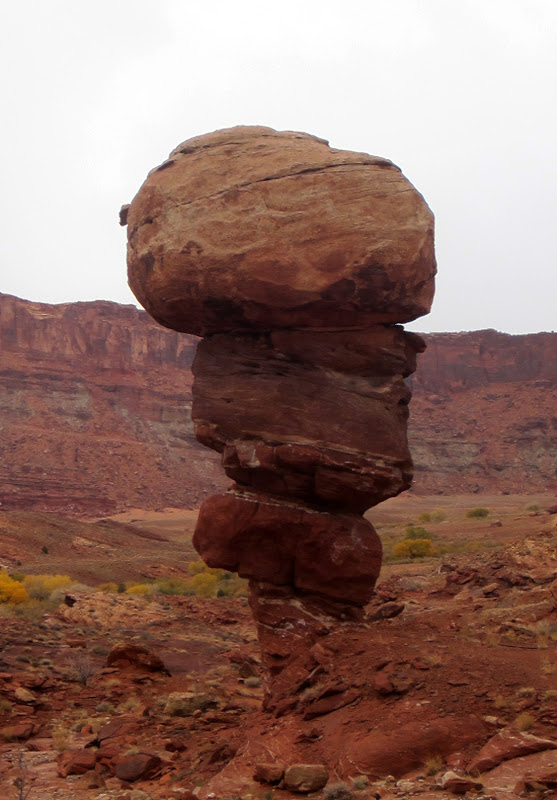
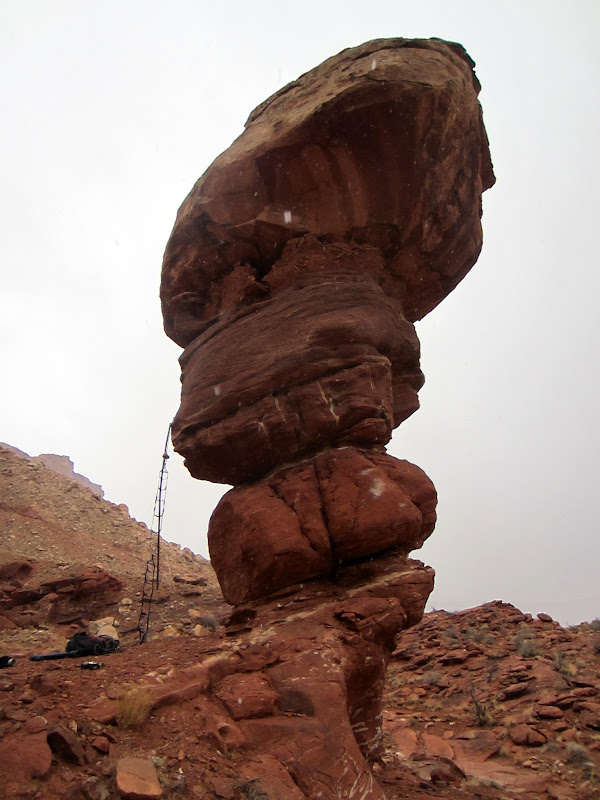
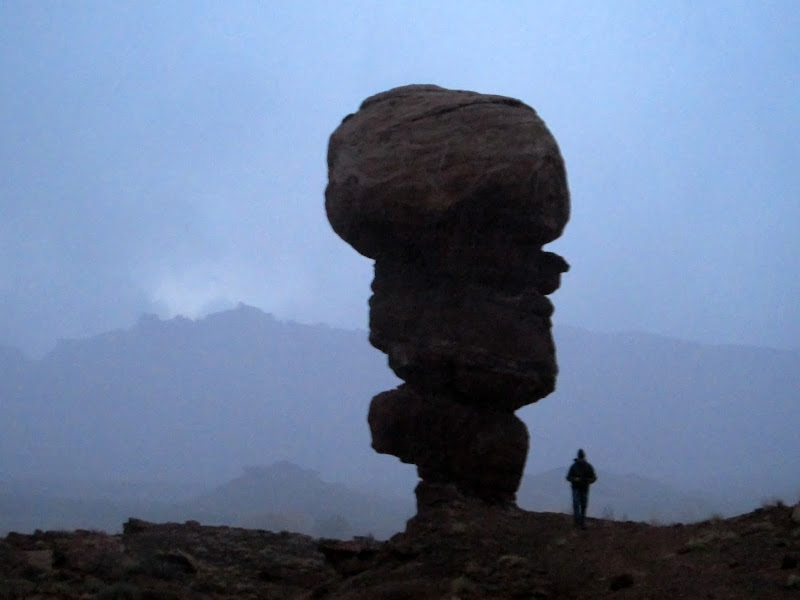
Devil's Golf Ball aka. Happy Turk.
Supposedly there is a 5.8 route on this thing, but I think that must be some kind of sick joke. On MountainProject I had seen the route rated C1 5.8, so perhaps the 5.8 rating is for the unexpected free moves that I encountered . . .
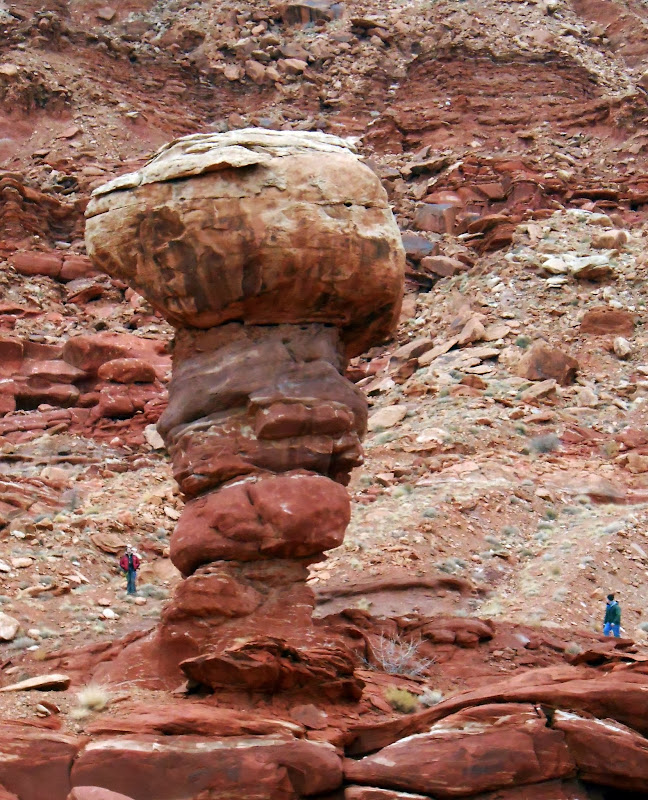
Visit on ggpht.com
Devil's Golf Ball aka. Happy Turk seen from the side. (by Dirk Summers)
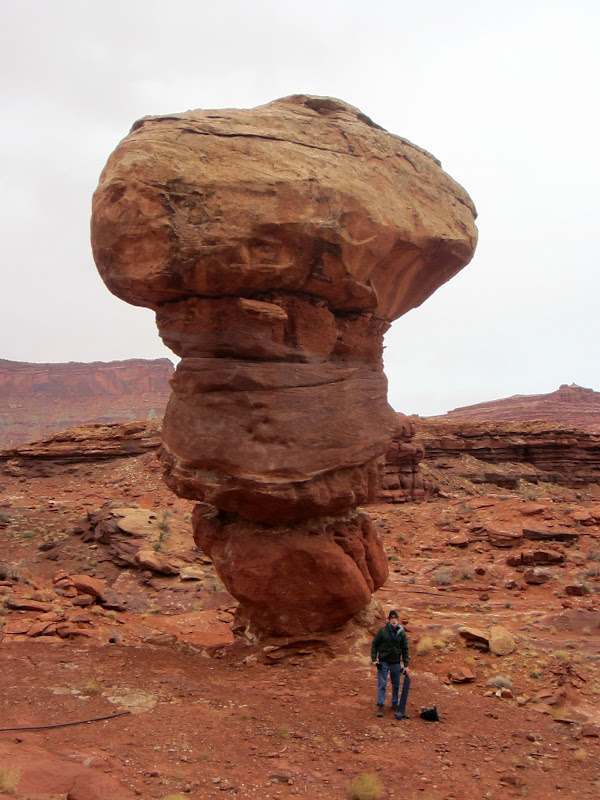
Visit on ggpht.com
Dad at the base of Devil's Golf Ball aka. Happy Turk.
We brought along tent poles and duct tape to fashion a long stick clip, but fortunately there was already a long metal pole left at the base. It provided a convenient mount for me to add my homemade cheater stick.
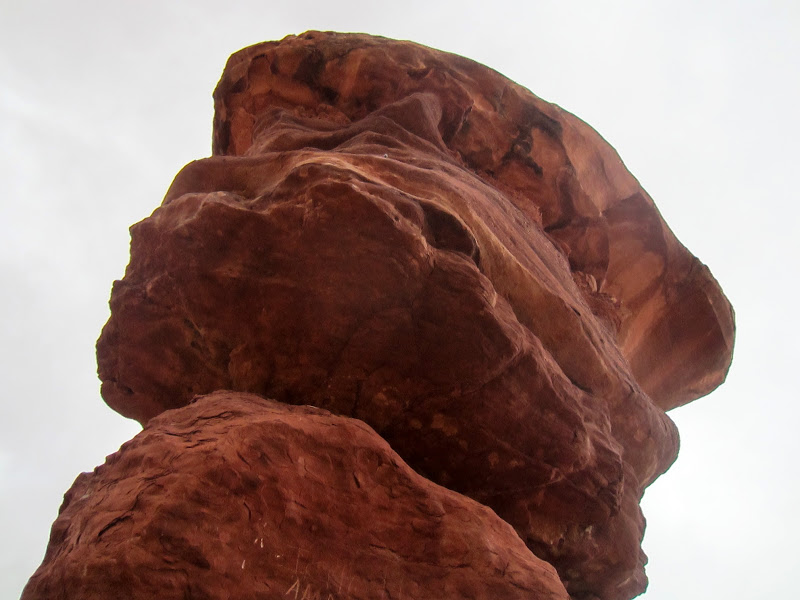
Visit on ggpht.com
Looking up at the route. That first bolt is pretty high up there . . .
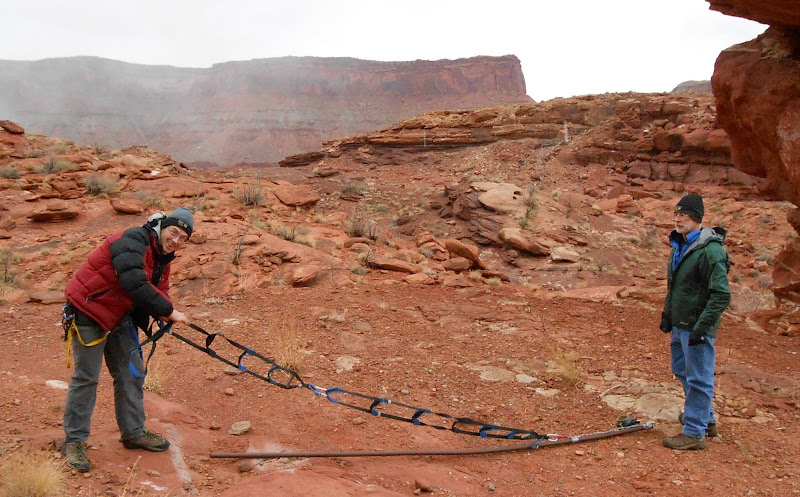
Visit on ggpht.com
Preparing the ultimate pole-assisted stick clip. (by Dirk Summers)
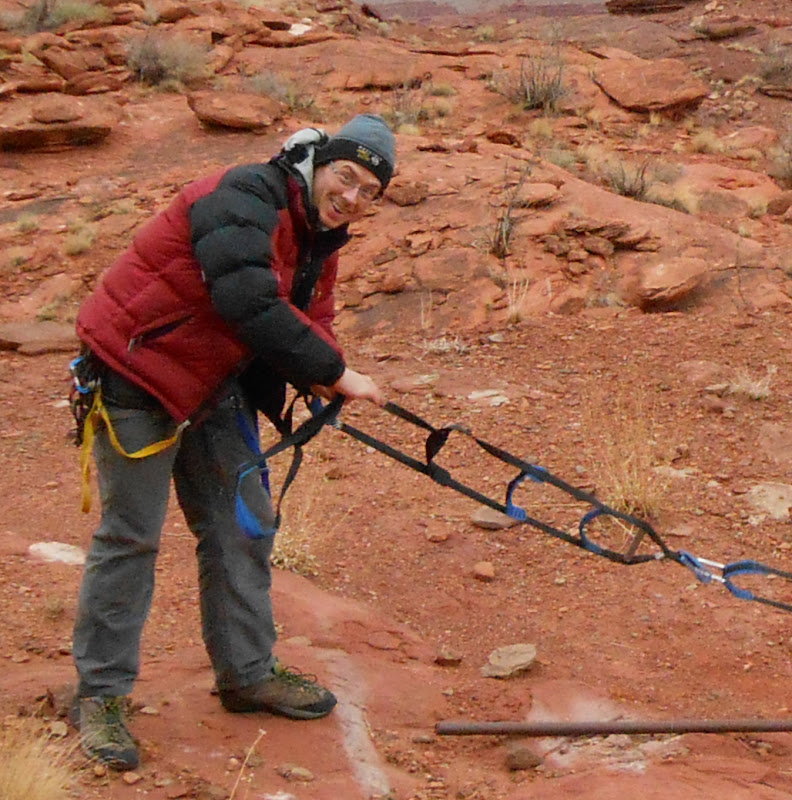
Visit on ggpht.com
The look says it all
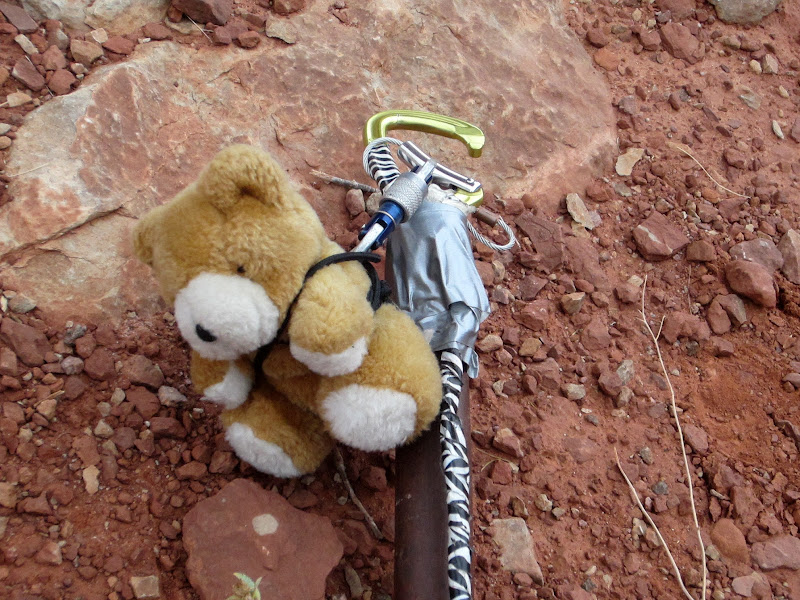
Visit on ggpht.com
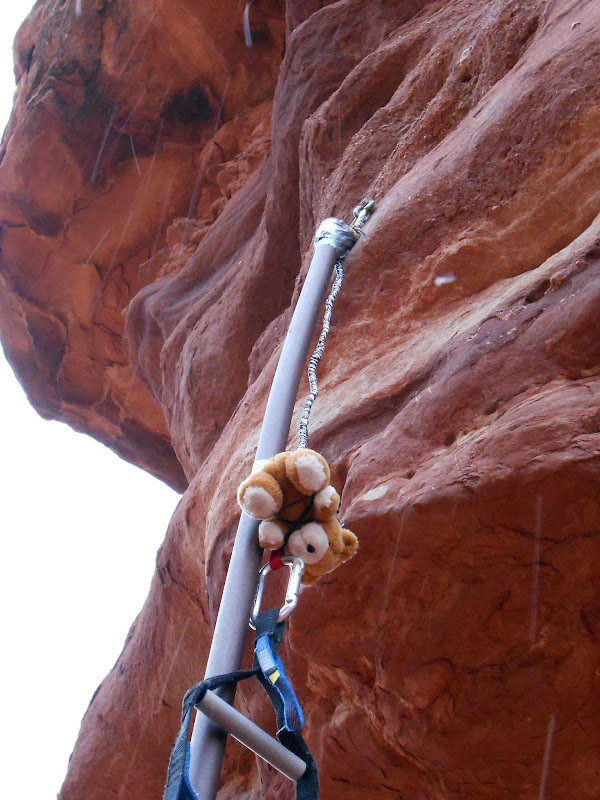
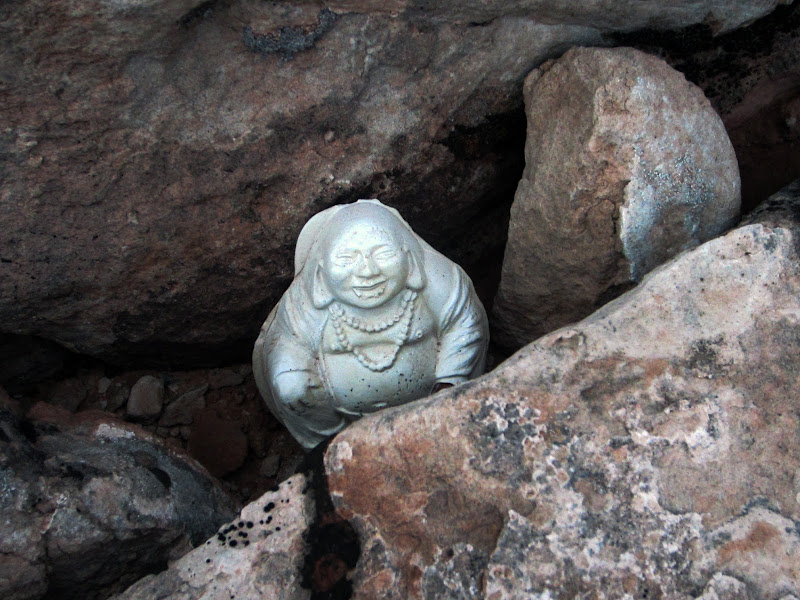
WallNut getting ready for the stick clip (name courtesy of Rachel Farrand!). I found this little guy in a patch of snow at the base of Washington Column in March and took him up the South Face with me. He has remained my aid climbing mascot since then.
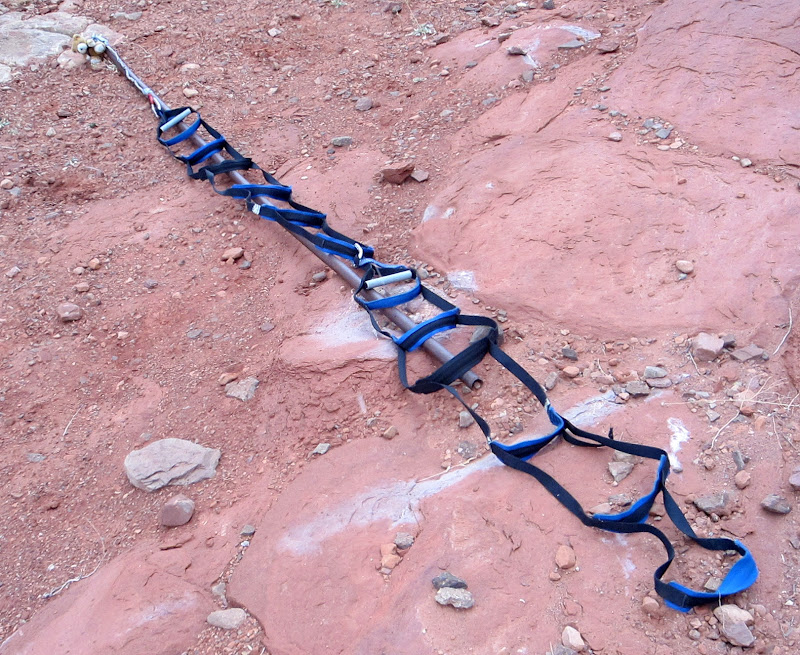
Visit on ggpht.com
The ultimate stick clip ready to go.
The wind had picked up and it had started to snow, but no matter. However, the first clip took us a while to get right as the first bolt has no hanger, just a small link that kept clipping away from the stick clip.
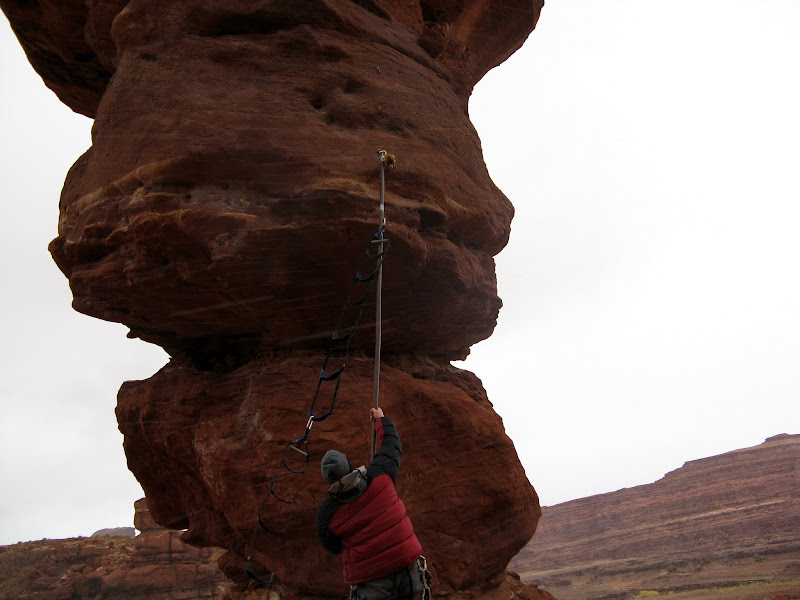
Visit on ggpht.com
Attempting to stick clip. The bolts had small chain links instead of hangers on them, so this was very difficult. (by Jay Thomas)
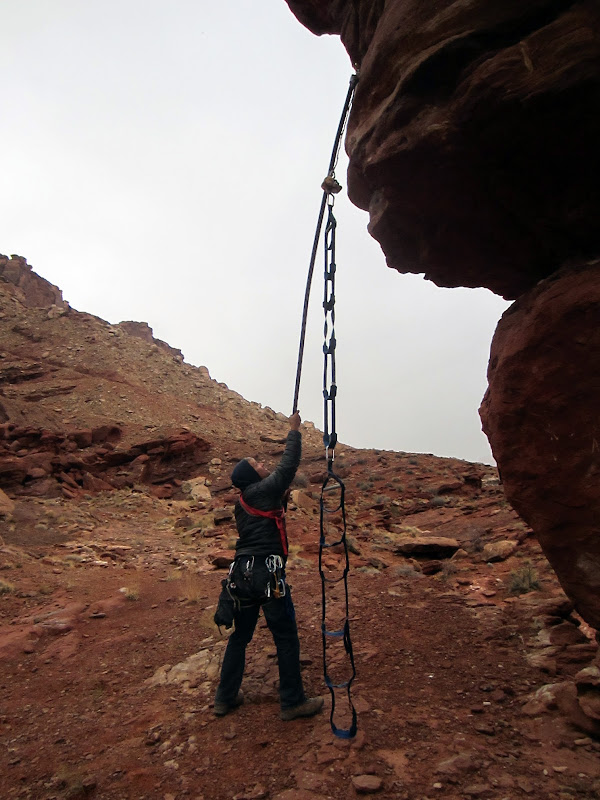
Visit on ggpht.com
Dirk giving the dirty work a try. In the end we found the way to do it was I stood at this location where I could see the link and 'biner opening and I instructed Dirk as to the twist and height adjustments to make.

Visit on ggpht.com
Success!
Visit on ggpht.com
WallNut & the pole clip. (by Jay Thomas)
Visit on ggpht.com
The pole clip awaiting an ascent.
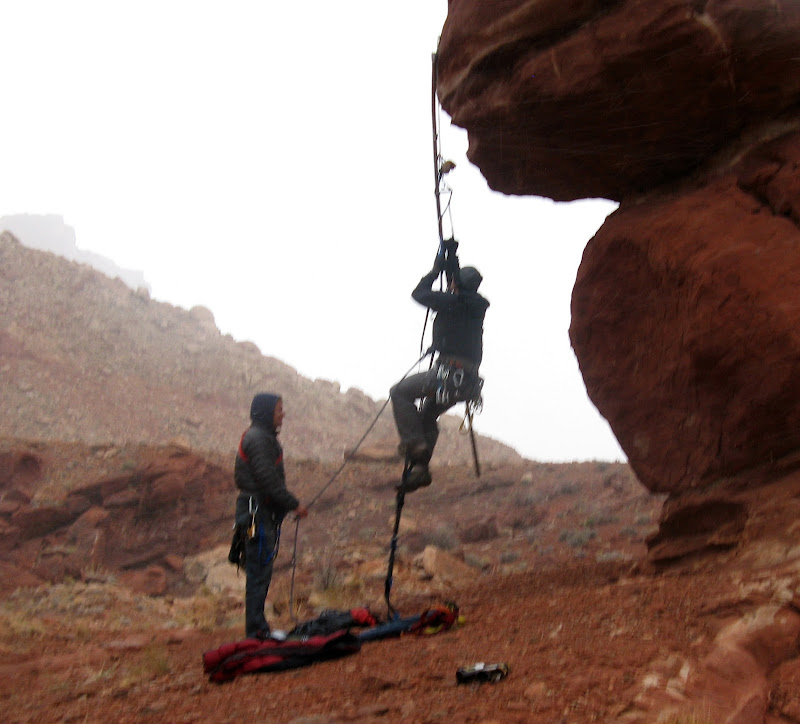
We had planned for me to run up the route real fast, and then Dirk would take a turn at leading. Unfortunately the route proved to be a LOT harder than I had expected, so I took a long time to get to the top. Fortunately, Dirk had a warm jacket and was a very patient belayer despite the unpleasant conditions. Hopefully I put on an entertaining show!
Visit on ggpht.com
Hanging off this bolt on the overhanging bulge caused some strange swinging. (by Jay Thomas)
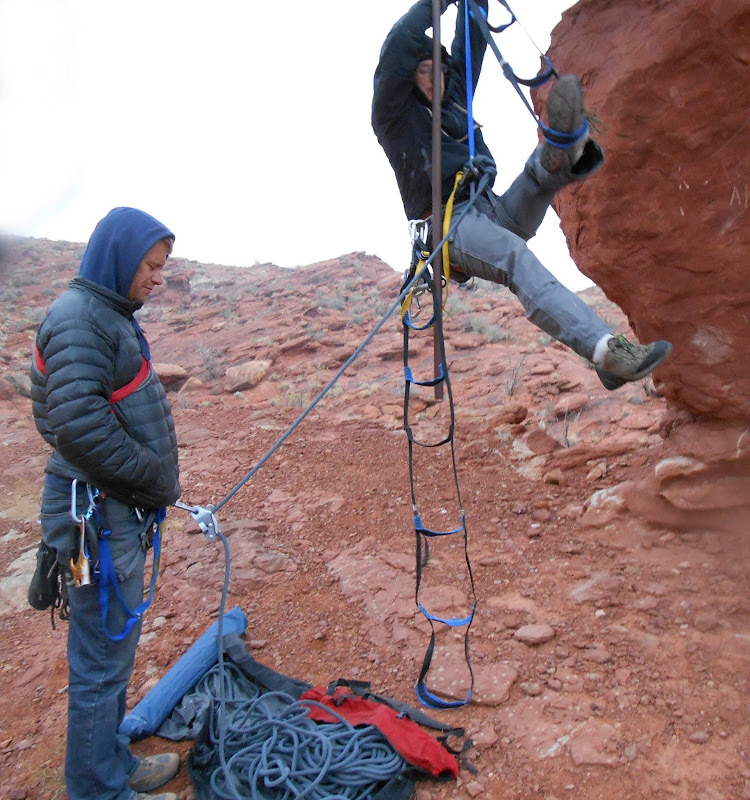
Visit on ggpht.com
Aider dance moves. The photo makes this look more awkward than it was :-)(by Jay Thomas)
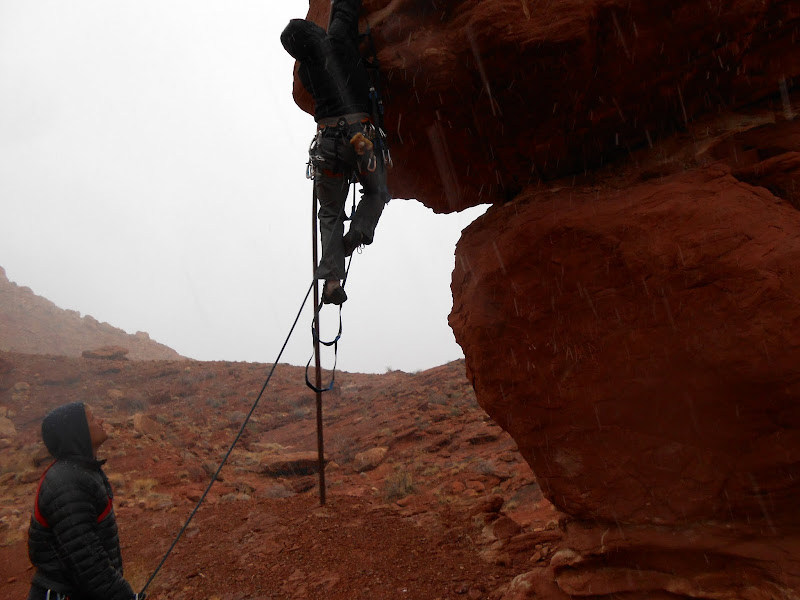
Visit on ggpht.com
Climbing up to the first bolt. (by Jay Thomas)
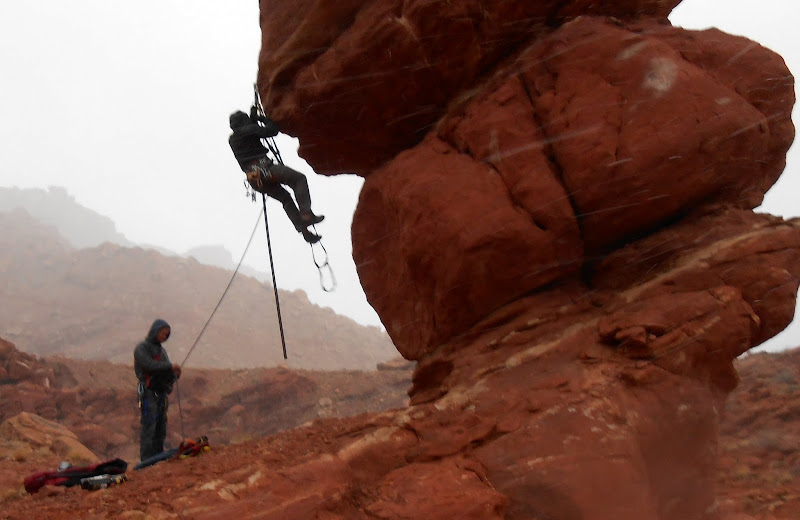
Visit on ggpht.com
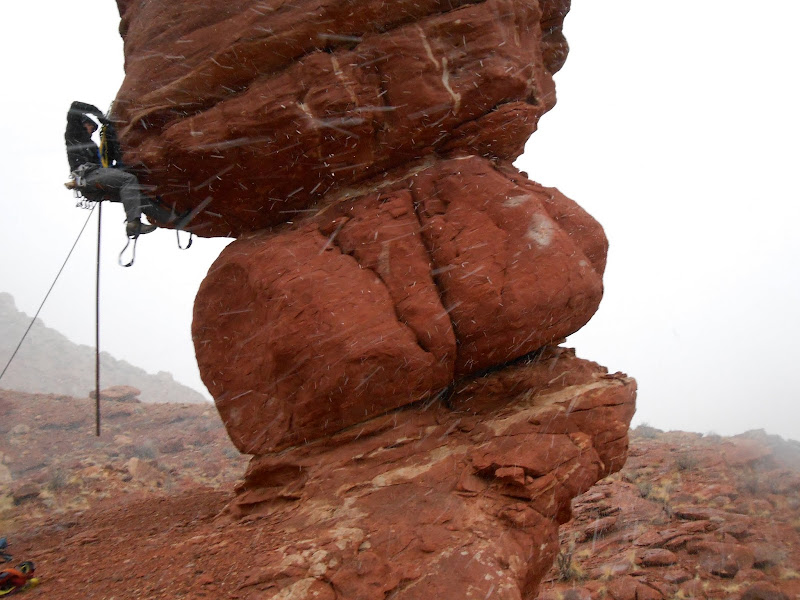
Battle of the bulge, Part I. I learned here how much more difficult it is to climb a bolt ladder on an overhanging bulge than a pure overhang. (by Jay Thomas)
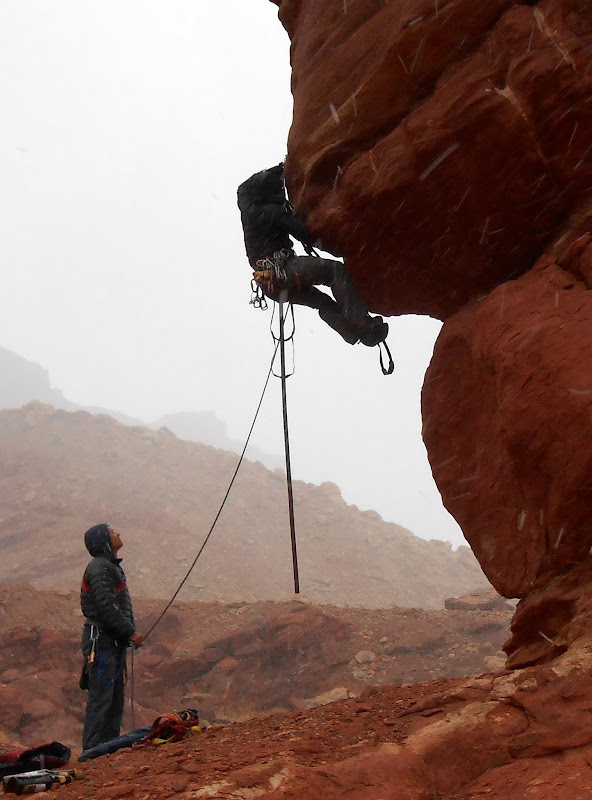
Visit on ggpht.com
Battle of the bulge, Part I. (by Jay Thomas)
Visit on ggpht.com
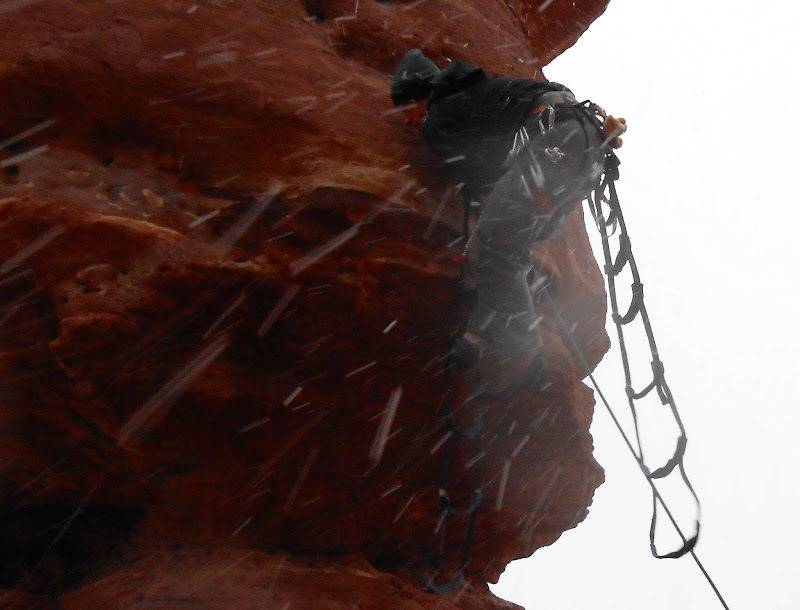
Battle of the bulge, Part I, experimenting with 2 aiders. (by Jay Thomas)
Visit on ggpht.com
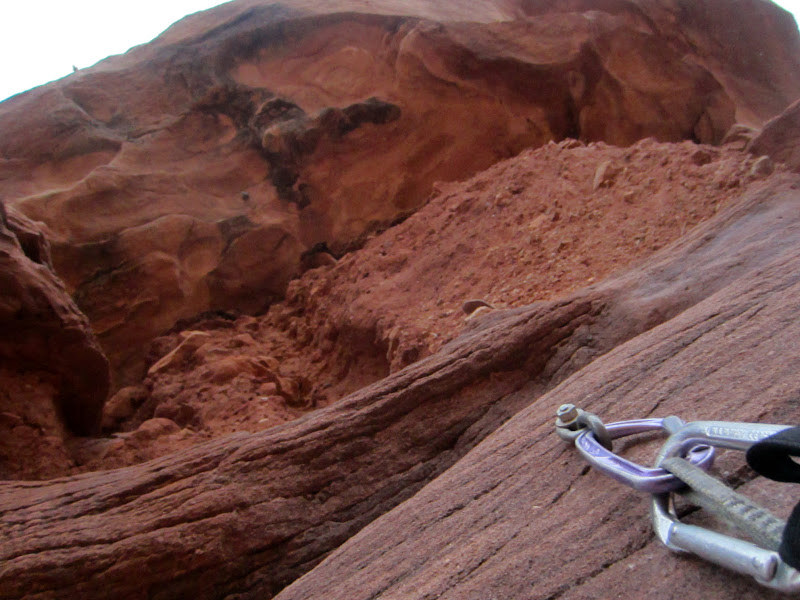
Final awkward moves to tension up on the bolt. I removed the second ladder once I got high enough to use a quick clip because it was still attached to my daisy in a way that I couldn't remove for reaching up to clip the next bolt. I fixed this for later bolts. (by Jay Thomas)
Visit on ggpht.com
The next 2 bolts were much easier. Then there was an unexpected free move on loose rock to reach the next bolt (a surprise on soft rock in my tennis shoes). At least it was only about class 4.
[Click to View Linked Image]
Battle of the Bulge Part II - On Bolt #4, thinking I am in the free & clear. (by Jay Thomas)
[Click to View Linked Image]
Battle of the Bulge Part II - Bolt 5 was tricky but worked out, but the last bolt had me stymied. (by Jay Thomas)
[Click to View Linked Image]
Battle of the Bulge Part II - Stymied trying to reach the last bolt, which you can see in this picture above the bulge and left of my head. My current high bolt was still slightly underneath the outermost part of the bulge. (by Jay Thomas)
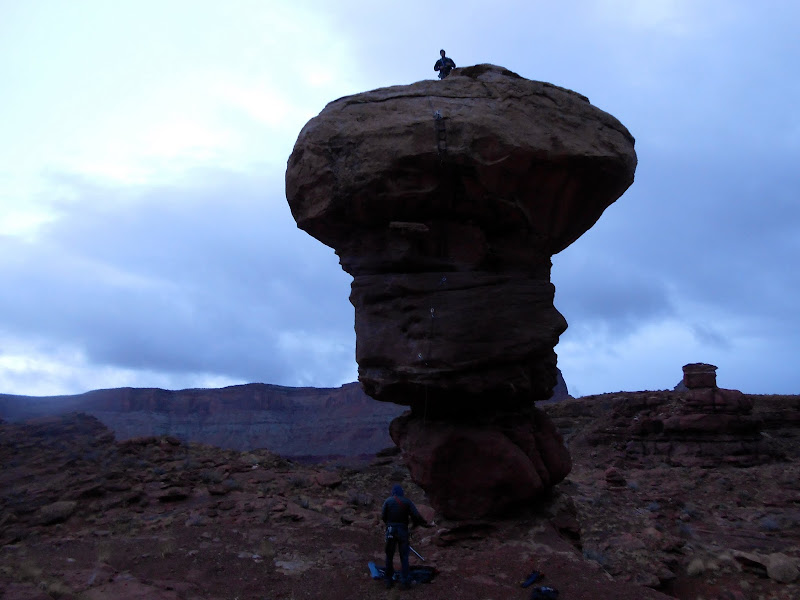
I high stepped as best as I could, but the last bolt was still barely out of reach. In the end I had to tension up on my current bolt, snag a reachy & shallow pocket with two fingers, and hold that just long enough to grab a draw and clip it to the next bolt. After this, I had another unexpected free section that was hard enough to reach that I had to disconnect from an aid ladder to finish to the top. A small cam here could have been nice in a horizontal crack, but it is OK, just some sandy friction moves.
Visit on ggpht.com
On the top at last! After an hour spent hanging, these were the hardest 6 bolts I have ever aid climbed. This route is much harder than the LeConte Boulder bolt ladder. (by Jay Thomas)
Visit on ggpht.com
Summit Buddha. The first of many to be found on this trip.
Visit on ggpht.com
Dad beneath Devil's Golf Ball. The snow had stopped, but the sun was setting, so it was time to grab beer & burgers at Eddie McStiffs!
Unfortunately it was getting dark and my Dad and Dirk had lost interest in any more climbing on the route, so we got out of there for the day. Although Dirk missed out on this bizarre adventure, I made it up to him during some long belays later in the trip :-)
So I was quite surprised to find out how difficult it is to climb over bulges on aid, and even that overhanging techniques don't really work. After getting pretty smooth at overhanging bolt ladders, and after playing around on Happy Turk, I think I have an idea of how one approaches these differently, and have put together some quick diagrams below showing my thoughts. I'm happy to get any feedback from the aid masters out there in terms of illustrating these techniques, or if there are better ways to overcome these obstacles!
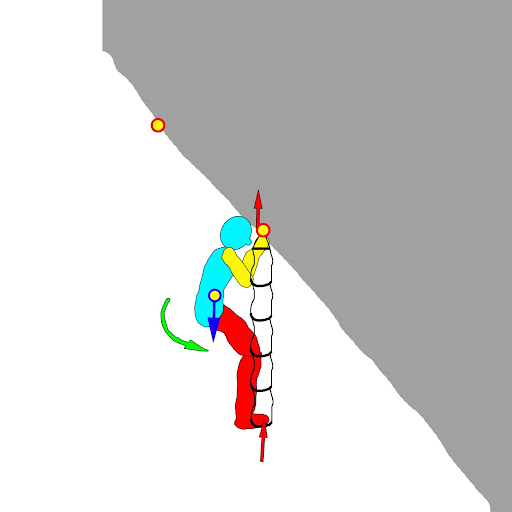
In the diagrams below, the red arrows indicate reactions against the climber (e.g. aid ladder on the feet, bolt on the pulling hand). The green arrow indicates the tendency of the body to move that the climber needs to overcome, blue arrow is roughly the center of mass of the climber. Red limbs are those pressing and yellow limbs are those pulling.
Aid Climbing an Overhang
Visit on googleusercontent.com
1 - Unstable position, so the climber will swing.
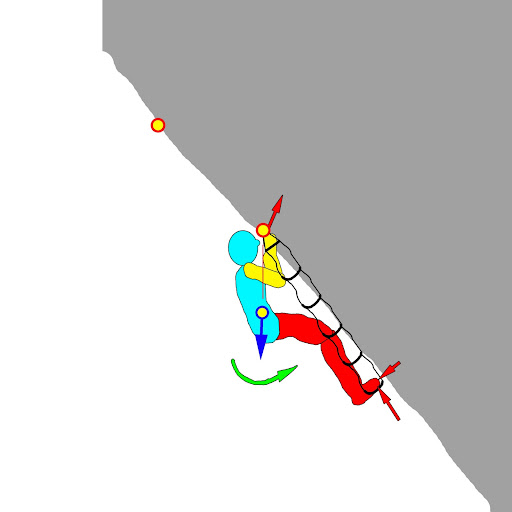
Visit on googleusercontent.com
2 - Stable position.

Visit on googleusercontent.com
3 - Right leg is levering off the wall, or possibly pressing if there are features.
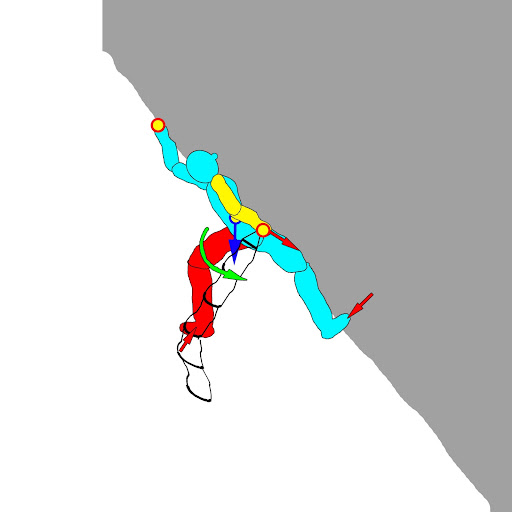
Visit on googleusercontent.com
4 - Pulling up on bolt while standing in the aider, levering the right leg on the wall to help resist the tendency to overturn. Spreading the left leg out left takes some strain off of the arms and abdominals.

Visit on googleusercontent.com
5 - Stemming between aiders (possibly assisted on the right leg by pressing off the wall), to gradually move weight over and beneath the next bolt while standing up towards it. Tendency is to swing towards either the last or next bolt depending on position, which needs to be controlled to unfasten from the last bolt while fastening in to the next bolt.
Aid Climbing a Bulge
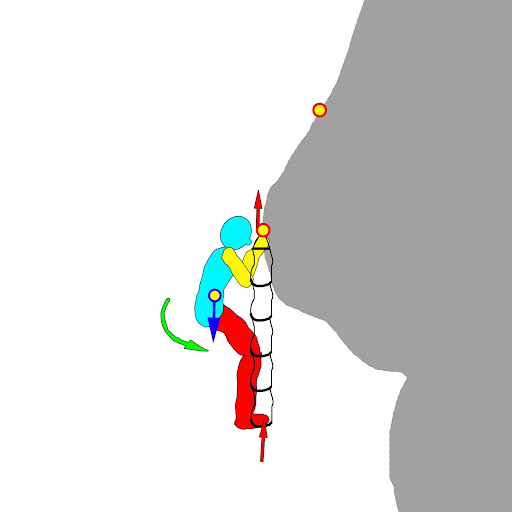
Visit on googleusercontent.com
1 - Unstable position, so the climber will swing.
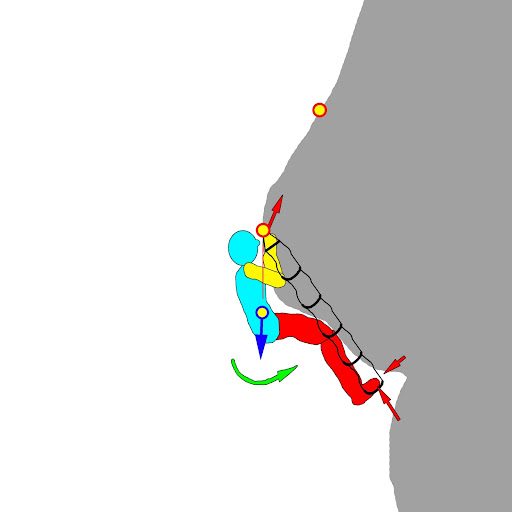
Visit on googleusercontent.com
2 - Stable position.

Visit on googleusercontent.com
3 - Right leg is levering off the wall, or possibly pressing if there are features.
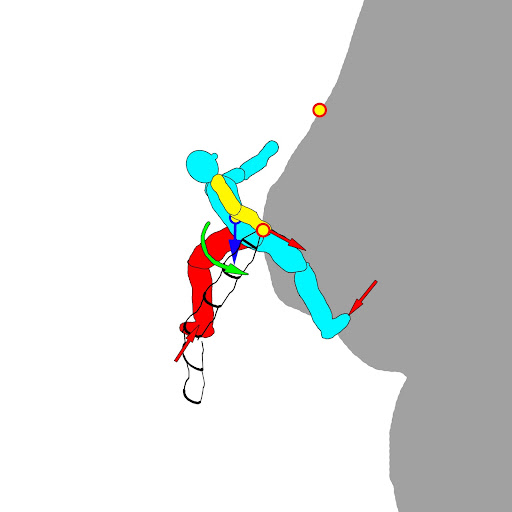
Visit on googleusercontent.com
4 FAIL - Single ladder overhang technique does not work too well! If you bend in towards the current bolt to reach towards the next bolt, it is VERY strenuous on the abdominals and pulling arm. This might work for short reaches, but for long ones this might not work, or would be inefficient. Also, keep in mind in this picture how the lower leg would lever off the rock if I assumed it couldn't overlap the rock profile. This would be much more awkward and much harder to lever against.

Visit on googleusercontent.com
4 - 2 ladders make a big difference. By stemming between them (and possibly levering off the wall with the knee or thigh), the climber need not pull nearly as hard on the bolt and can stand more straight up from a drop-knee position before reaching forward.

Visit on googleusercontent.com
5 - Success!
Personal Website
Picasa Album
